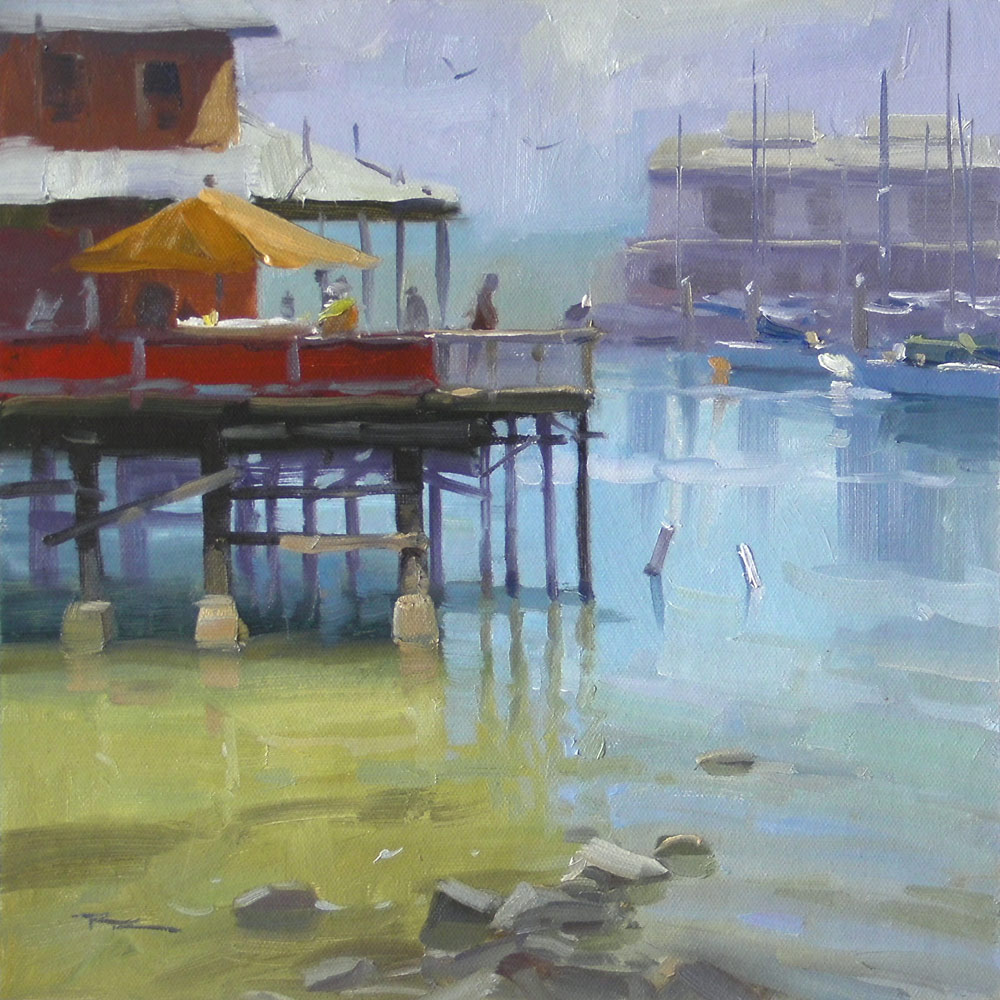
Welcome to this chapter on capturing the enchanting atmosphere of Fisherman’s Wharf in Monterey, California. This scene holds a special place in my heart as it was painted during my first visit to this beautiful location, amidst the bustling energy of a plein air painting convention. Surrounded by fellow artists, I found myself captivated by the vibrant colors and the remarkable atmospheric perspective that California offers. Unlike the subtler effects I encounter back home in New Zealand, the light and atmosphere here naturally create a stunning depth and mystery without the need for exaggeration. In this lesson, we will explore how to harness this atmospheric perspective to enhance the sense of distance in your painting. By learning to lighten and desaturate colors as they recede, you will be able to mimic the natural effects of the atmosphere, adding a layer of intrigue to your work. Whether you follow along step by step or infuse your own creativity, this scene promises to be a rewarding subject for any painter. Enjoy the journey!
This guide accompanies the full video lesson. The lesson includes the complete narrated video, the printable PDF chapter, and personalised critique support.
"Fisherman's Wharf" 12x12" Oil on Canvas by Richard Robinson
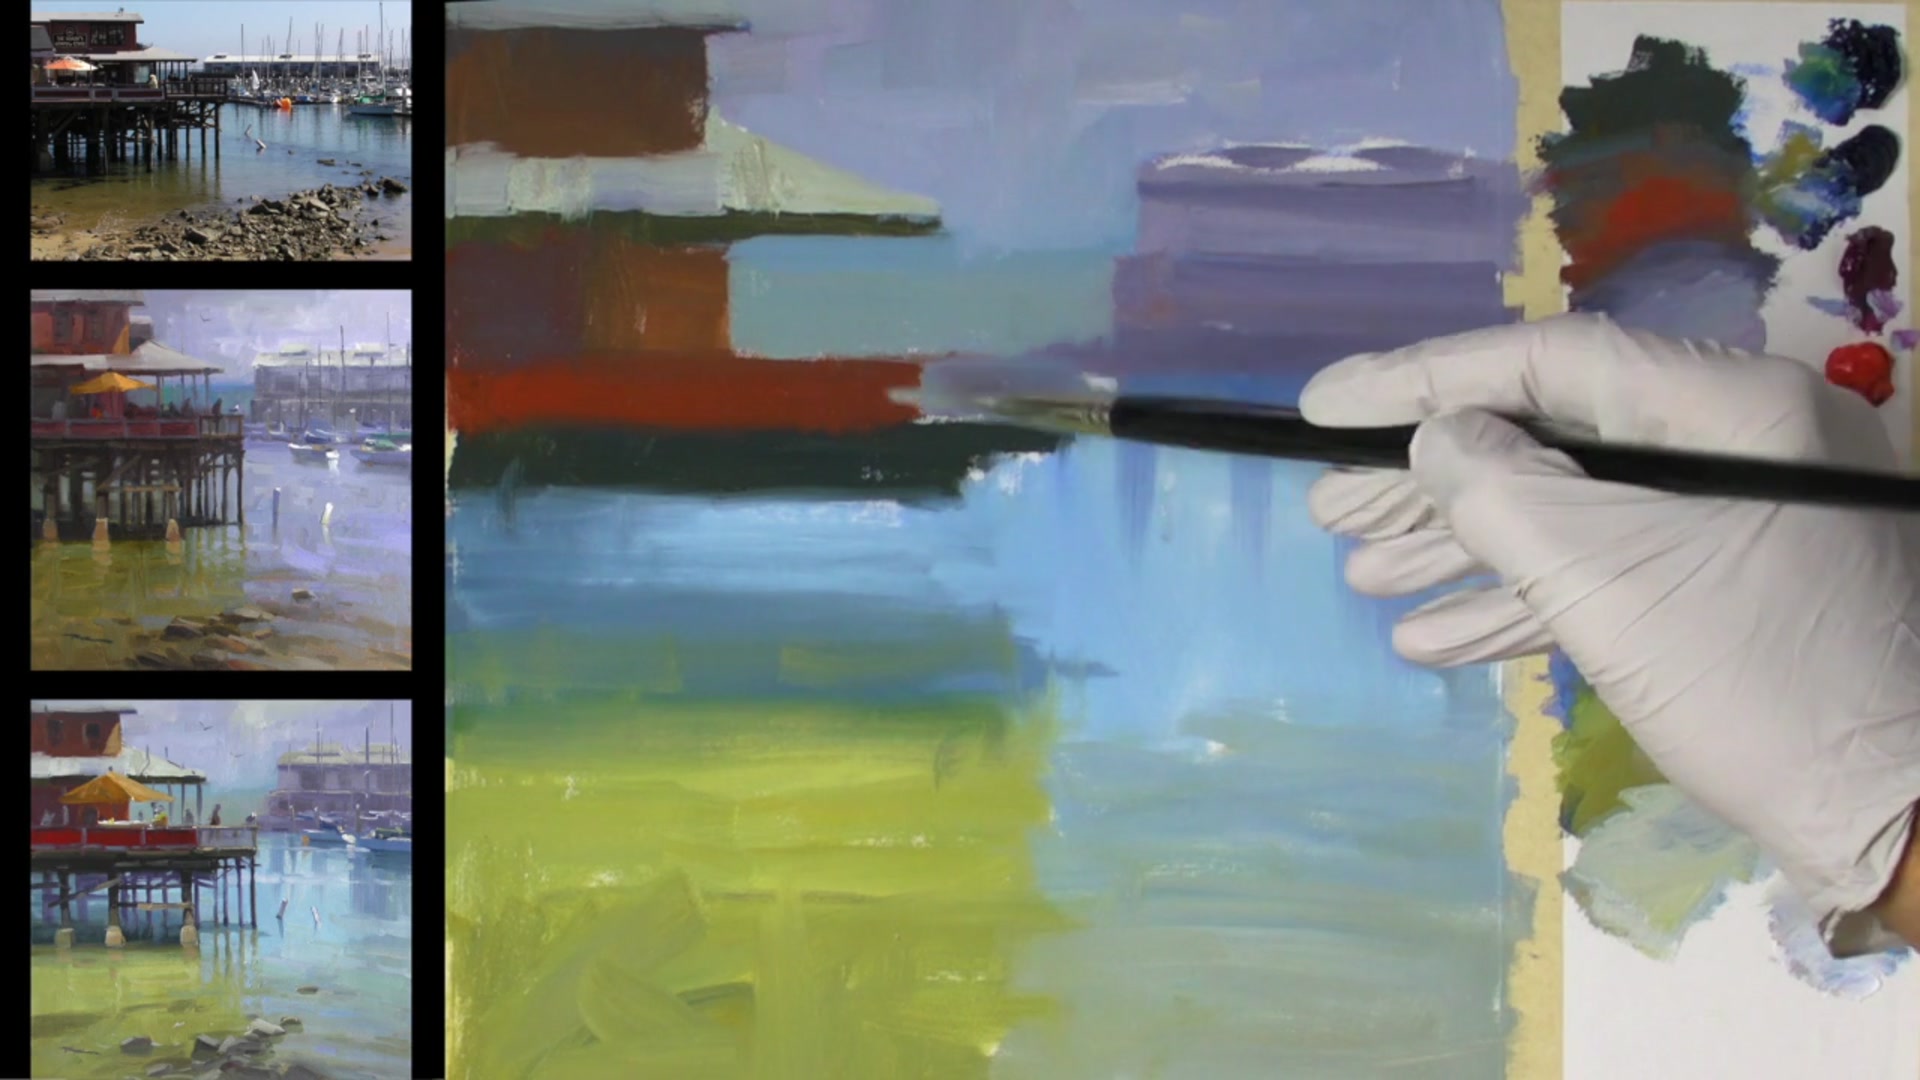
Step 18Comparing Paintings
Compare Different Paintings
Observe the two paintings on the left. The one in the middle was created on location, capturing the immediate essence and atmosphere. The painting at the bottom represents the finished state of the current painting, showcasing refined details and adjustments made in the studio.
Pro tipStudy both on-location and studio paintings to understand the evolution of your work.
Embark on your painting journey by mastering atmospheric perspective, which is crucial for creating depth. Start by sketching your composition, establishing a strong foundation with the horizon line and main objects. As you block in shapes, remember to avoid dividing your canvas in half to maintain balance and harmony. Use atmospheric perspective to push elements into the distance, creating a sense of space and depth.
As you progress, pay attention to mixing and applying dark values, bending colors, and working with midtones. These steps will help you capture subtle variations and maintain the correct value relationships throughout your painting. Plein air painting can enhance your ability to perceive colors and details that photographs might miss, enriching your overall painting experience.
Finally, focus on refining your painting by simplifying complex areas and adjusting value structures. Use techniques like glazing and loose brushwork to add interest and texture. As you paint details like poles and shadows, maintain a dynamic composition by varying spacing and using your whole arm for straight strokes. With practice, these techniques will enhance your ability to create depth and realism in your paintings.
Points to remember
Use lighter and less saturated colors for distant objects to enhance atmospheric perspective.
Utilize scale and atmospheric perspective to enhance depth in your painting.
Use the horizon line to guide the perspective and placement of all other elements in your composition.
Ensure buildings are either slightly separated or overlapping to avoid them 'kissing'.
Use walnut oil to thin the paint for smooth coverage without leaving canvas exposed.
Analyze each color's hue and adjust it by adding complementary colors to shift it on the color wheel.
Photographs often oversimplify dark areas, so rely on observation to capture subtle variations.
Keep the sky's value between white and the shadow value of the distant building for balance.