Teacher
Richard is a talented full time artist, who loves painting and teaching.


A friendly place to learn at your own pace.
with Richard Robinson
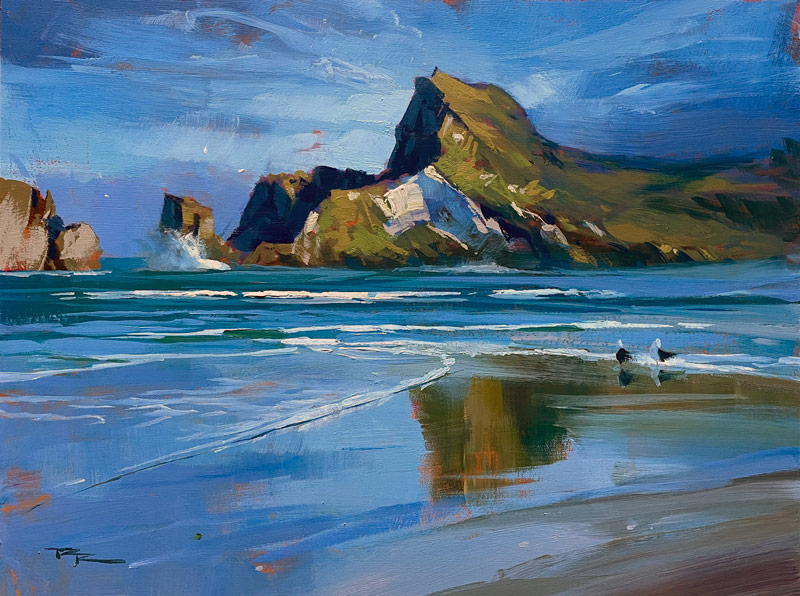
"Castle Point" 12x16" Acrylic on Panel by Richard Robinson
This dramatic New Zealand landscape lends itself to an energetic, vibrantly coloured approach. Learn how!
This demo is in acrylics but it's fine for oils too.
I'll take you step by step through this whole process. Just a couple of hours and you'll have a beautiful beach painting.
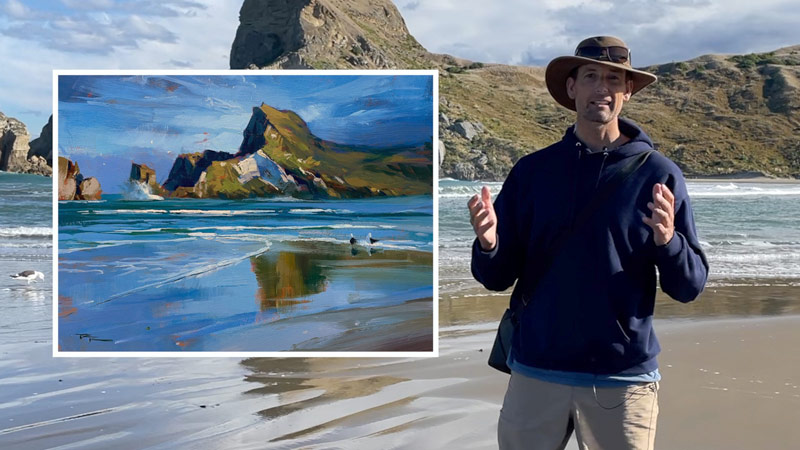
I’ll guide you all the way.
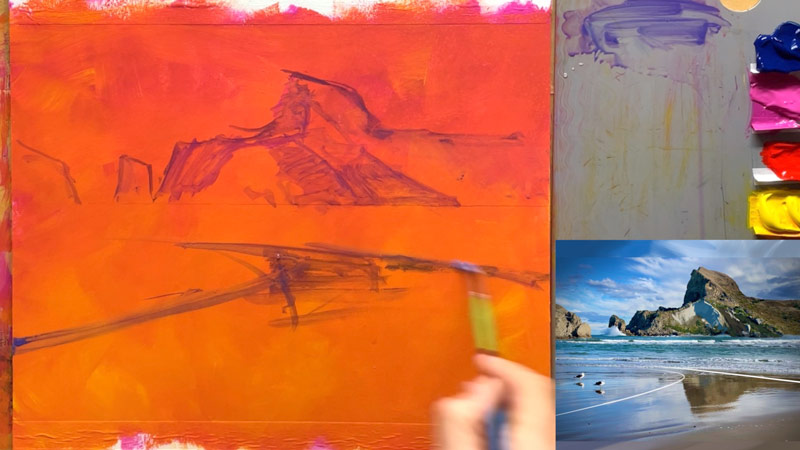
Helps to increase the overall vibrance of the painting. A darker start will make you paint thicker, if that's something you want. I started here with a mid value orange - the complement of blue, which is the main final colour of the painting. This layer is painted with gloss medium to seal it. Then the major shapes are sketched in when it's dry.
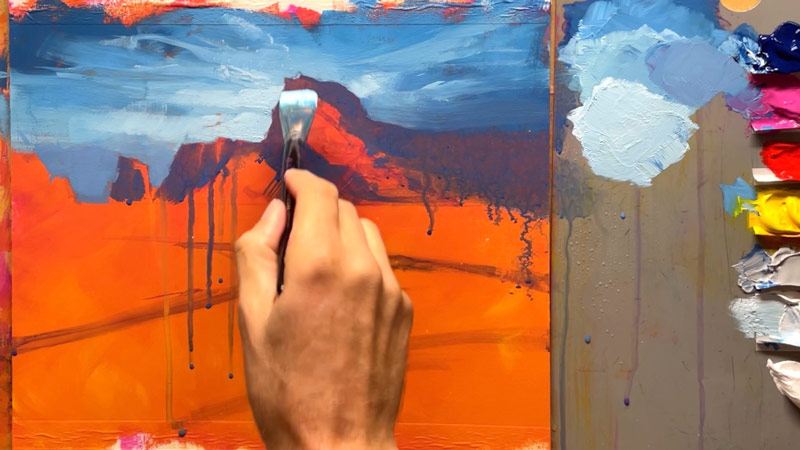
Working from darks to mids to lights in the sky, making mostly soft edges with a large brush. Painting into the thin dark wet mountain so that I can adjust the edges as needed. Sharper edges in the centre of interest, which is also where the spotlight effect goes.
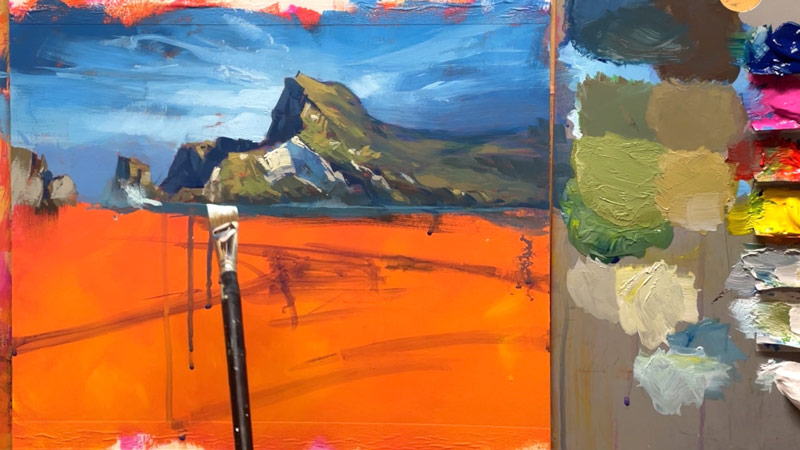
Using relatively large (good) brushes we can achieve the illusion of complex detail with some clever brushwork. Note that the sharpest edges, thickest paint, strongest contrast and most vibrant colours are all found in the centre of interest.
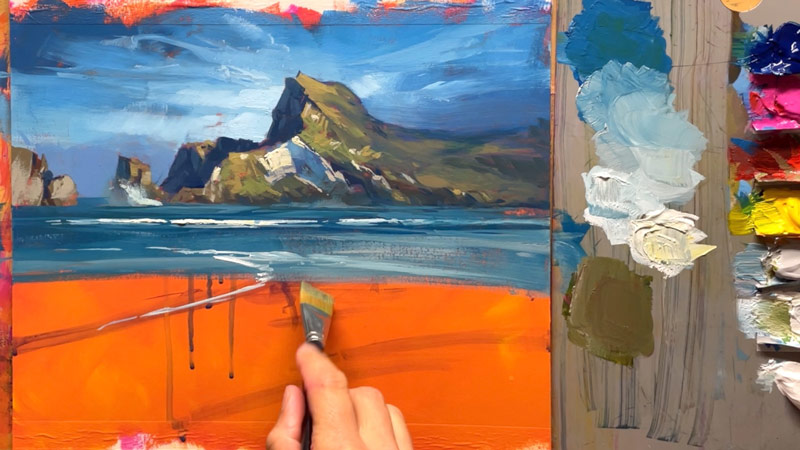
Again following the dark to light proceedure with a large flat brush it's fun to dash in large areas of water that are brought to life with just a few key details.
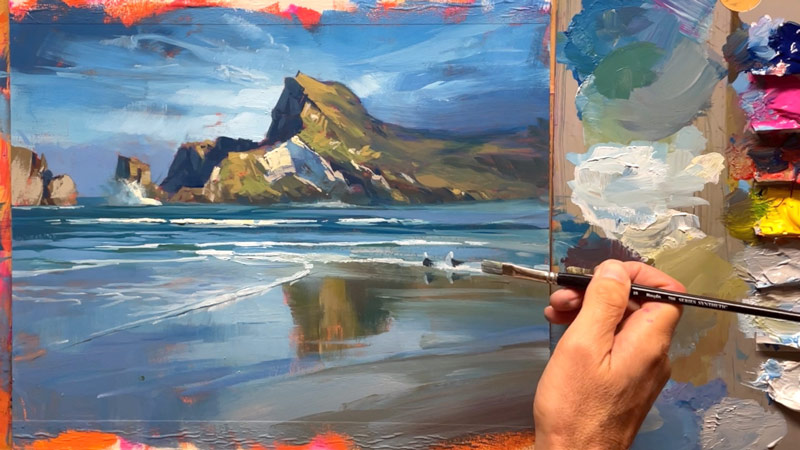
The headland's reflection is key to this painting and it's painted a little darker and warmer than the land using only vertical and horizontal strokes, wet in wet so it softly blurs together. The few crisp details of the foam and gulls help to give scale to the whole scene. That's when you can get your small brush out!
I'll take you step by step through this whole rich process and you can choose which parts you'd like to try out in your own work.
“We keep moving forward, opening new doors, and doing new things, because we’re curious and curiosity keeps leading us down new paths.”
—Walt Disney
Enjoy!
Whenever you’re ready! The lesson is available online any time, and your access to the lesson never expires.
As long as you need! Your access never expires, so you can come back again and again.
Sorry, no you can’t download the video. This is to avoid piracy. You’ll always be able to view the video on this site though.
Richard is a talented full time artist, who loves painting and teaching.
Hi I’m Richard. I’ve been painting my whole life and back in 2001 I traded my graphic design career for the humble life of a full time artist. I love painting, and as it turns out, I love teaching too.
Nowadays I balance my life between parenting, painting, surfing, travelling and teaching. My work is regularly featured in international art magazines, in galleries in New Zealand and America, on TV and in my Mum’s house.
I give outdoor painting workshops in interesting spots around this beautiful planet of ours and love encouraging people to paint. Two of my favourite artists are John Singer Sargent and Joaquín Sorolla.
My painting website: www.nzpainter.com
I’d love to be your new teacher.

Richard is a master artist with an exceptional skill in identifying and communicating key factors to making successful paintings. I have found his video workshops an excellent resource for improving my own work.
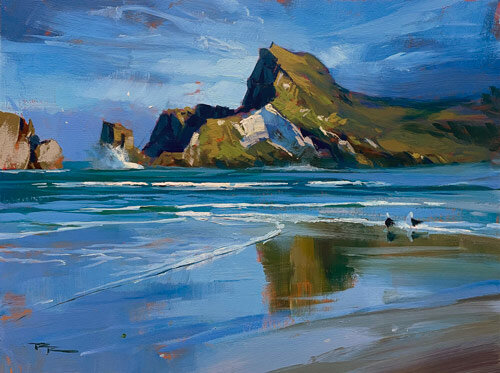
"Castle Point" 12x16" Acrylic on Panel by Richard Robinson
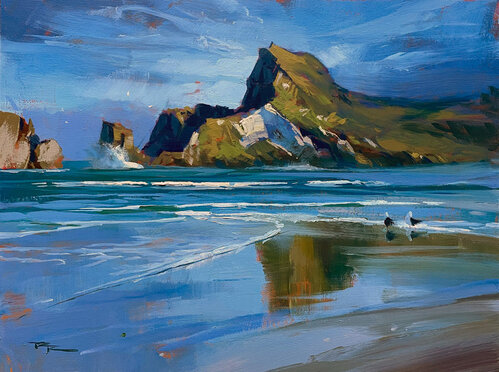
"Castle Point" 12x16" Acrylic on Panel by Richard Robinson
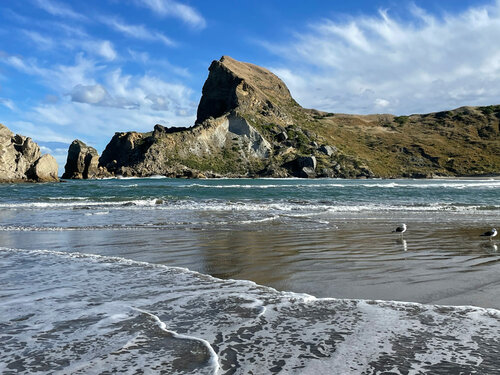
Castle Point, New Zealand
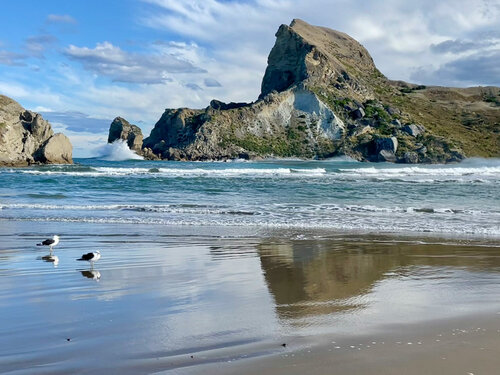
Castle Point, New Zealand
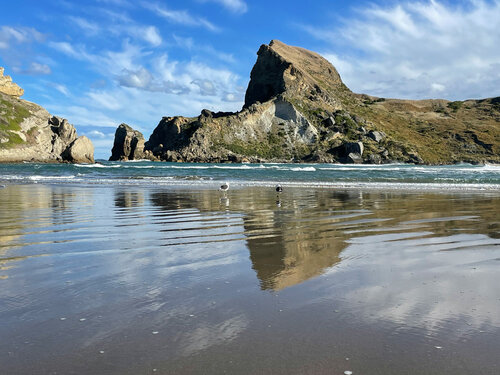
Castle Point, New Zealand
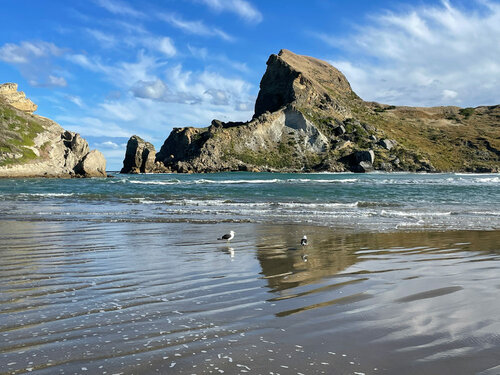
Castle Point, New Zealand
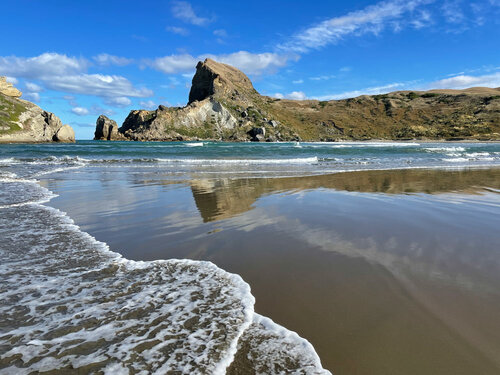
Castle Point, New Zealand
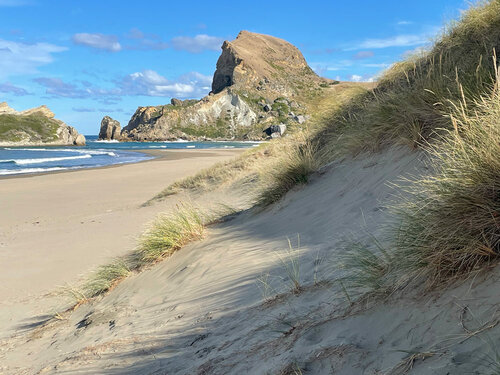
Castle Point, New Zealand
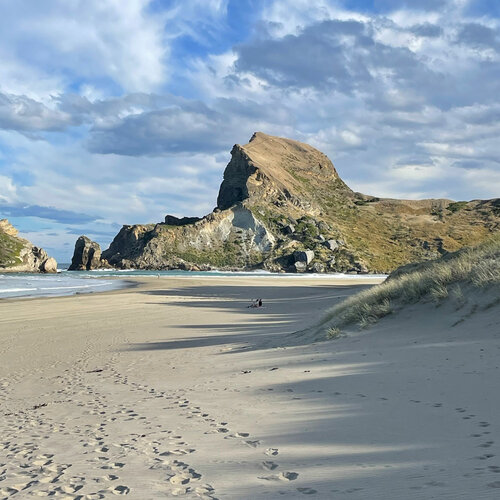
Castle Point, New Zealand
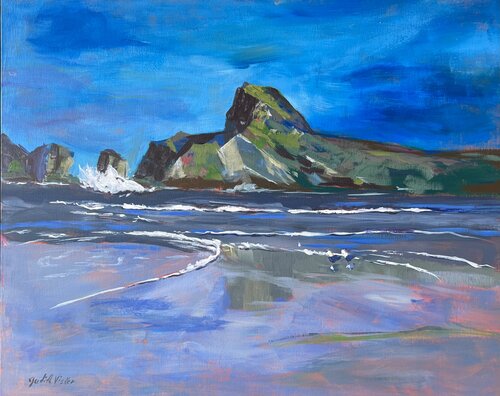
Castle Point- Judith Visker-acrylics
Artist: Judith Visker
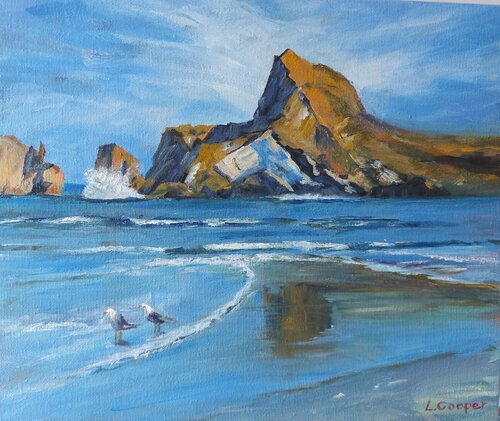
Castle Point
Artist: Linda Cooper
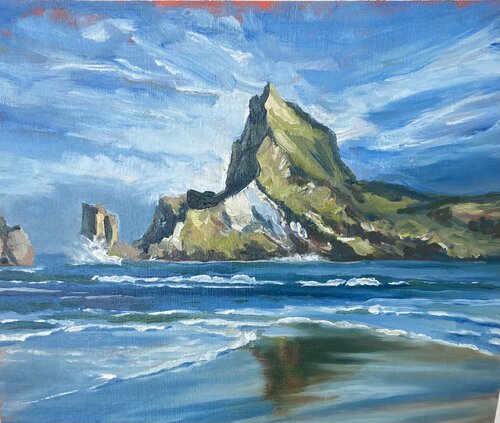
Castle Point in Oils on oil paper
Ooh this is a cracker, Geoffrey! I love the vertical enhancement you’ve made to the hill - much more drama and a better sense of the height of it. It appears that lowering the horizon and giving the hill more space to stretch up was a better idea than mine of giving more lead-in to the hill. The hill is the star of the show, so, yes give it more space as you have done. Nice! You’ve used beautiful fluid brushwork everywhere too, uniting the painting. You have also achieved a great spotlight effect on the hill and in the sky. Congratulations!
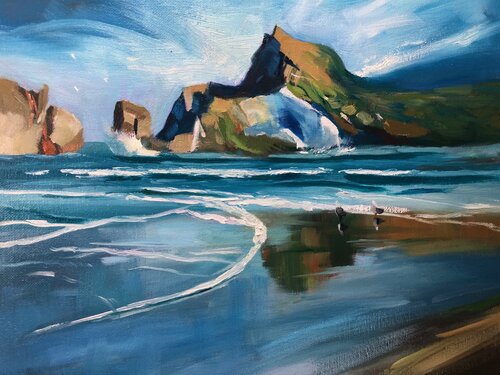
Castle Point Oil on canvas 11x14
Wow that’s a really striking little painting, Nancy, power packed with strong colour contrasts beautiful interesting shapes and bold brushwork. I’m loving it all except for the white lines in the bottom half of the painting. They just look a little heavy handed and laboured compared to the rest. The main culprit is that double pronged lightening shaped foam touching the left side just below half way. Remove or edit that and I’ll sleep better tonight. :-) Beautiful work!
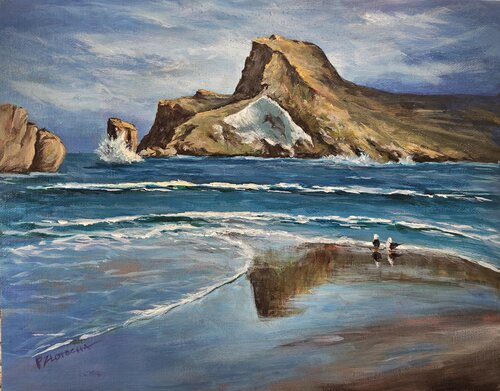
Castle Point Acrylic on 11" x 14" Canvas Board by Patti Zlotocha in Oconomowoc, WI, USA
Great work here, Patricia, with good attention to the transition from shade to light and lots of interesting variety in everything you’ve painted. Nicely done!
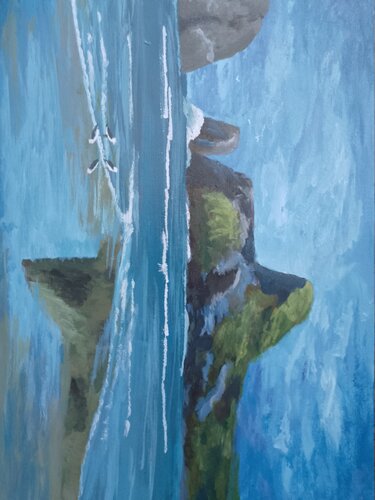
Castle Point after Richard Robinson, acrylic on birch
Hi Rachel, some really nice work here with strong colour and expressive brushwork. Good to see. 3 ideas for improvement: 1. Add more interesting chinks of rock to the profiles of the land. 2. Keep the foam lines in line more carefully and avoid making marks all the same size. 3. Flip the painting upside down or view it in a mirror to clearly see the reflection shape versus the hill shape. Currently they’re not quite in line. Hope that helps.
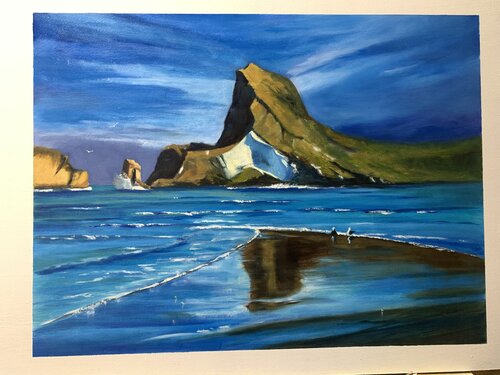
Castle Point , after Richard Robinson . 13x17” oil on panel . Mark Price
Hey Mark, that’s a very dramatic painting with its strong value contrasts, punchy colour and stylised shapes. Interesting how you can direct the eye by inventing light around the scene eh? I’m admiring the strong light on the left rock. I like how you’ve made the hill more vertical too. Nice work. See how that big crack sloping down from the top of the hill looks a little monotonous and therefore man made? Breaking that up a bit will give it a more natural feel. Similarly with any long straight edges on the hill’s profile.
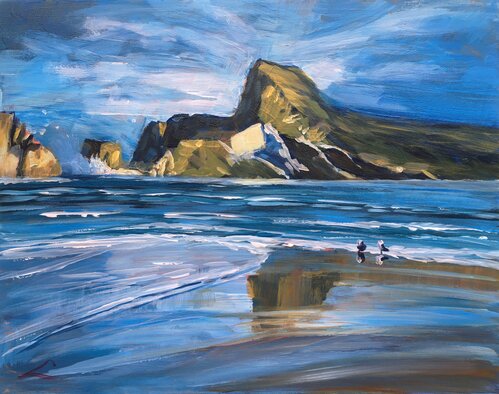
Seascape with rocks, acrylic with oil glazing,canvas, 40 cm x 50 cm
Strong work, Elena - you’ve expressed the big shapes well with bold strokes and a strong spotlight effect. Good to see you got a few sharp chinks of interest in the hill’s edge where it meets the sky. The big cliff could do with a little sharper edge against the sky. The big chunk of light in the middle could do with a bit of texture in it because it’s conspicuously plain as it is. Great job.
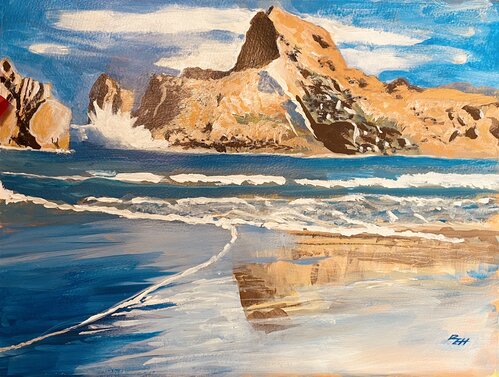
"Castle Point" in acrylics by Eric Hillmer, Toronto, ON, Canada.
Nice work, Eric - all those brown tones in the hill are giving a real sense of warm afternoon light and contrasts nicely with the blues surrounding it. The drawing of the hill is nicely angular and crisp and you’ve made an interesting variety of shapes and texture in the sunlit face. Looks like you had some trouble making soft edges on the crashing wave. That can be achieved in a few ways, by planning ahead and creating those soft small gradations from rock to spray as you paint the rocks, and/or by letting the rocks dry first and then covering them with a thin coat of gloss medium and painting the spray into that while still wet, and/or scumbling the spray on softly with dry ish paint over the rocks (called dry-brush). Be careful with the angle of the base lines on all land touching the water. The rock on the left needs a more horizontal base. Similarly the lines of foam in the midground should be flatter on their bases and lumpy on the top.
Not loving your painting lessons? No worries!
If it’s not the right fit, we’ll give you a full refund within 30 days of purchase - no questions asked.
When you purchase a DVD you also get online access to the same lesson, including any lesson resources like photos, downloadable notes and access to upload your painting to the student gallery.
That's why you need to make a password when you purchase a DVD, so you can access the online content as well. Enjoy!