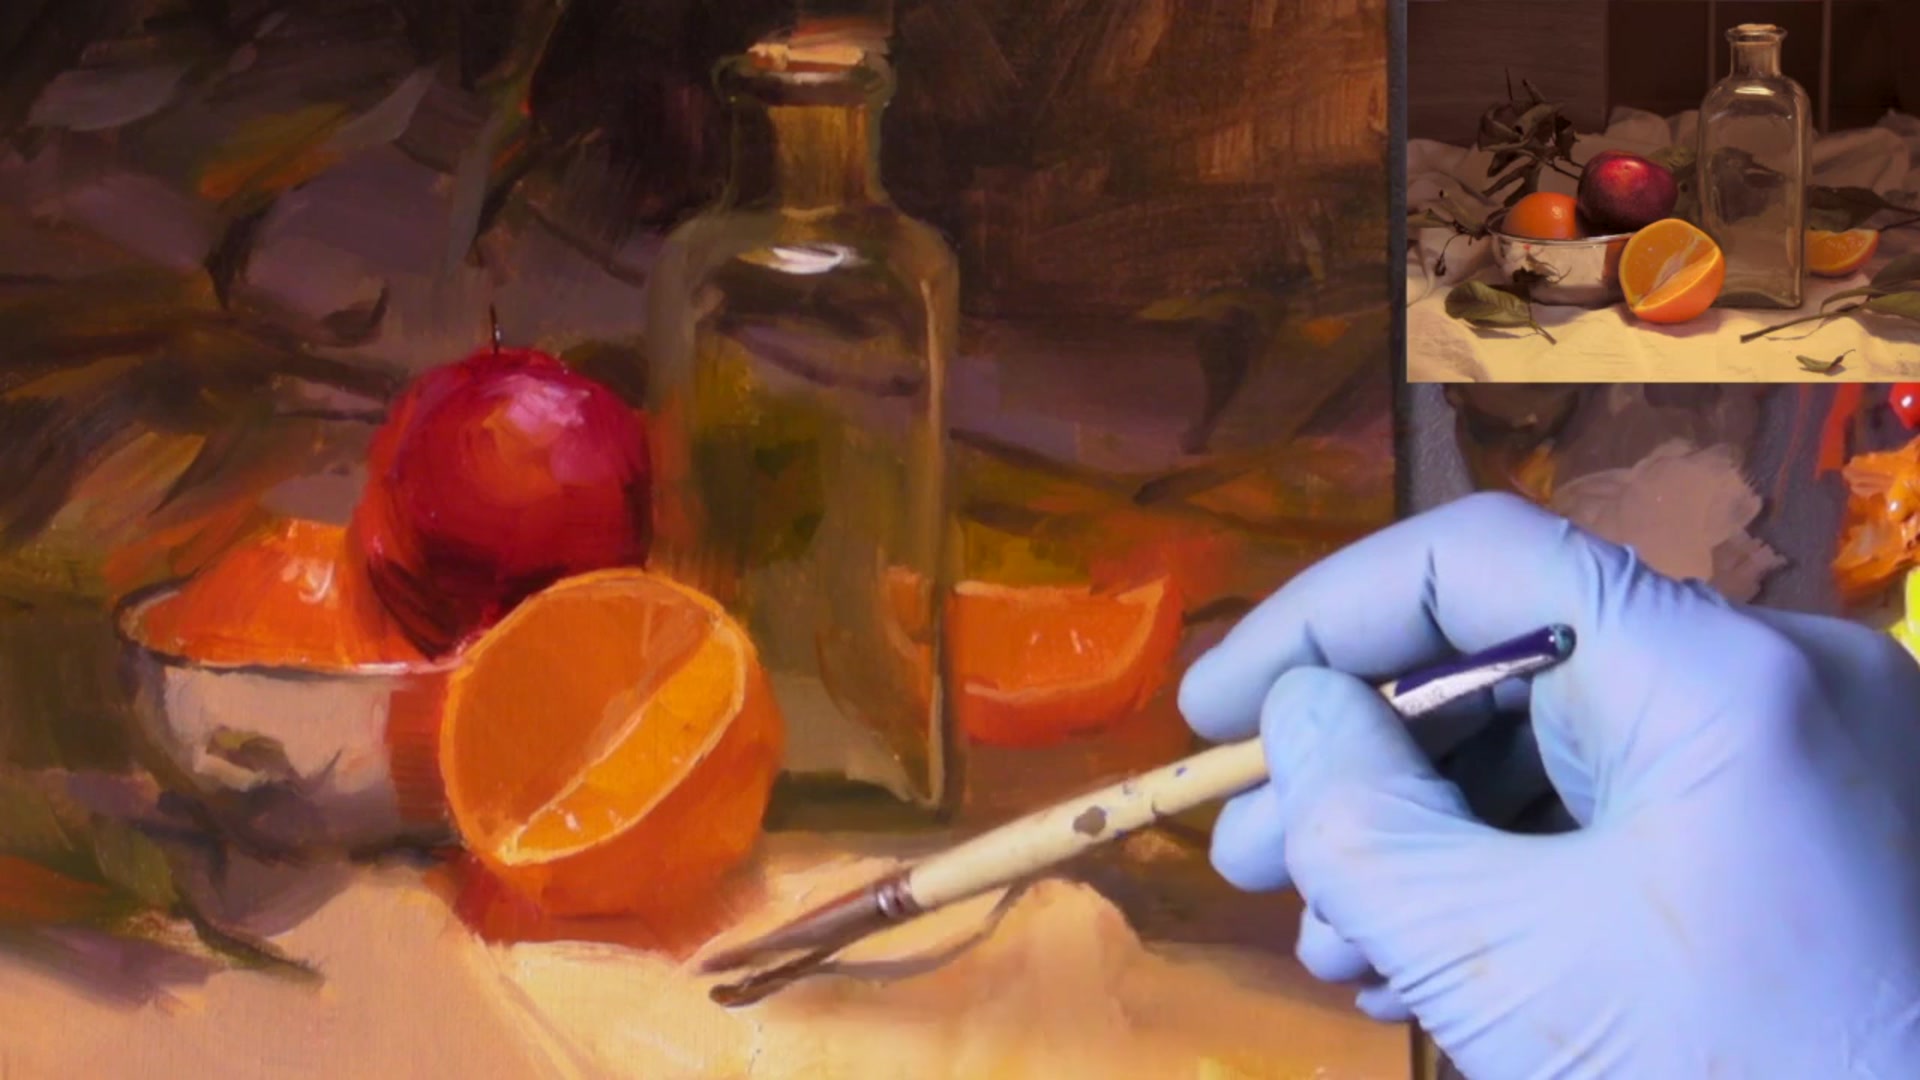
In this chapter, I invite you to tackle the intriguing challenge of painting 'Glass and Steel,' a subject that beautifully combines complexity and elegance. As we delve into this advanced still life painting, you'll find it a bit trickier than previous lessons, but rest assured, it's nothing you can't handle with a bit of practice. If you find yourself needing a refresher, I recommend revisiting our first still life workshop to hone your skills before returning to this one. Here, we will explore the interplay of light and reflection on glass and metal surfaces, a rewarding subject that will enhance your understanding of color, form, and texture. We'll start by setting up a vibrant palette, focusing on oranges and reds to lay down the foundation of our painting. This initial layer will serve as a dynamic undercoat, allowing us to build depth and detail as we progress. By the end of this lesson, you'll have mastered the art of capturing the subtle nuances of glass and steel, bringing your still life paintings to a new level of sophistication.
This guide accompanies the full video lesson. The lesson includes the complete narrated video, the printable PDF chapter, and personalised critique support.
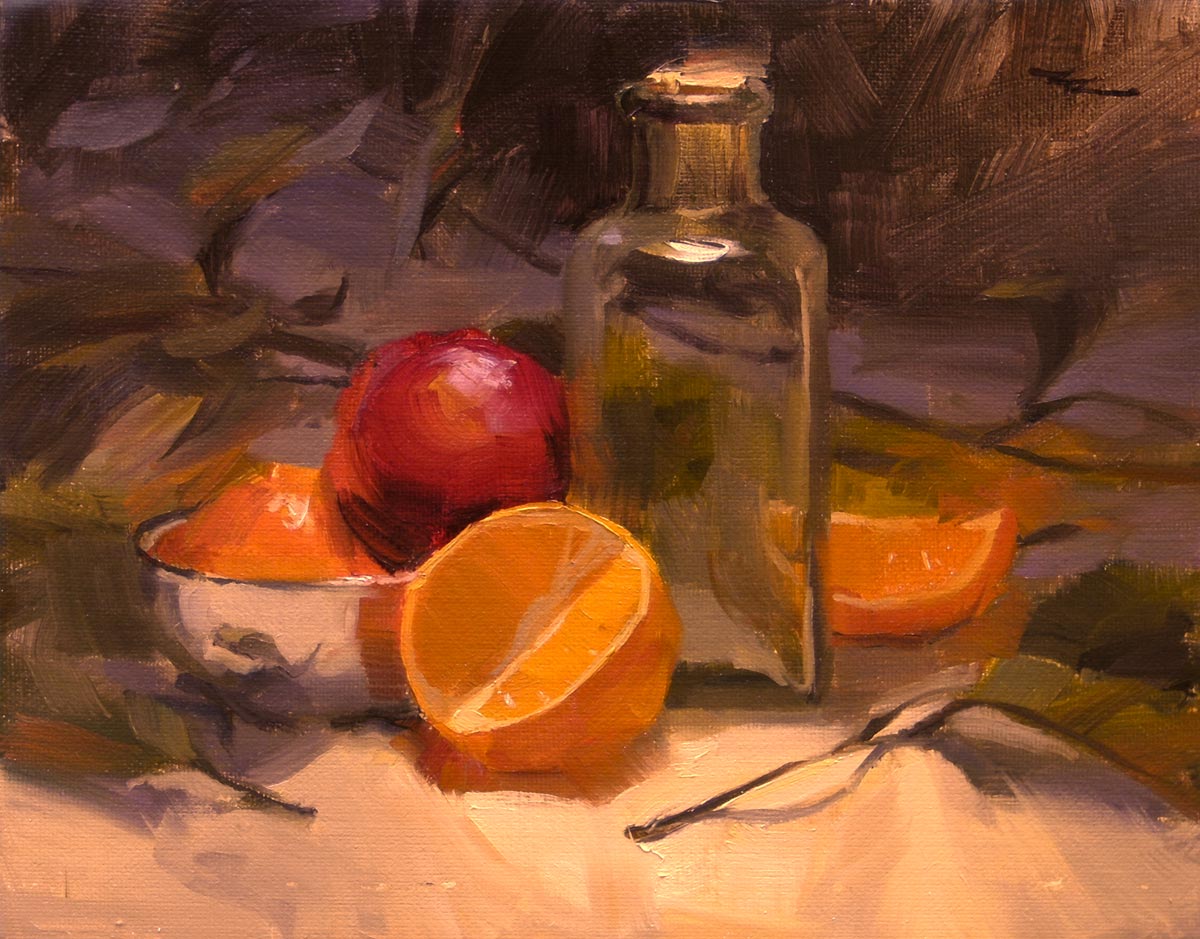
"Glass & Steel" 10x8" Oil on Canvas by Richard Robinson
Step 14Finishing Touches and Signing
Make Final Adjustments
Observe your painting for any subtle differences that need tweaking. Focus on areas that may require a bit more emphasis or adjustment. This is your chance to enhance the painting's overall balance and impact.
Enhance Highlights
Add a little more power to specific highlights to bring certain elements forward. This will help create depth and draw attention to focal points in your painting.
Sign Your Painting
Once satisfied with the adjustments, sign your painting. This marks the completion of your work and adds a personal touch.
Review and Reflect
Step back and review your painting. Even after signing, you might notice areas that need further refinement. Make any final changes if necessary, but remember to eventually put down the brush.
Pro tipEnhance highlights to bring elements forward and create depth.
Embark on your painting journey by establishing a vibrant base with large blocks of color. Use a rag to blend these colors, creating a unified surface that sets the stage for your detailed work. As you progress, focus on setting clear color limits by identifying the darkest darks, lightest lights, and most vibrant hues. This will help maintain balance and harmony throughout your painting.
Approach painting glass and metal as a puzzle, piecing together each section with care. Pay attention to reflections and distortions, ensuring they enhance the realism of your work. Use deliberate brushstrokes to capture the essence of your subject, balancing warm and cool colors to make each element stand out.
In the final stages, refine your painting by adjusting shadows, highlights, and details. Introduce subtle color variations to add depth and interest. Remember to enhance key highlights to bring forward focal points, and don't forget to sign your masterpiece as a mark of completion. Step back and admire your work, making any last-minute tweaks to achieve the perfect balance.
Points to remember
Use large blocks of color to quickly cover the canvas.
Start with more vibrant colors than desired for the final result.
Blend colors with a rag for a smooth, unified surface.
Clean your brush thoroughly when switching from dark to light colors.
Paint glass and metal piece by piece, like a jigsaw puzzle.
Use dark tones to create contrast and make lighter areas stand out.
Concentrate on using fewer, more deliberate brushstrokes.
Balance warm and cool colors to make each other stand out.