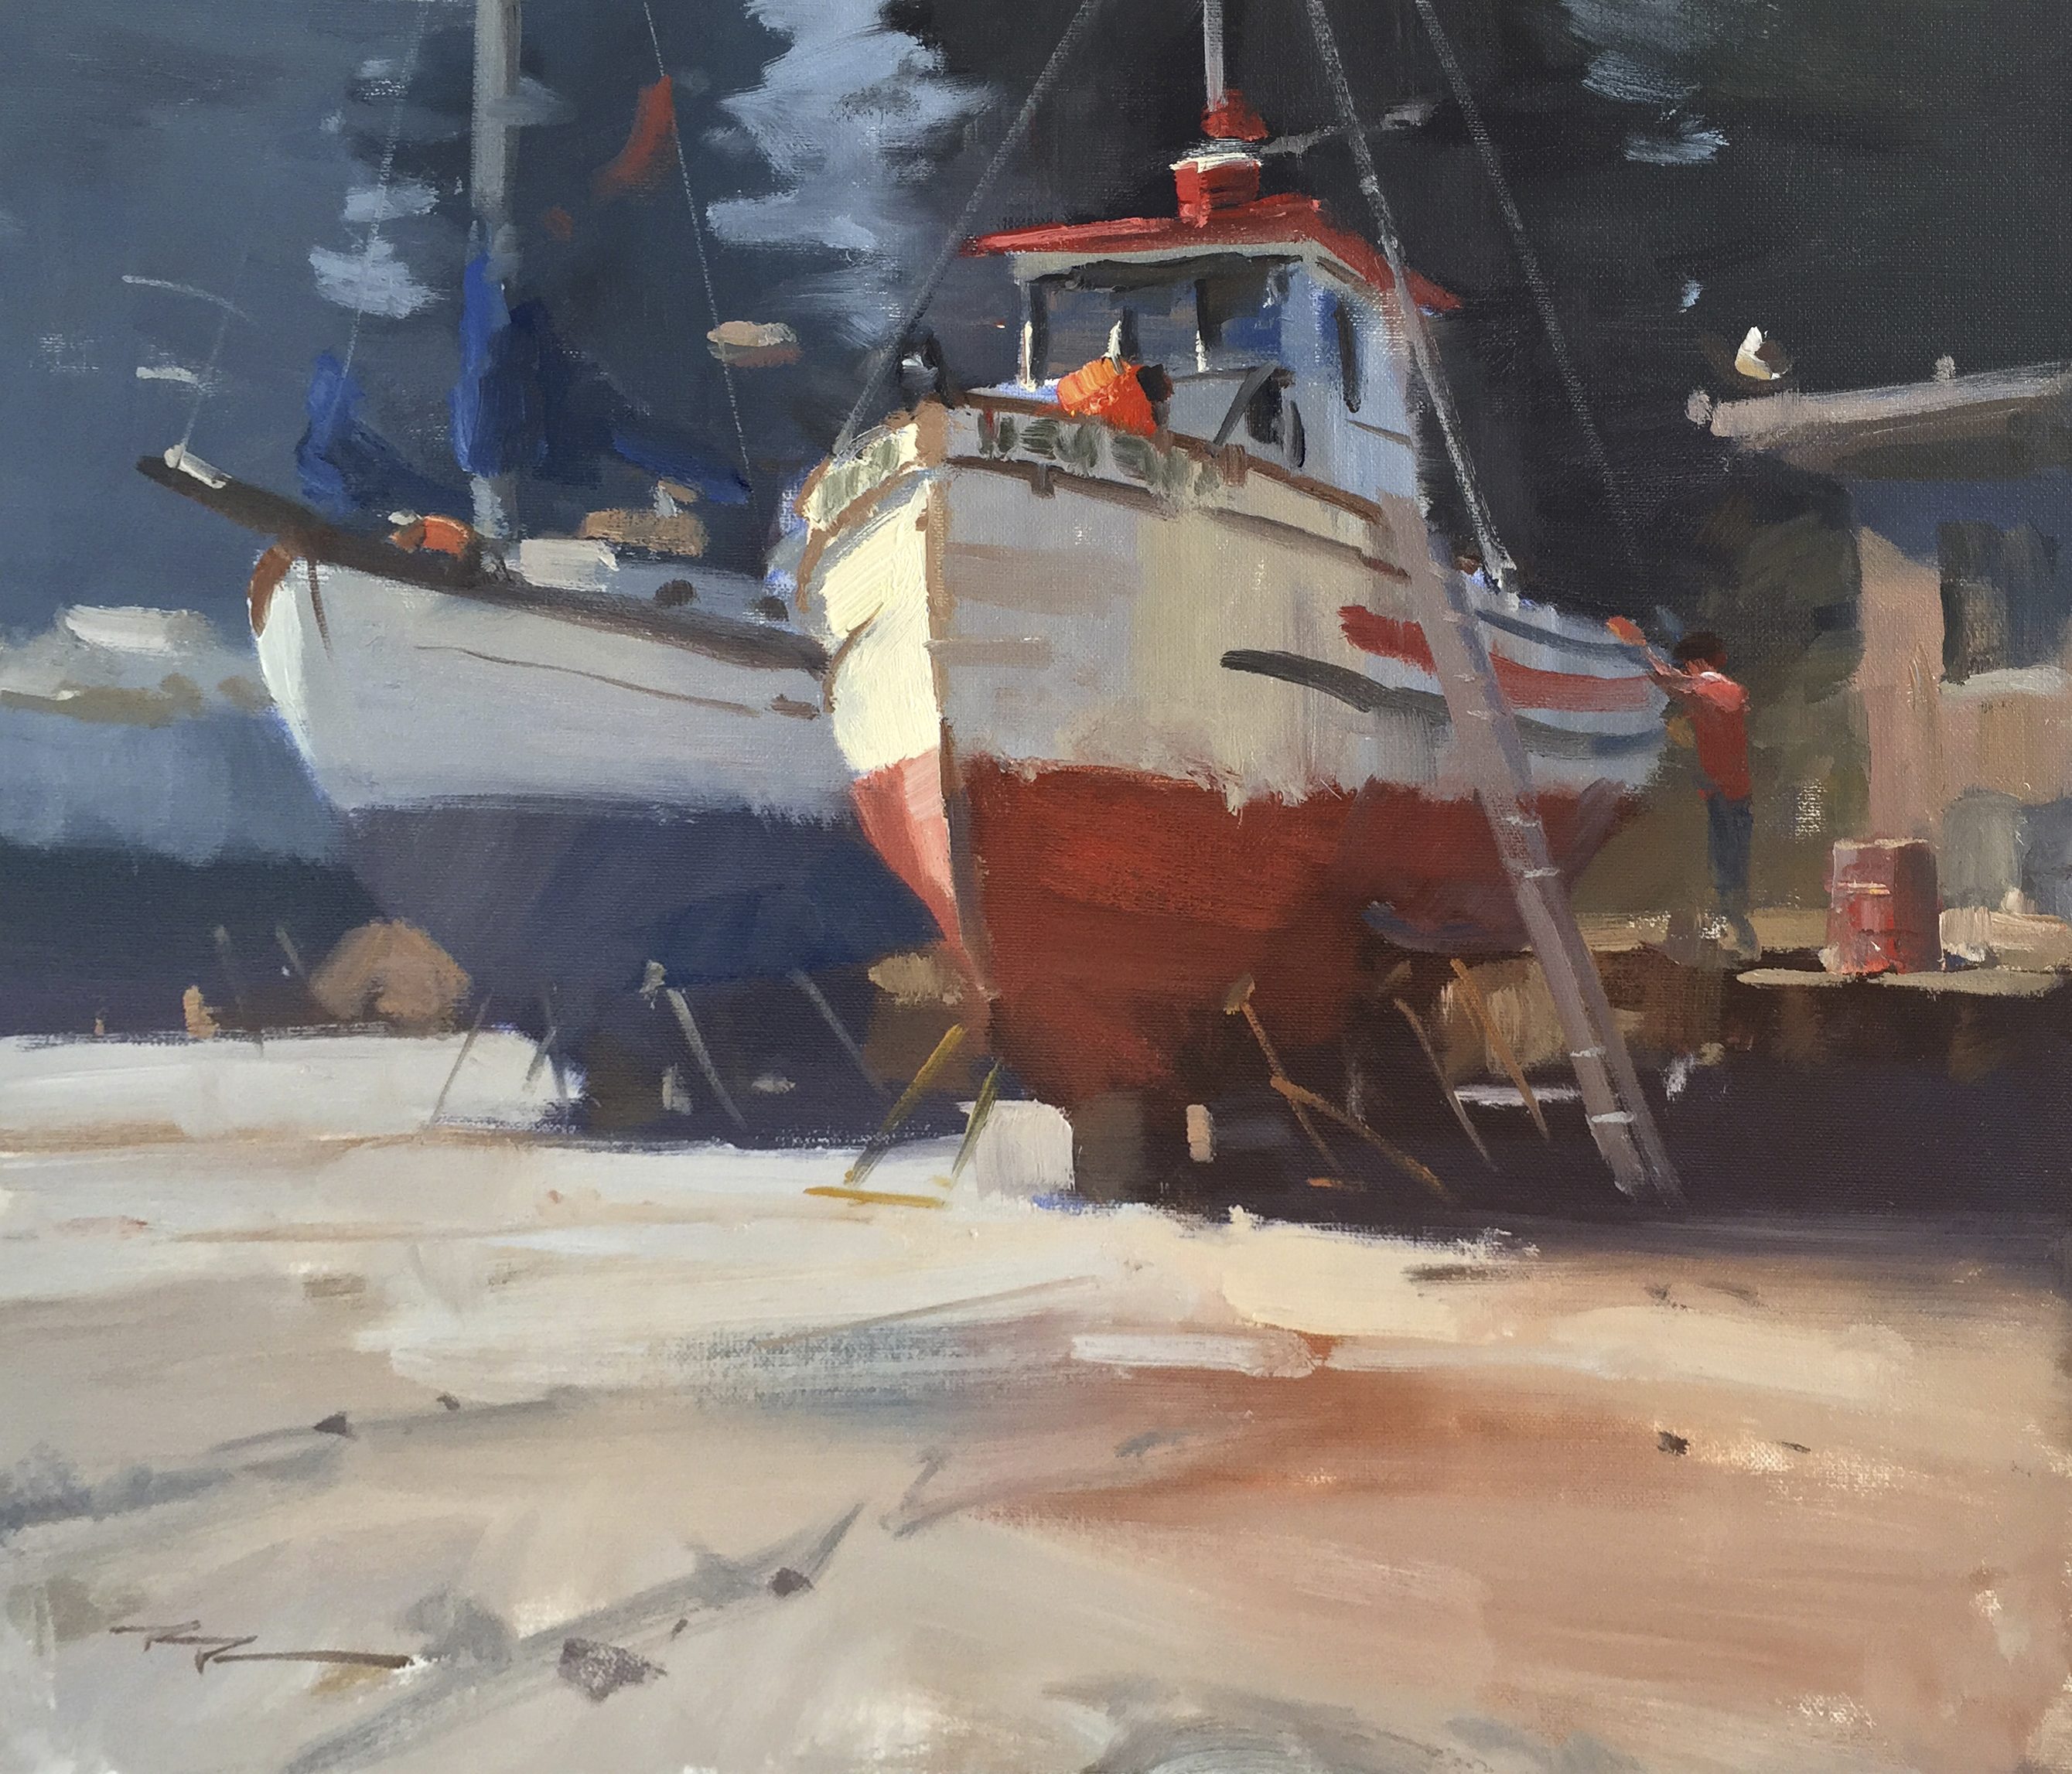
As I stand before my canvas, ready to dive into the vibrant world of painting, I am reminded of the joy that comes from capturing the essence of old boats. In this chapter, we will explore the art of painting a classic boat scene, a subject rich with character and history. With my palette of colors and trusty mediums like M. Graham's Alkyde Walnut Oil and Gamsol, we will embark on a journey to master broad gestural brushwork. You'll learn how to match colors effortlessly and paint with masses, not messes, finishing with calligraphic details that bring your painting to life. We'll start by considering the use of a grid to ensure accuracy, a technique that helps maintain correct angles and proportions. Using Rosemary & Co brushes, we'll focus on capturing the tricky shapes of boats with precision. This scene is a rewarding subject, offering a perfect blend of challenge and satisfaction, and by the end, you'll see how painting like a millionaire can make your artwork shine like a million bucks.
This guide accompanies the full video lesson. The lesson includes the complete narrated video, the printable PDF chapter, and personalised critique support.
"Sunday Repairs" 14 x 16" Oil on Canvas by Richard Robinson.
Step 8Adding highlights and final touches
Re-establish Darks
Add a few more darks in the painting to enhance depth. Be cautious not to make them too dark, as they should not overpower the light areas.
Prepare Highlight Mixture
Clean your brush thoroughly and scrape off an area on your palette for mixing. Combine a generous amount of titanium white with a bit of bright yellow and yellow ochre for a thick, impasto mixture.
Apply Highlights
Use the prepared mixture to add highlights, ensuring they are thick and textured. Tone the highlights with a little blue and brown to prevent them from competing with other elements.
Create Calligraphic Strokes
Roll the brush as you apply the highlight to create a calligraphic stroke. This technique captures the shape of the front of the boat effectively.
Add Reddish Orange Light
Incorporate some very light reddish orange into the highlighted areas to enhance the light effect.
Pro tipRoll the brush while applying highlights to create dynamic, calligraphic strokes that capture shapes effectively.
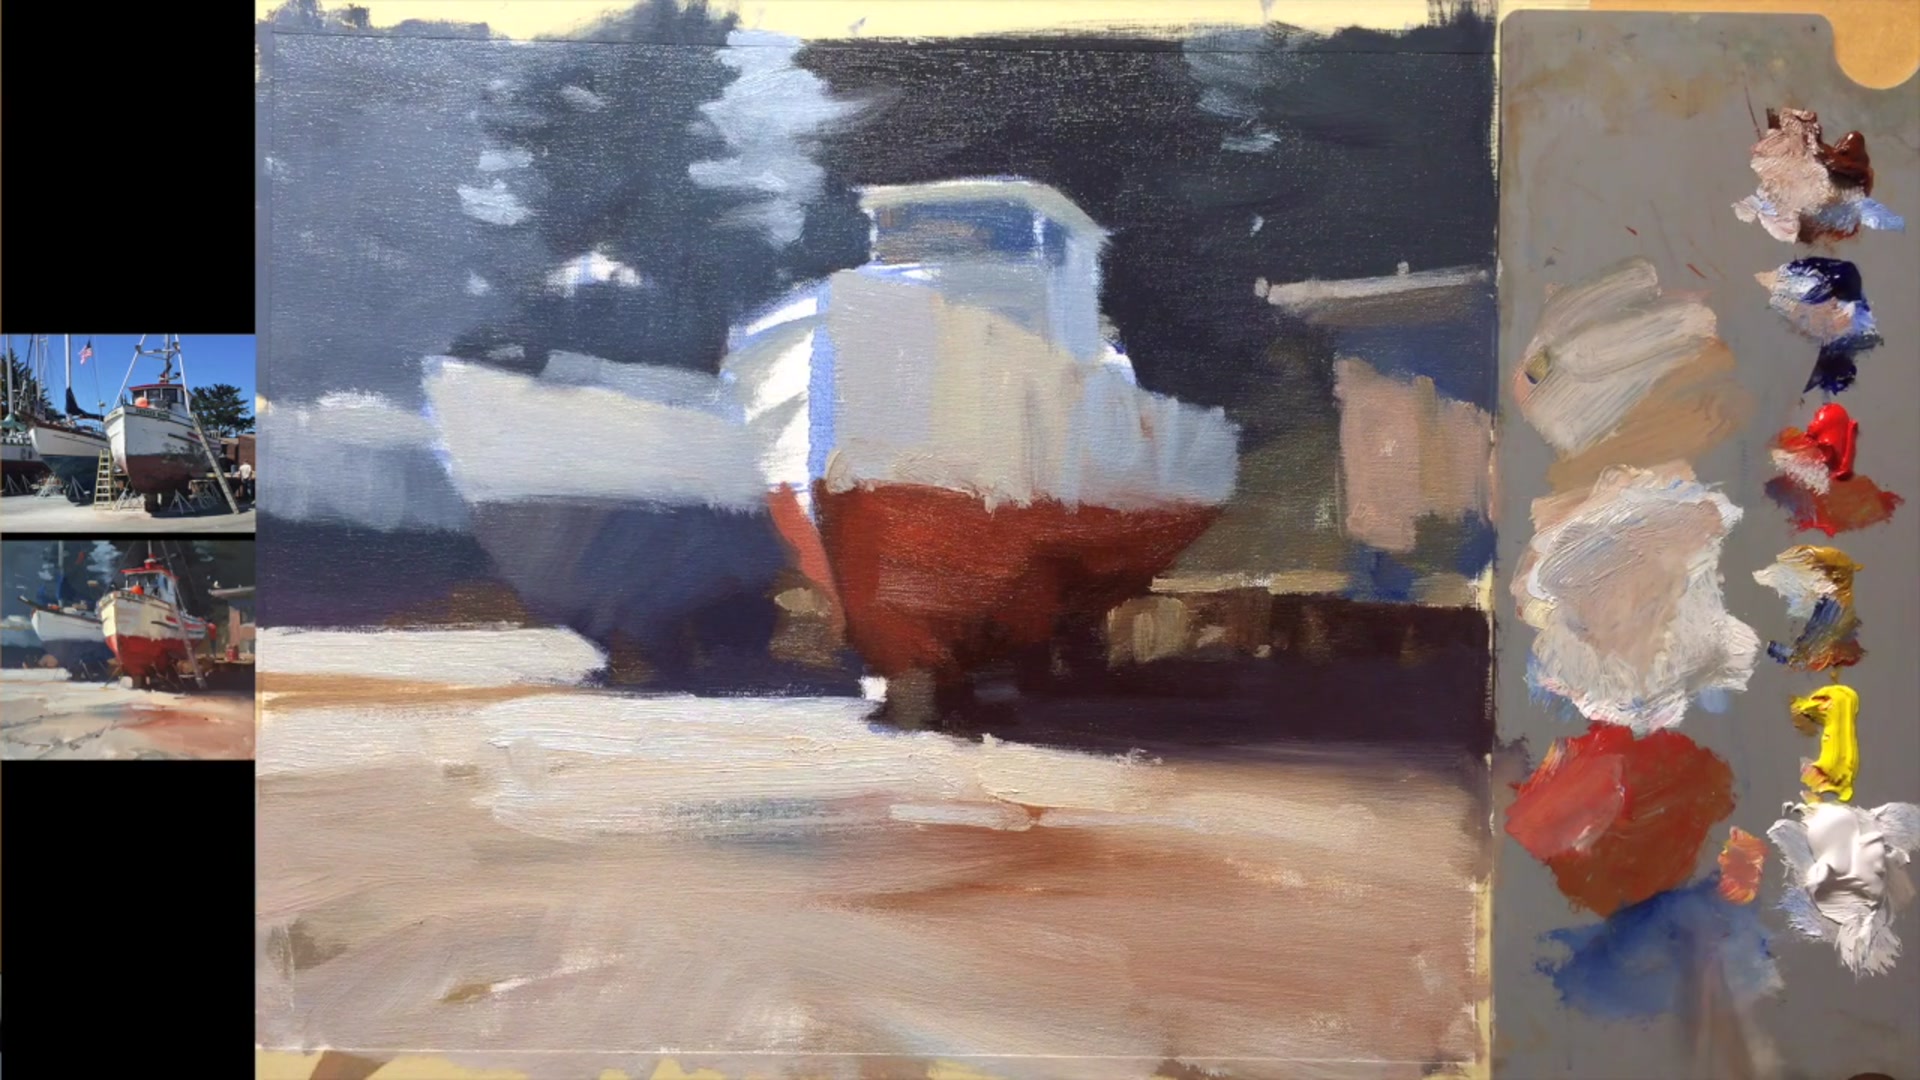
Embark on your painting journey by carefully sketching the fishing boats using a grid technique for accuracy. This foundational step ensures that your drawing is precise and ready for the layers of paint to come. As you block in the darkest darks, use broad strokes to establish the large shapes and transitions in light and shadow, setting the stage for the depth and dimension of your painting.
As you progress, focus on capturing the interplay of shadows and reflections, using a mix of colors to reflect the surrounding environment. The background should be painted with loose strokes, creating a contrast that highlights the detailed foreground. Pay attention to color checking and mixing greys, using quick glances and squinting to ensure color accuracy and harmony throughout your piece.
In the final stages, add highlights and finishing touches with dynamic, calligraphic strokes that bring your painting to life. Use thicker paint for light areas to add texture and interest, and incorporate shorthand marks to suggest details without overwhelming the composition. With these techniques, your painting of fishing boats will capture the essence of the scene with depth and vibrancy.
Points to remember
Grid your reference image and canvas for accurate drawing.
Use big, broad strokes to capture large shapes and transitions.
Add a touch of yellow ochre to reflect warm light bouncing from surroundings.
Use loose strokes in the background to contrast with detailed foreground.
Squint at your painting and reference photo to judge values and colors.
Use thicker paint for light areas to add texture and interest.
Roll the brush while applying highlights for dynamic strokes.
Use shorthand marks to suggest details from a distance.