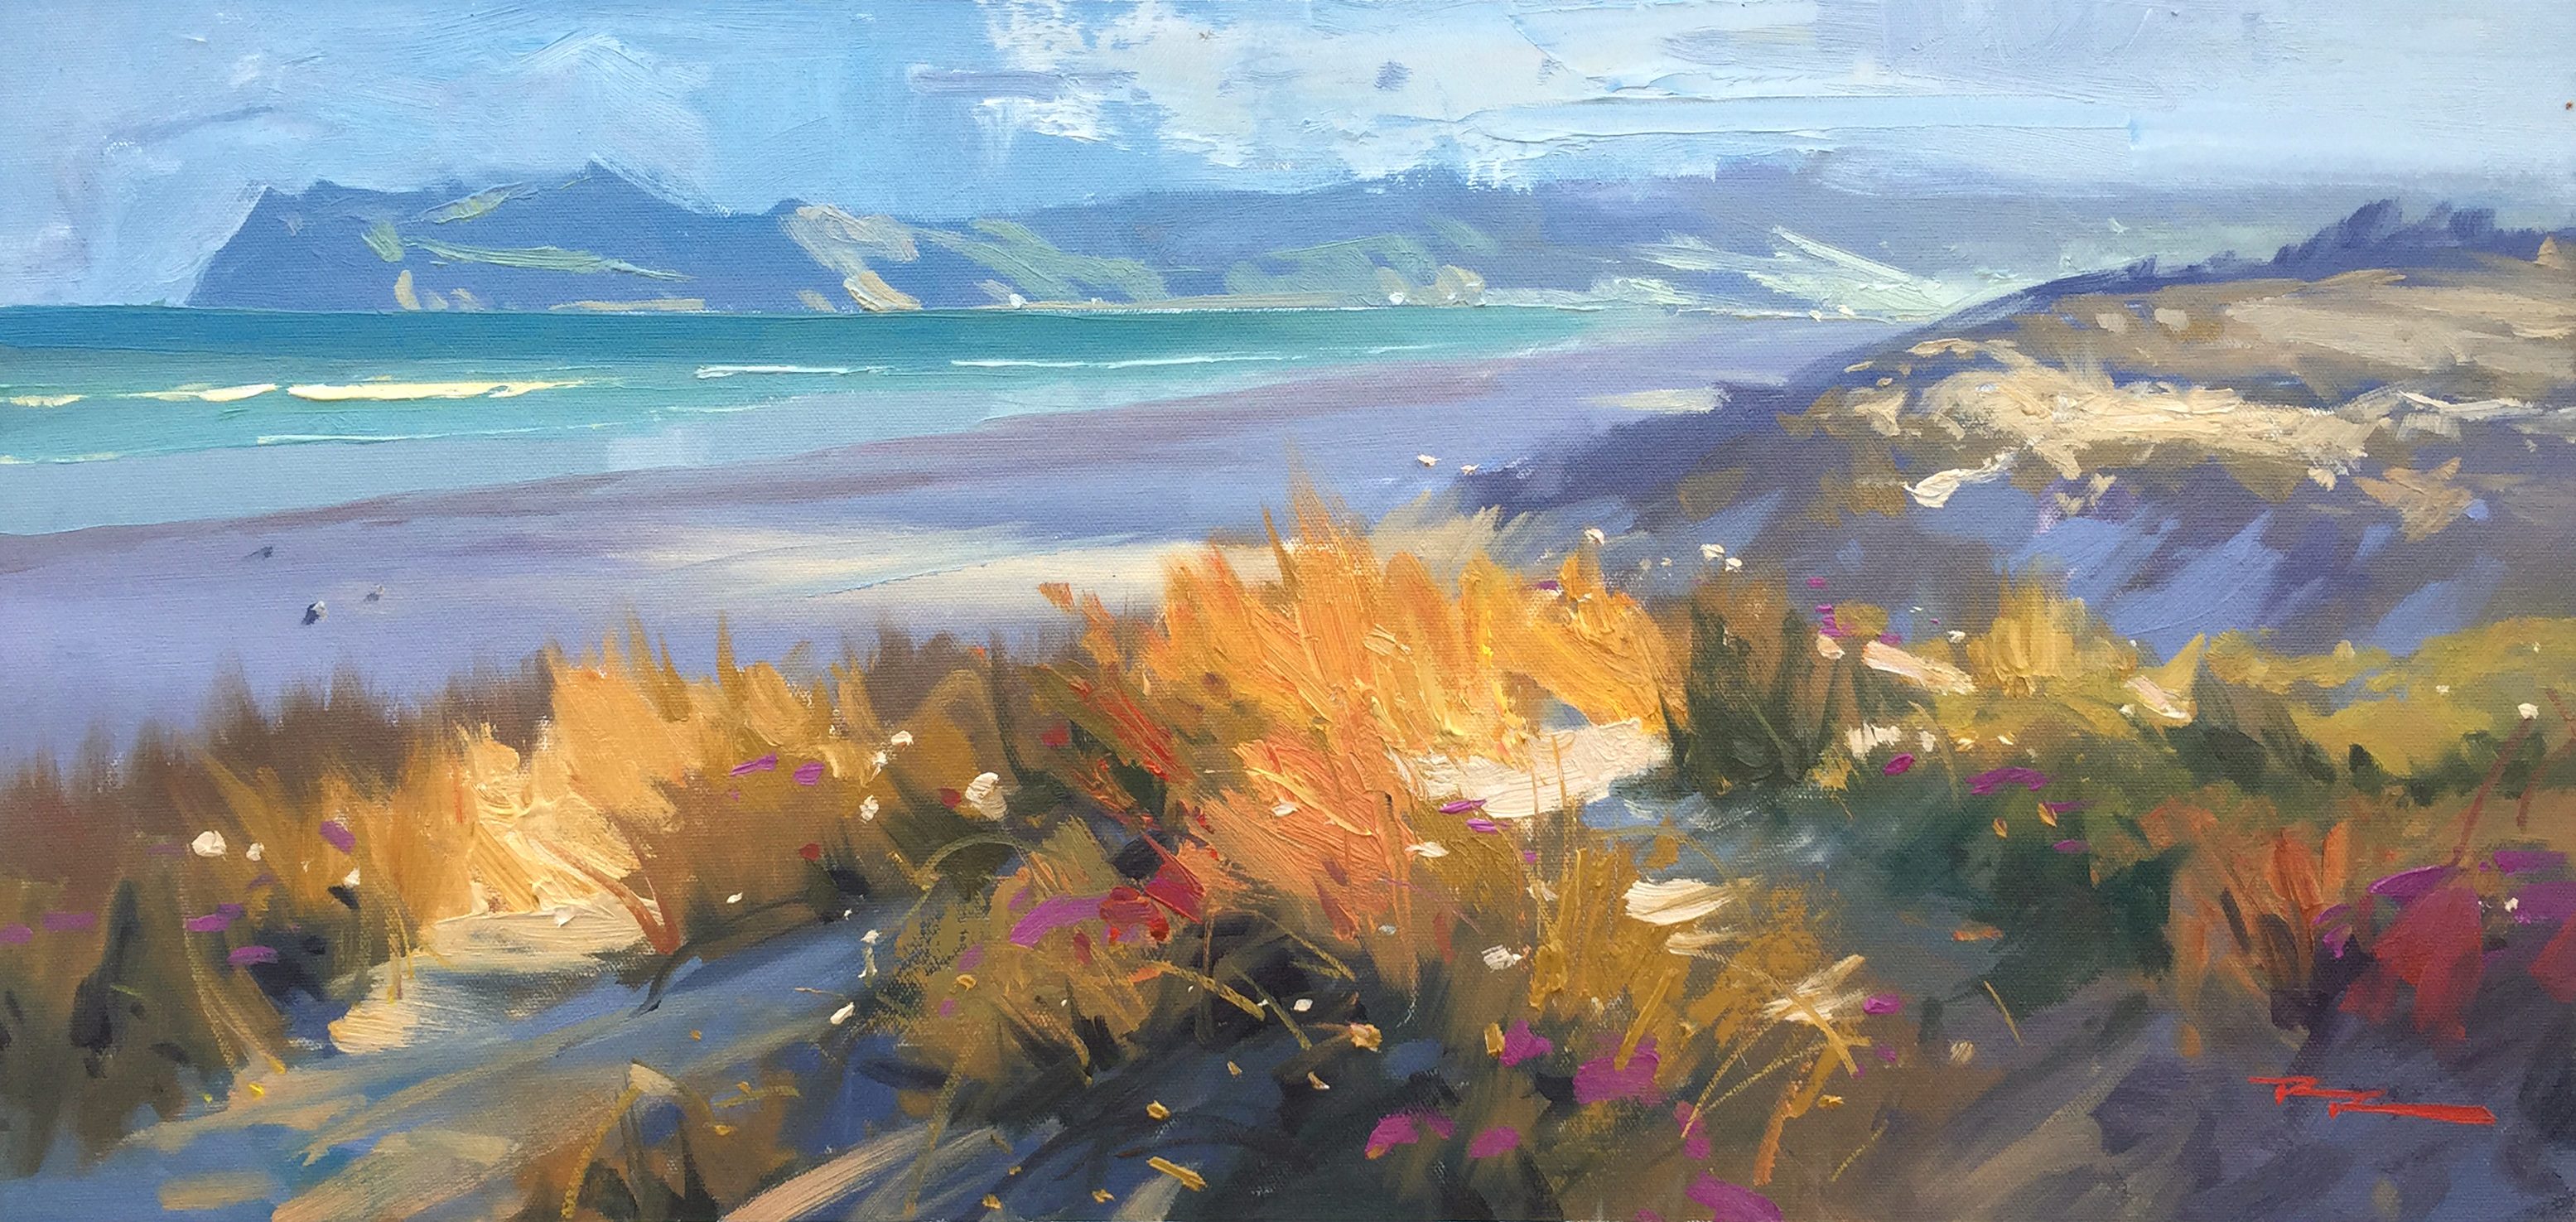
As we gather our brushes and palettes to capture the enchanting beauty of the 'Sunset Dunes,' we're stepping into a scene that offers a wealth of learning opportunities and artistic satisfaction. This chapter invites you to join me in painting a sumptuous, impressionistic beach scene, set against the backdrop of a beautiful evening at the end of summer. Together, we'll explore the art of designing with large organic shapes and the efficiency of using pre-mixed grays to speed up your painting process. You'll discover the magic of color variety within big masses and learn to harness the power of warm and cool color contrasts to make your colors more vibrant than nature itself. We'll dive into the rich textures achievable through varied brushwork, including the use of a palette knife and the technique of under-mixing paint. I'll guide you in creating dynamic compositions by balancing soft and hard edges and introduce you to the wonders of atmospheric perspective and dramatic light effects. Whether you follow along with the provided resource photos or let these techniques inspire your own creations, this scene promises to be a rewarding subject for your artistic journey.
This guide accompanies the full video lesson. The lesson includes the complete narrated video, the printable PDF chapter, and personalised critique support.
"Sunset Dunes" 11.5 x 25" Oil on Canvas by Richard Robinson.
Step 8Painting the Hills
Define the Hill Contours
Invent the contours of the hills while keeping an eye on the mountain's shape to inform your design. Use thick paint to cover the canvas quickly, as the sun is setting. Apply horizontal and vertical strokes, varying the edges between sharp and soft to create interest.
Adjust Contrast and Color
Gradually lighten and warm the hills as they approach the sun by adding white, yellow ochre, and a touch of red. Use a lot of white paint for thickness, ensuring a rich texture. Blur some edges for a softer transition.
Add Gestural Details
Use a palette knife to introduce more gestural interest in the painting. Add darker shapes over lighter areas for variety. Create thin and thick lines with the edge of a flat brush to enhance the texture.
Create Light and Shadow
Add a touch of bright yellow to create greenish tones where the light hits the hill. As the hill recedes, blend in ultramarine and yellow ochre to mimic the hill's color. Consider the light direction, highlighting the sides of the hills.
Introduce Cliffs and Detail
Use a synthetic brush to paint cliffs with blue, burnt sienna, and yellow ochre. Apply thick paint and blend to create ambiguous detail. Add small points of light to suggest distant details like houses, enhancing the painting's depth.
Pro tipUse the edge of a flat brush to create varied brushwork, achieving both thin and thick lines for added texture.
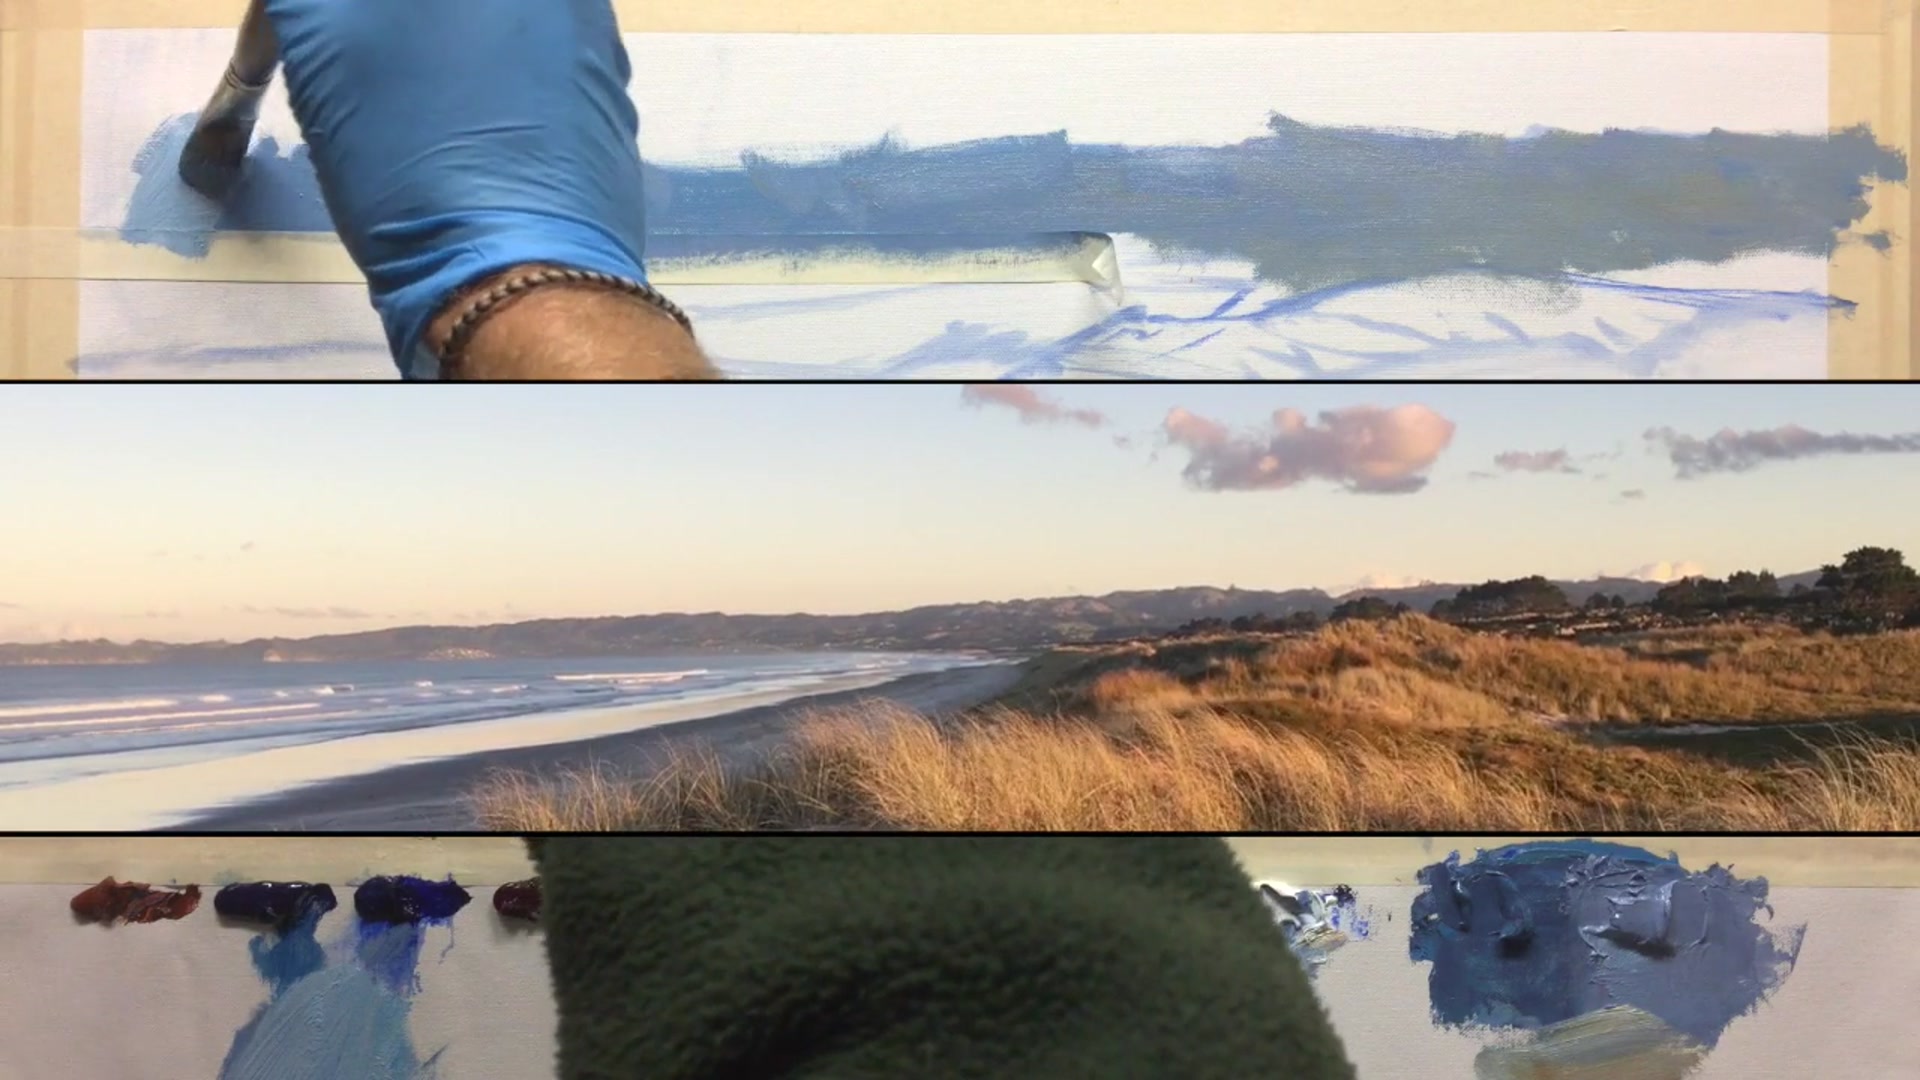
Embark on your painting journey by setting up your outdoor workspace with care. Begin by ensuring your canvas is protected from the elements with an umbrella, and manage your materials to prevent them from becoming a hazard in the wind. As you start painting, keep your canvas in the shade to maintain color accuracy and avoid glare. This preparation sets the stage for a successful painting session.
As you move into the creative process, focus on designing your composition with big shapes and varied angles to create a dynamic scene. Use a limited palette to simplify your color choices, and employ flat brushes for both broad strokes and precise lines. Pay attention to the play of light and shadow across your canvas, using cool greys and warm tones to bring depth and interest to your painting.
In the final stages, add details that bring your scene to life. Use a palette knife for crisp wave details and soft brushwork for gentle transitions in halftones and shadows. Remember to adjust your colors and shapes to reflect the natural beauty of your subject, and don't be afraid to make bold choices that reflect your personal vision. With these techniques, your painting will capture the essence of the sunset dunes, full of texture and vibrancy.
Points to remember
Always paint with your canvas in the shade to avoid unexpected darkening when viewed indoors.
Use flat brushes for both broad strokes and precise lines by utilizing their chiseled edge.
Vary angles and shapes to create a more interesting composition and avoid repetition.
Use a large palette to have ample space for mixing and experimenting with colors.
Use masking tape for a straight horizon line when painting quickly to maintain accuracy.
Strengthen the ocean color to your preference; it's your creation, so don't feel bound by nature.
Maintain the same value while changing hues to add variety and interest to your painting.
Use soft brushwork to maintain gentle transitions in halftones and shadows, saving sharp edges for later.