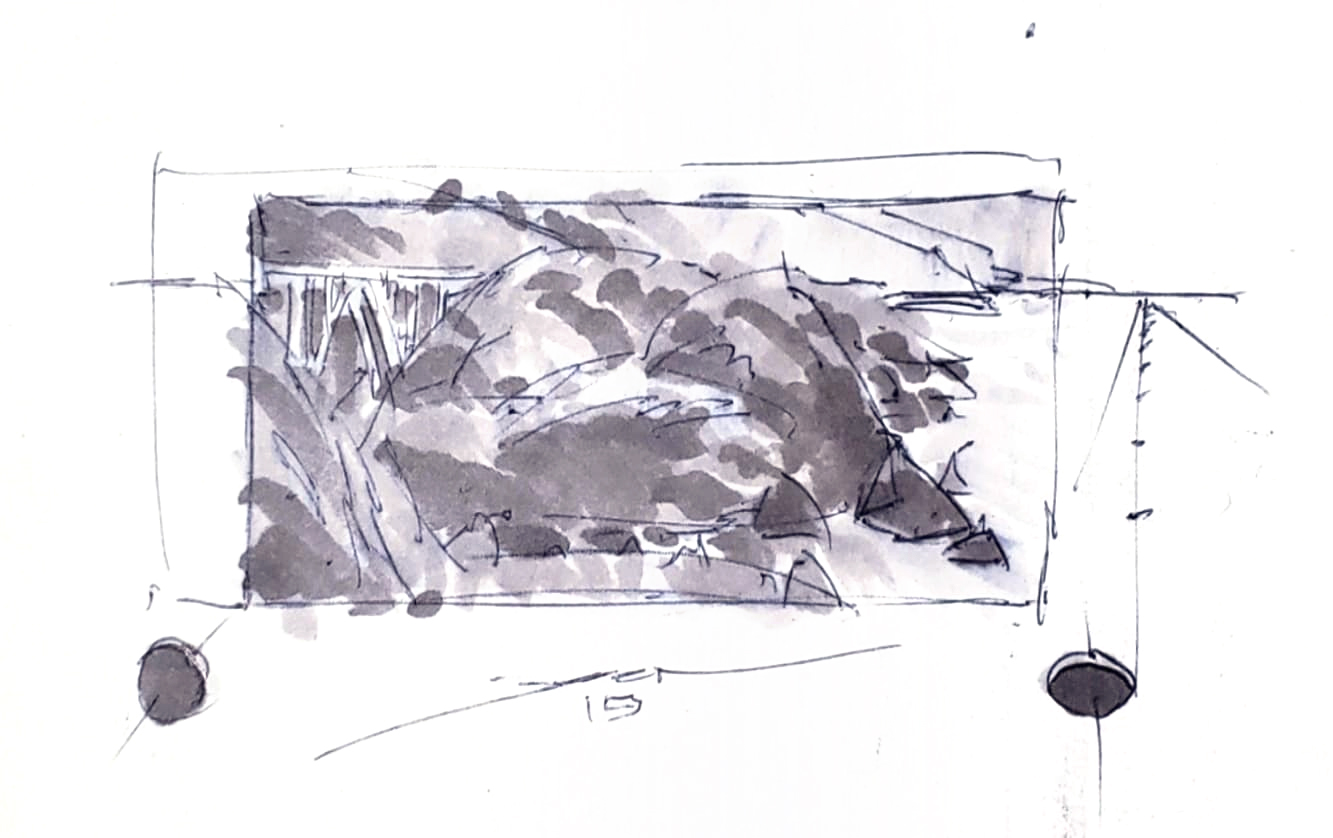
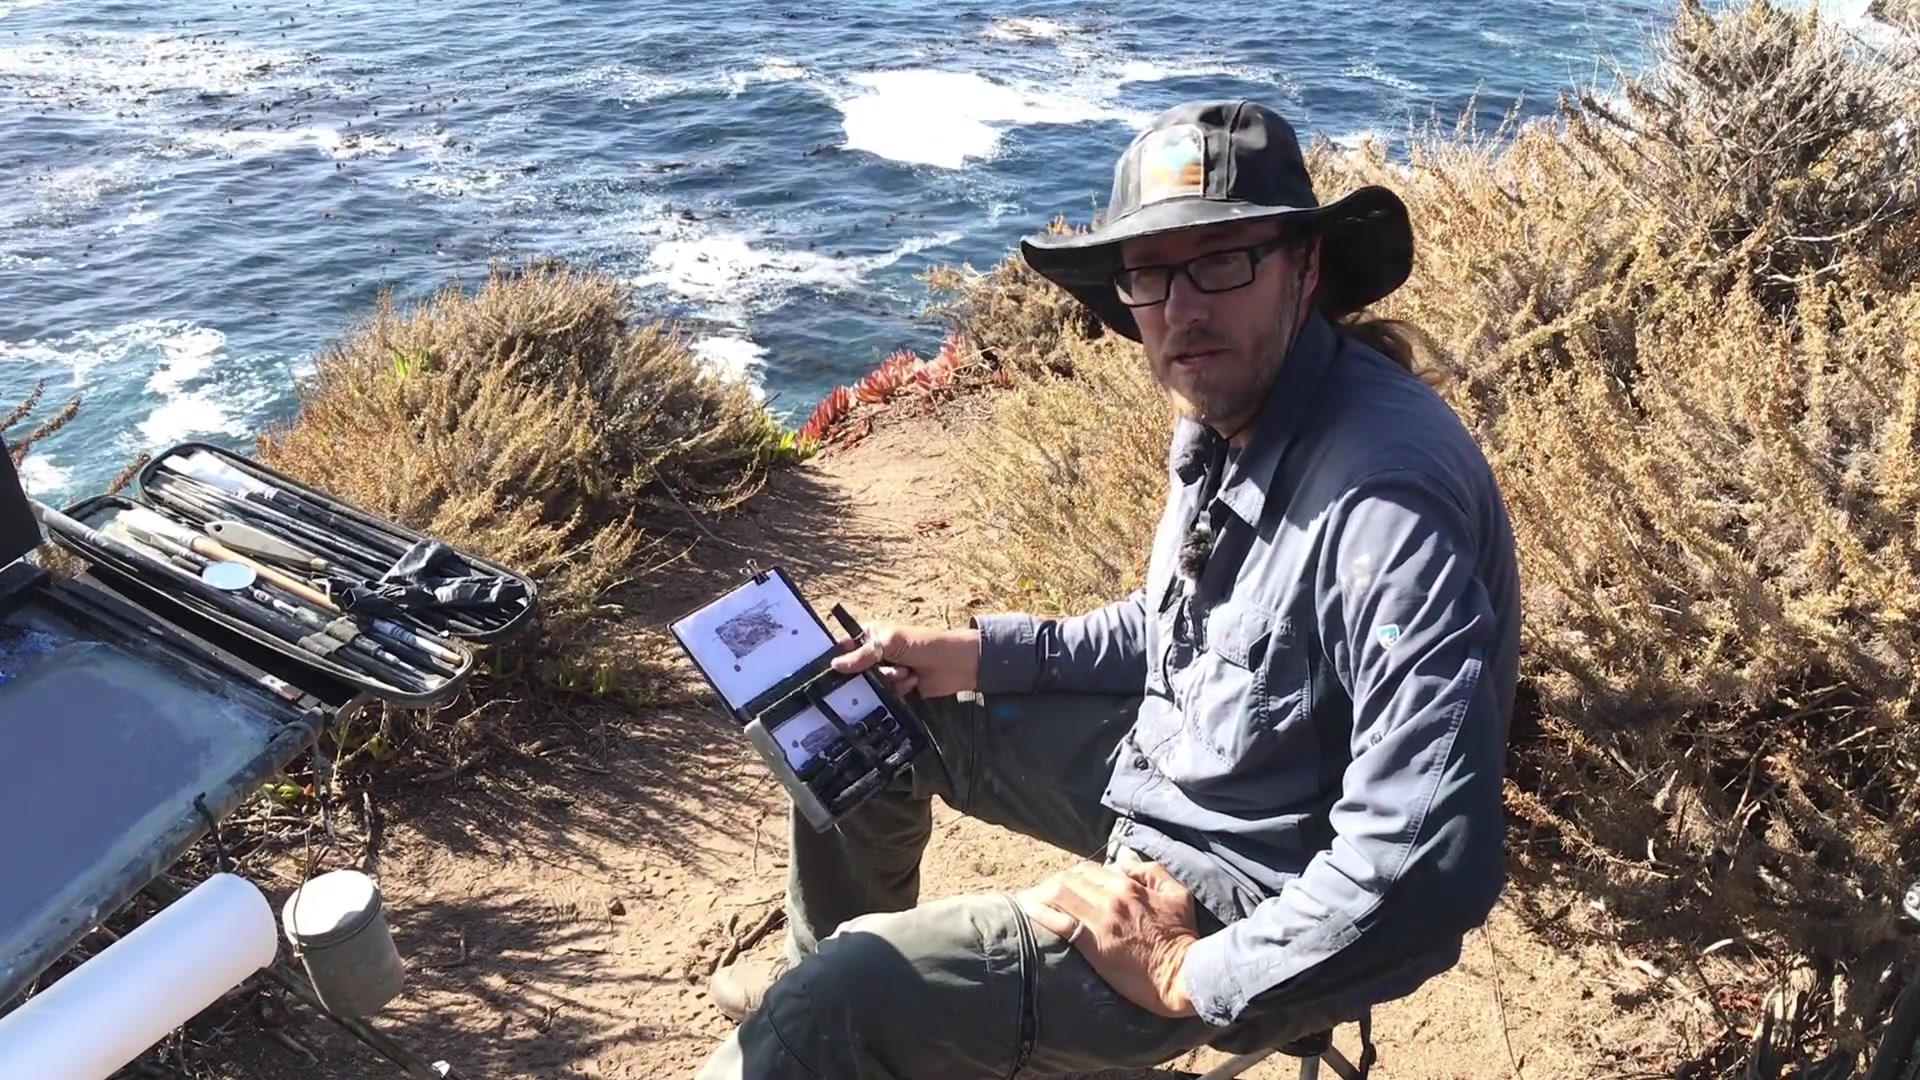
In this chapter, I invite you to join me along California's breathtaking coastline, where we'll delve into the art of painting with an efficient 'order of operations.' This approach is essential for enhancing your painting skills and maximizing the joy each piece brings. We'll explore the painterly style of master artist Joshua Been, focusing on the key elements of value, shapes, and edges to describe form, light, and viewpoint. To support your creative journey, I recommend using the Day Tripper easel, a product of my own design from Prolific Painter, known for its lightweight and sturdy build. As we work, you'll find tools like the Forever Terp Jar and a selection of rosemary ivory long flat brushes indispensable for achieving the desired effects. We'll begin with a preliminary sketch, a vital step for organizing your thoughts and planning your composition. By drawing a box that matches your canvas's aspect ratio, you'll better focus on the organization and placement of masses in your painting, setting the stage for a rewarding artistic experience.
This guide accompanies the full video lesson. The lesson includes the complete narrated video, the printable PDF chapter, and personalised critique support.
Add a personal signature and write a few notes about your painting experience. This personal touch helps build a connection with your collectors and shows them that you value their support.
Prepare Your Artwork
Purchase mats online, which are available for about 30 cents each. These mats often come with bags, making it easy to package your artwork without needing frames.
Send to Collectors
Place your artwork in the mat and bag, then send it to your collectors. This gesture shows them that you appreciate their support and keeps them engaged with your art journey.
Pro tipUse affordable mats and bags to present your artwork professionally without the need for frames.
Embark on your painting journey by thoughtfully organizing your composition. Begin with a preliminary sketch and a boxed frame to guide your layout. Assess the horizon and light direction using simple shapes like spheres to understand the interaction of light and shadow. This foundational work sets the stage for a cohesive and well-planned painting.
As you progress, focus on blocking in major shapes and using incremental value markers to establish depth and contrast. Start with lighter values and work your way to darker tones, ensuring that your composition remains balanced and harmonious. Use pre-sketches to refine your ideas and potentially add value to your work as sellable art.
Finally, pay attention to the order of operations. Move from the background to the foreground, applying lighter values first to create natural overlaps. Use your palette wisely, mixing colors to achieve the desired hues and maintaining a harmonious relationship between them. By planning your approach and focusing on the essential elements, you can create a painting that tells a compelling story through its shapes, values, and textures.
Points to remember
Always start with a box to organize your composition.
Use spheres to visualize light direction and shadow.
Use a pre-sketch to manage space and avoid oversized elements.
Apply lighter values first to create depth and contrast.
Use pre-sketches to add value and provenance to your paintings.
Paint from back to front to create natural overlaps.
Overshoot shapes with lighter values to simplify adding darker details.
Plan your painting process to apply darker values over lighter ones.