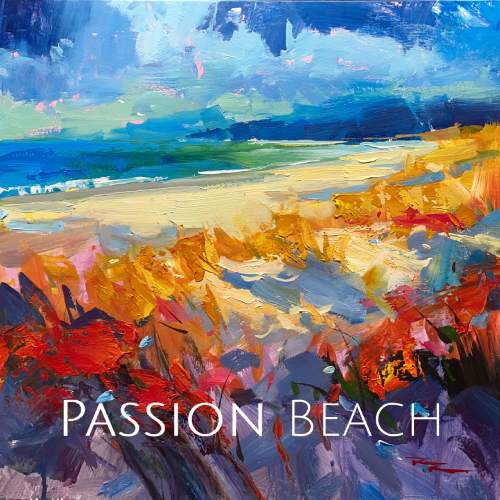
I invite you to join me on a creative journey as we capture the enchanting beauty of Ruakaka Beach at the start of summer. This chapter is all about embracing a vibrant, passionate style to bring this expressive beach scene to life. We'll delve into designing with a large light effect, where the light in the center contrasts with a soft shadowed foreground and a darkened sky, creating a dynamic and punchy composition. You'll learn how to lay down a base coat of complementary colors using acrylics, enhancing the vibrancy of your painting. I'll guide you through the art of expressive brushwork, using various tools to achieve impasto effects that add depth and texture. We'll explore the technique of under-mixing paint to create unique painterly effects, and discuss the importance of varying edges—soft against sharp—to elevate your work. With step-by-step guidance and resource photos, you'll gain the skills to either follow along or apply these techniques to your own creations. Let's dive in and discover the joy of painting with passion and expression.
This guide accompanies the full video lesson. The lesson includes the complete narrated video, the printable PDF chapter, and personalised critique support.
"Passion Beach" 15x15" Acrylic on Canvas by Richard Robinson
Step 6Clouds and texture
Mix Colors Lightly
Leave your colors partially mixed on the palette. This half-mixed approach on the brush creates exciting textures on the canvas that can't be achieved with overly precise mixing.
Paint Cloud Bases
Create the base of the clouds using a color lighter than the sky, with a hint of mauve. Apply this with soft edges to achieve a gentle transition between the sky and the clouds.
Add Cloud Highlights
Enhance the cloud mixture by adding white to create highlights. Use a combination of hard and soft edges to add contrast and interest.
Incorporate Texture
Use little flicks and touches of paint to add textural interest and realism. Nature is full of tiny textures, so avoid flat surfaces.
Pro tipLeave colors half-mixed on the brush for natural texture.
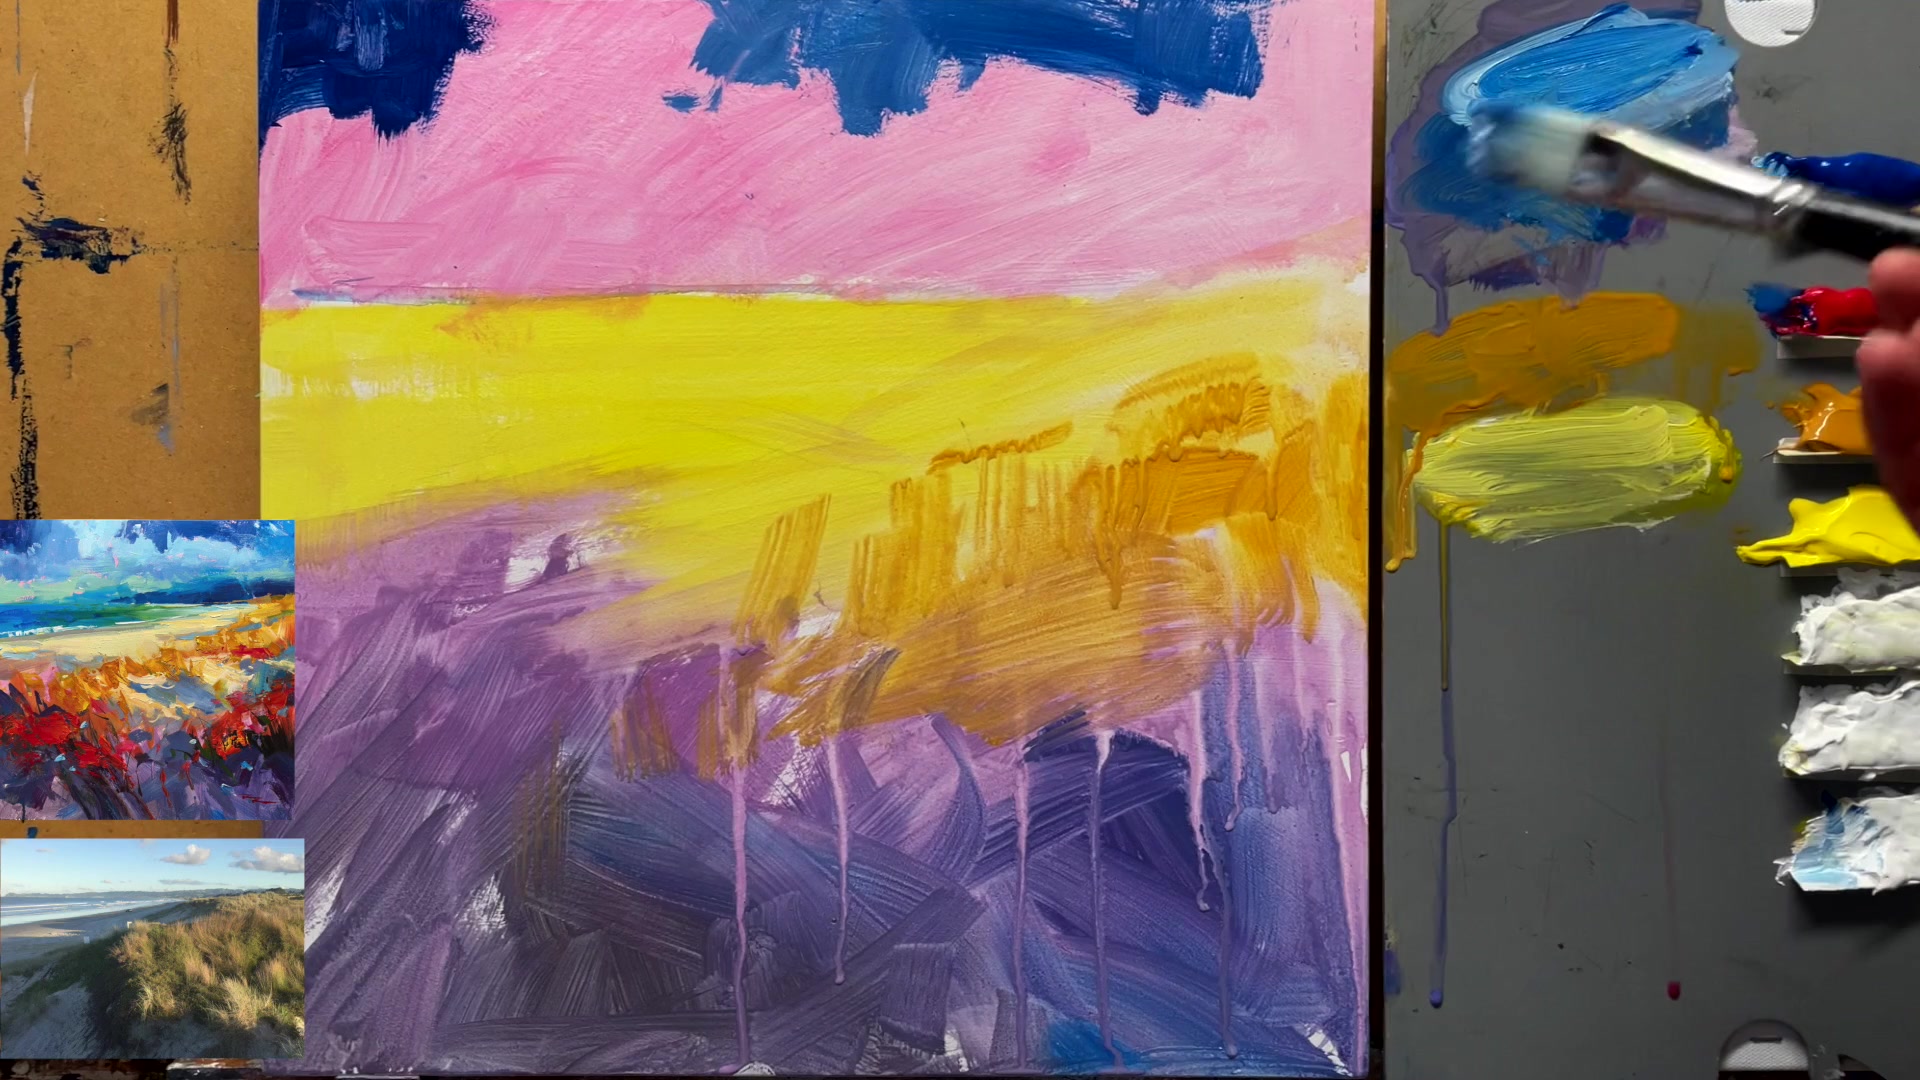
Embark on your painting journey by arranging a vibrant palette and selecting a variety of brushes to create diverse marks. Begin with a high horizon line in your initial sketch to emphasize the foreground, and use expressive strokes to lay down the base coat. Layer colors thoughtfully, allowing undertones to shine through for a shimmering effect.
As you work with wet paint, consider the balance between letting layers dry and continuing to paint for dynamic mixing. Enhance the sky with darker tones for contrast, and let parts of the base coat peek through for added texture. Use half-mixed colors to create natural textures in clouds and waves, and maintain a clean palette to keep colors vibrant.
In the final stages, focus on adding depth and interest with varied brushstrokes and impasto techniques. Introduce color contrasts and random marks to bring your painting to life. Finish with fine details like seagulls and surf lines using a Rigor Brush, ensuring your Passion Beach scene captures the essence of a lively coastal landscape.
Points to remember
Use a variety of brushes to create diverse and interesting marks on your canvas.
Avoid rounding the beach corner; depict it as a sharp, knife-like shape.
Adjust the angle of your canvas to control paint dribbling and create different effects.
Efficient brush strokes can prevent muddiness when working with wet paint.
Use your brush in a variety of ways to achieve diverse textures and effects.
Leave colors half-mixed on the brush for natural texture.
Use a clean surface to avoid muddy colors when painting the ocean.
Step back every few minutes to view your painting from a distance, enhancing the perception of realism and gestural quality.