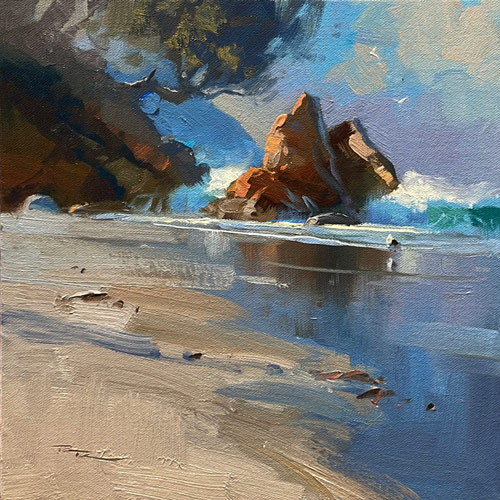
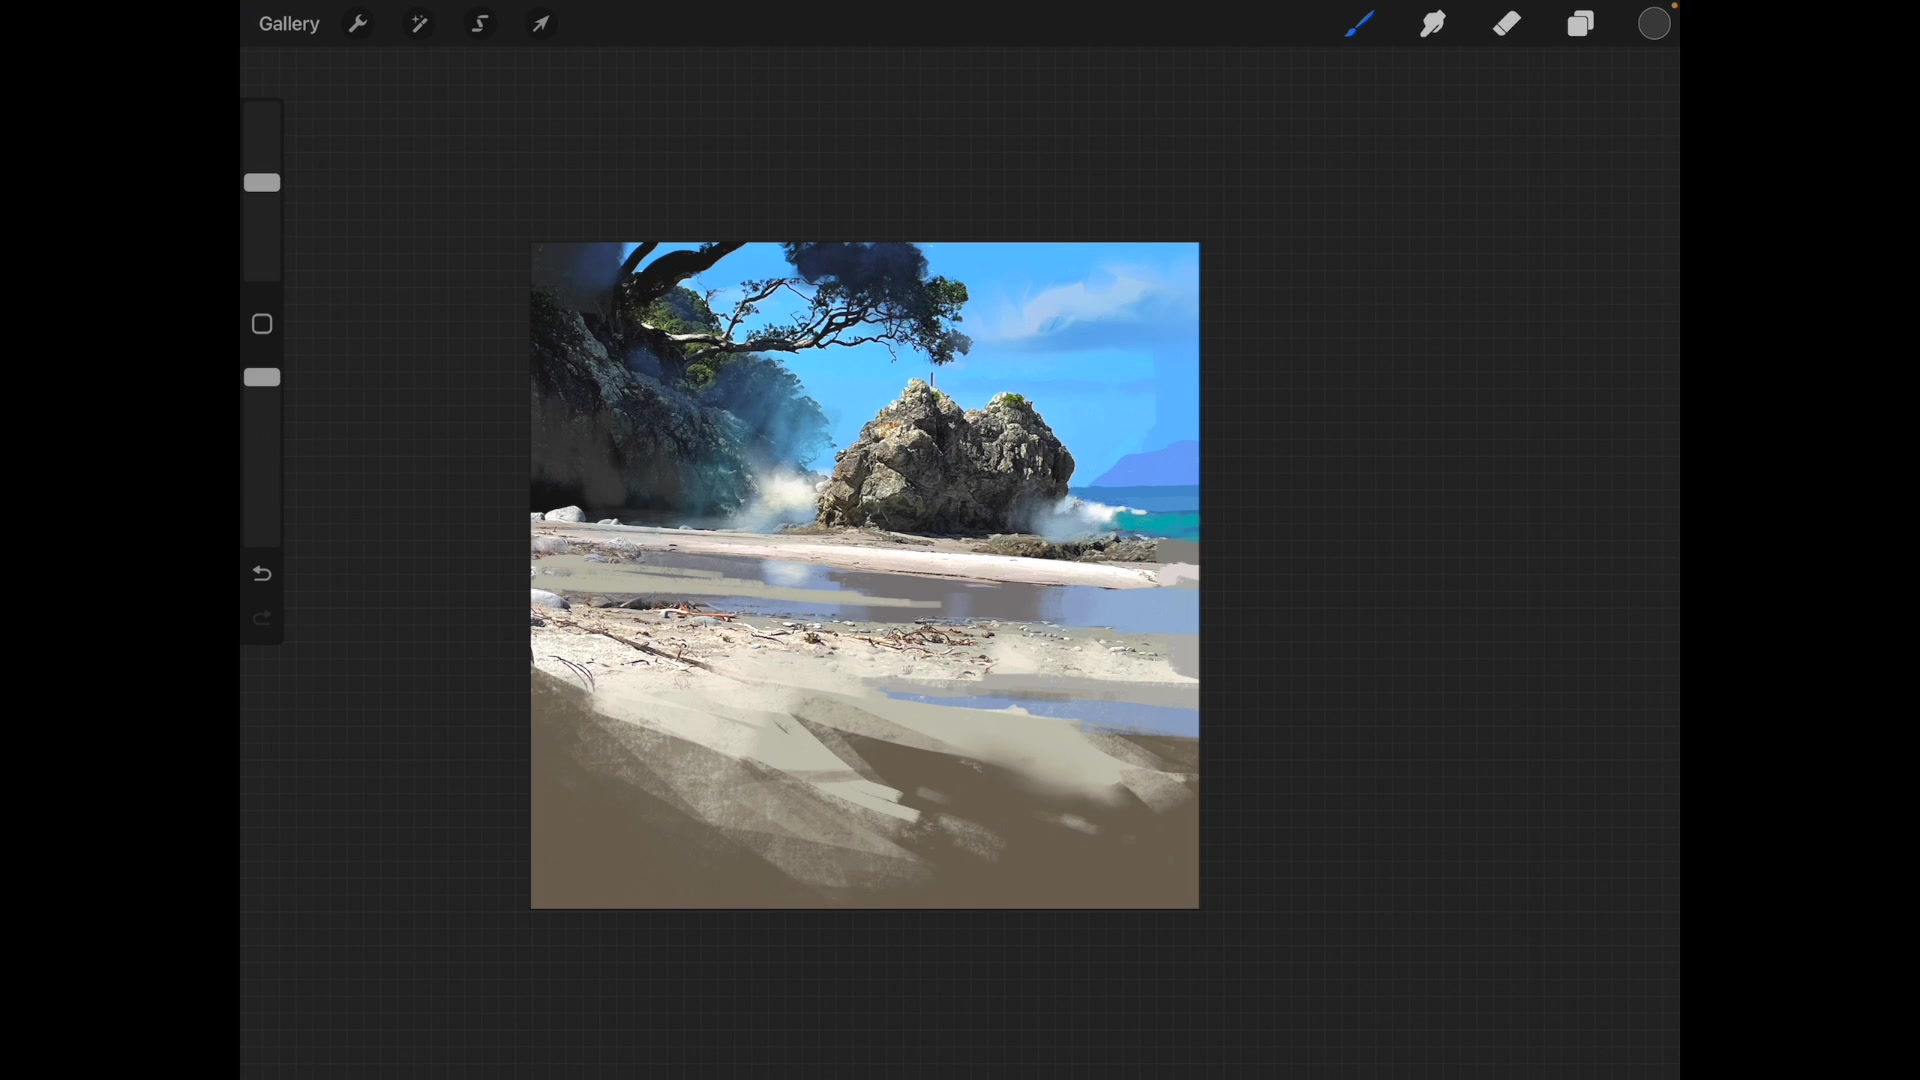
Welcome to my studio here in New Zealand, where today we'll embark on a creative journey to transform an average photo into a captivating painting of Smuggler's Bay. I know how frustrating it can be to sift through countless photos without finding that spark of inspiration. In this chapter, we'll overcome that hurdle by learning how to infuse life and interest into a seemingly mundane image. We'll begin by using Procreate on the iPad to explore various design options, painting directly over the photo until we discover a composition that truly resonates. Then, we'll transition to the canvas, where I'll guide you through essential techniques such as drawing, color mixing, and creating variety and texture. Our primary focus will be on the magic of light—how to invent and manipulate it to highlight the best features of your subject. By the end of this lesson, you'll have the skills to turn any photo into a masterpiece, capturing the essence of Smuggler's Bay with your unique artistic touch. Let's dive in and bring this beautiful scene to life together.
This guide accompanies the full video lesson. The lesson includes the complete narrated video, the printable PDF chapter, and personalised critique support.
Smugglers Bay 12x12" Oil on Canvas by Richard Robinson
Step 4Finalizing Digital Sketch
Evaluate Overall Changes
Look at your painting in a smaller view to determine if any overall changes are needed. This perspective helps you see the composition and balance more clearly.
Darken the Sky
Merge your layers and create a new one to darken the sky at the top. Experiment with making it grayer to achieve a more subtle color and enhance the contrast with the rock.
Extend the Rock
Use a squarish brush to extend the rock, aiming for an asymmetrical shape. Pick colors from the photograph to ensure accuracy and merge this layer down once satisfied.
Darken the Foreground
Create a new layer to darken the foreground, adjusting the blend mode for different color effects. This adds depth and contrast to the scene.
Add Seagulls and Flip the Image
Consider adding a few seagulls for interest. Flip the image as if viewing it in a mirror to spot any compositional issues. This fresh perspective can reveal areas that need adjustment.
Enhance Color and Light
Boost saturation in areas that appear too gray to add color interest. Add dark and light accents to the foreground and under the rocks to create a dynamic warm versus cool contrast.
Pro tipUse a squarish brush for painting rocks to achieve a more natural, asymmetrical shape.
Embark on your painting journey by thoughtfully planning your composition in Procreate. Begin by analyzing the scene's symmetry, shadows, and light. Adjust the horizon and foreground elements to create a dynamic and balanced composition. Use digital tools to experiment with different arrangements, ensuring your scene captures movement and depth.
As you transition to the canvas, focus on establishing the darkest darks to set the foundation for your painting's value range. Gradually build up layers, adjusting hues to reflect the natural diversity of the scene. Pay attention to atmospheric perspective, using color and value to create depth and separation between elements.
In the final stages, refine your painting by enhancing the details and colors. Use clean, deliberate strokes to blend and layer colors, maintaining the vibrancy and contrast of your scene. Remember to step back and view your work from a distance to ensure overall balance and cohesion. With each layer, your painting will come to life, capturing the essence of Smugglers Bay.
Points to remember
Level the horizon by tilting the photo slightly to the left for a balanced composition.
Tilt the beach slightly to add dynamism to the composition.
View your painting from a distance or at a smaller size to identify necessary overall changes.
Use a squarish brush for painting rocks to achieve a more natural, asymmetrical shape.
Avoid placing the main rock dead center to create a more dynamic composition.
Extend the darkest dark areas slightly to facilitate blending with future layers.
When unsure about a color, mix a gray that matches the value and adjust the hue to achieve the desired effect.
Keep your brush clean to avoid creating muddy colors when blending different temperature areas.