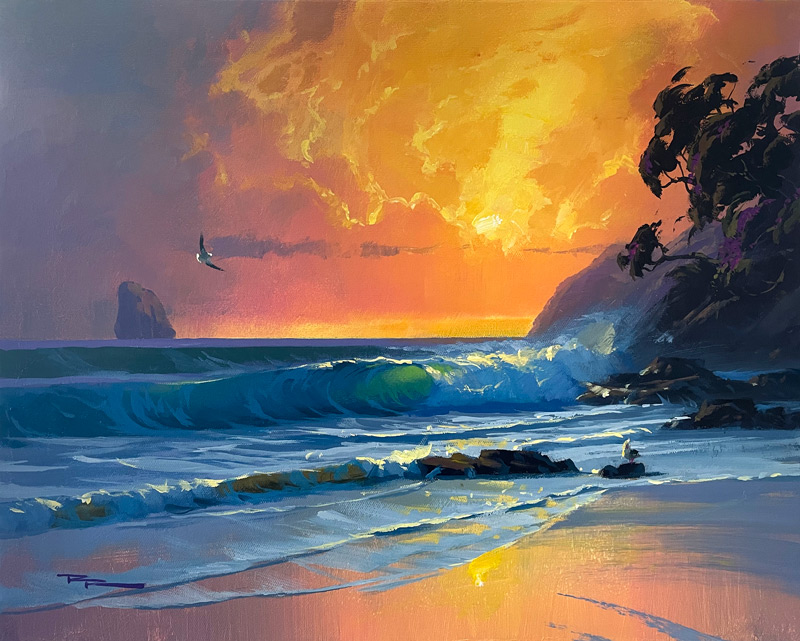
In this chapter, we dive into the mesmerizing world of waves at Waipu Cove, a scene that offers endless inspiration for capturing the dynamic beauty of the ocean. Painting waves is a rewarding challenge, and in this lesson, I invite you to explore the techniques that will elevate your wave paintings to new heights. Inspired by master artists like William Trost Richards, Ruo Li, and Roy Tabora, I've distilled my learnings into this bonus chapter, designed to expand your skills and creativity. We'll experiment with different canvas sizes, including panoramic formats like 10x30 inches, which are perfect for conveying the vastness of seascapes. You'll learn how to incorporate metallic paints for a unique sheen and discover how varying brush techniques and canvas toning can transform your work. By studying and integrating elements from other artists, you'll develop a distinctive style that reflects your personal vision. Whether you're painting your favorite beach or exploring new shores, this lesson will provide you with the tools and inspiration to create stunning wave paintings.
This guide accompanies the full video lesson. The lesson includes the complete narrated video, the printable PDF chapter, and personalised critique support.
Mix some toning gray with a little blue to create a slightly lighter, grayer version of your current color. Apply this mixture to tone down overly vibrant areas, especially on the shadow side. This will add color variety and balance to your painting.
Add Landform Details
Paint the unique headland shape with a mix of brilliant magenta, a little white, and gray. Ensure the ridges are not too simplified by adding a bit of wriggle to create a natural look. This will help establish distance in your painting.
Create Soft Gradations
Add softness to the bottom of the landform by working in a blue-gray from the corner point. Gradually lighten the central highlight area to create a smooth transition, reflecting the idea used in the sky and smaller elements like hills.
Enhance Three-Dimensional Effect
Introduce a slight orange effect to the edges of the hill as it rolls away, capturing more of the sky color. Ensure the transition is a fast gradation, not a line, to enhance the three-dimensional feel of the landscape.
Pro tipAdd a subtle orange effect to the edges of the hill to reflect the sky color and enhance the three-dimensional appearance.
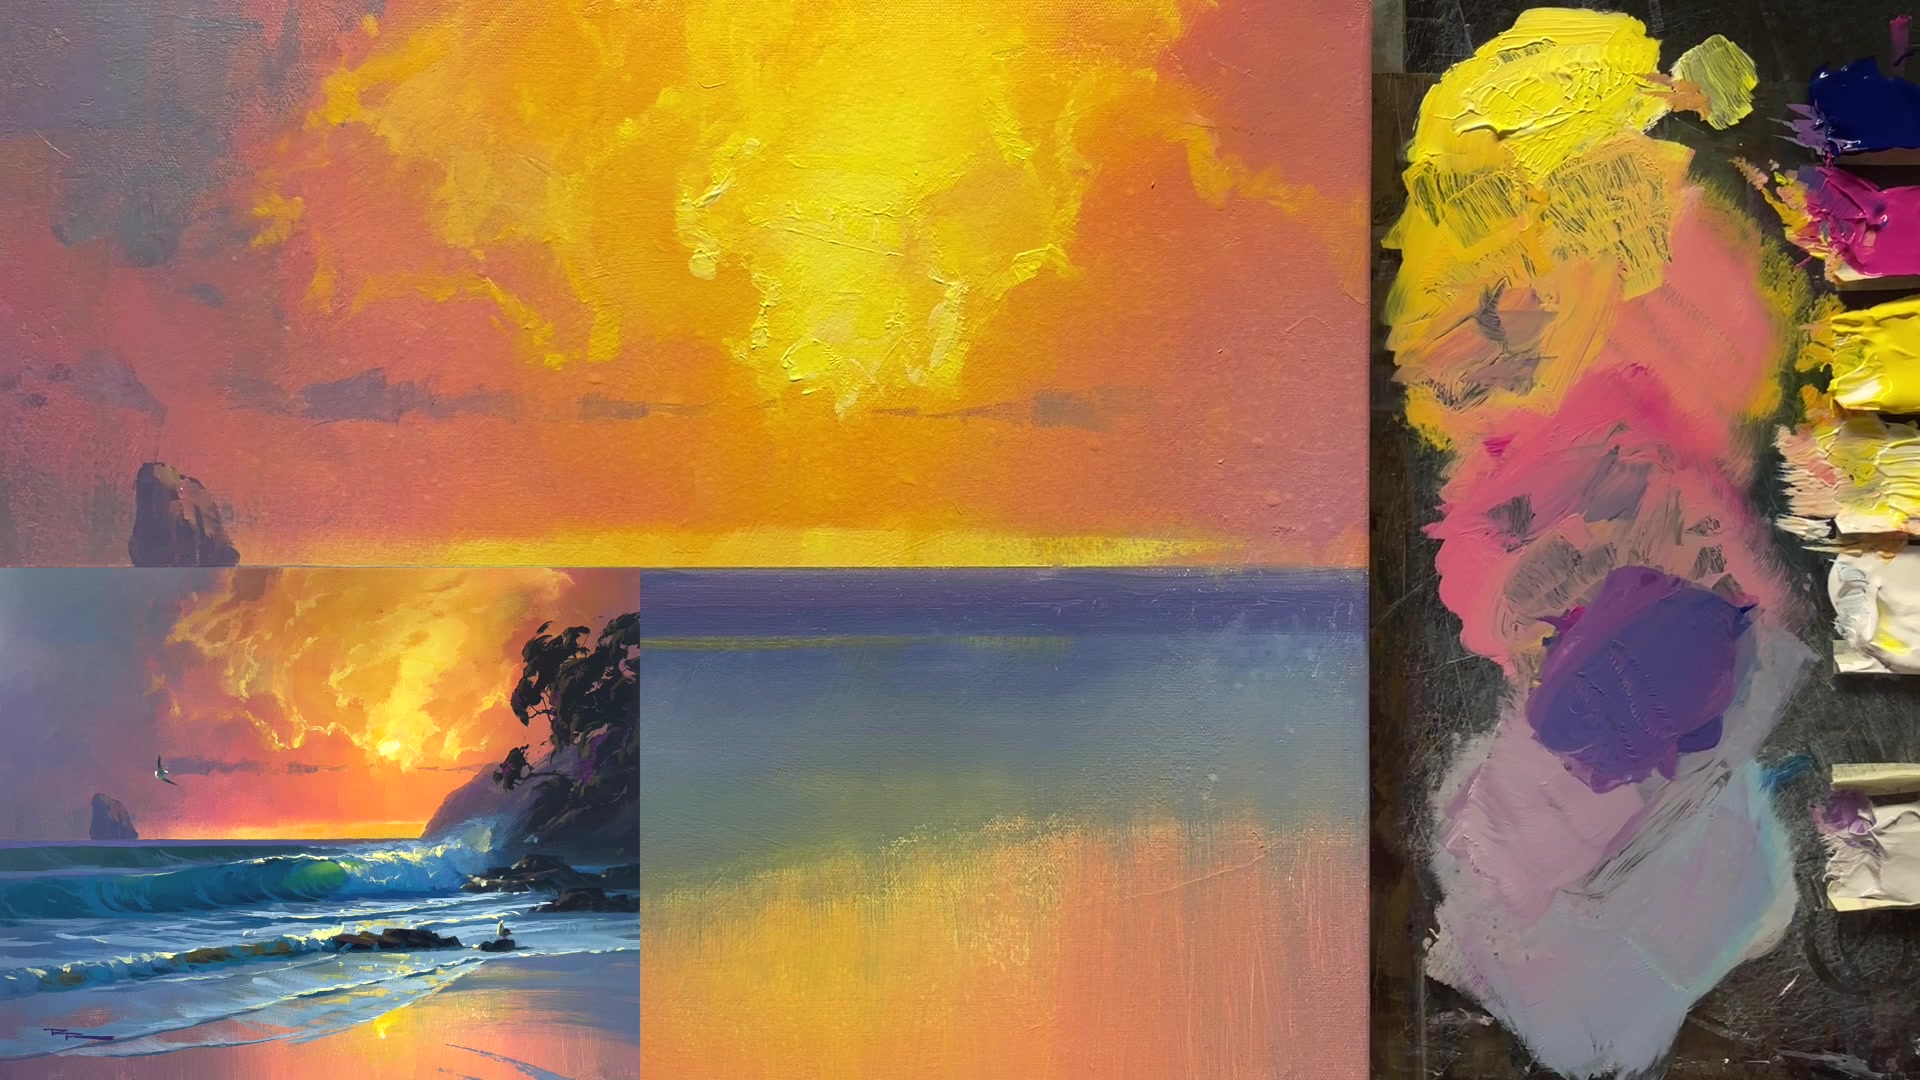
Embark on your painting journey by experimenting with different canvas sizes and materials to find what best captures the dynamic essence of waves at Waipu Cove. Begin by preparing your canvas with a neutral grey tone, setting the stage for a cohesive and vibrant painting. As you layer colors, focus on the interplay of light and shadow, especially where the sun meets the ocean, to create a luminous and atmospheric scene.
As you build up the composition, pay attention to color temperature and transitions. Use retarder medium to extend the drying time of acrylics, allowing for smoother blends and more nuanced gradients. The sky and clouds are your playground for exploring textures and light effects, using tools like brushes, fingers, or even a credit card to achieve unique results. Keep your palette wet and your colors fluid to maintain control over your painting.
In the final stages, refine your details by adding light effects and enhancing textures. Use soft brushes to create subtle light rays and a filbert brush for delicate cloud edges. Introduce depth with rocks and trees, using varied brushstrokes to capture their natural forms. Finally, add the dynamic spray of the waves, ensuring distinct layers for a clean, vibrant finish. With each step, embrace the creative process and let your personal style shine through.
Points to remember
Experiment with panoramic canvases to capture wide scenes.
Use synthetic brushes for acrylics for better control.
Keep your palette wet to ensure smooth blending.
Use retarder medium to extend drying time for acrylics.
Use a big soft brush to smooth out rough paint layers.
Add randomness in brushstrokes to avoid echoing shapes.
Use a filbert brush to enhance delicate cloud edges.
Use fewer brushstrokes to maintain clean, distinct layers.