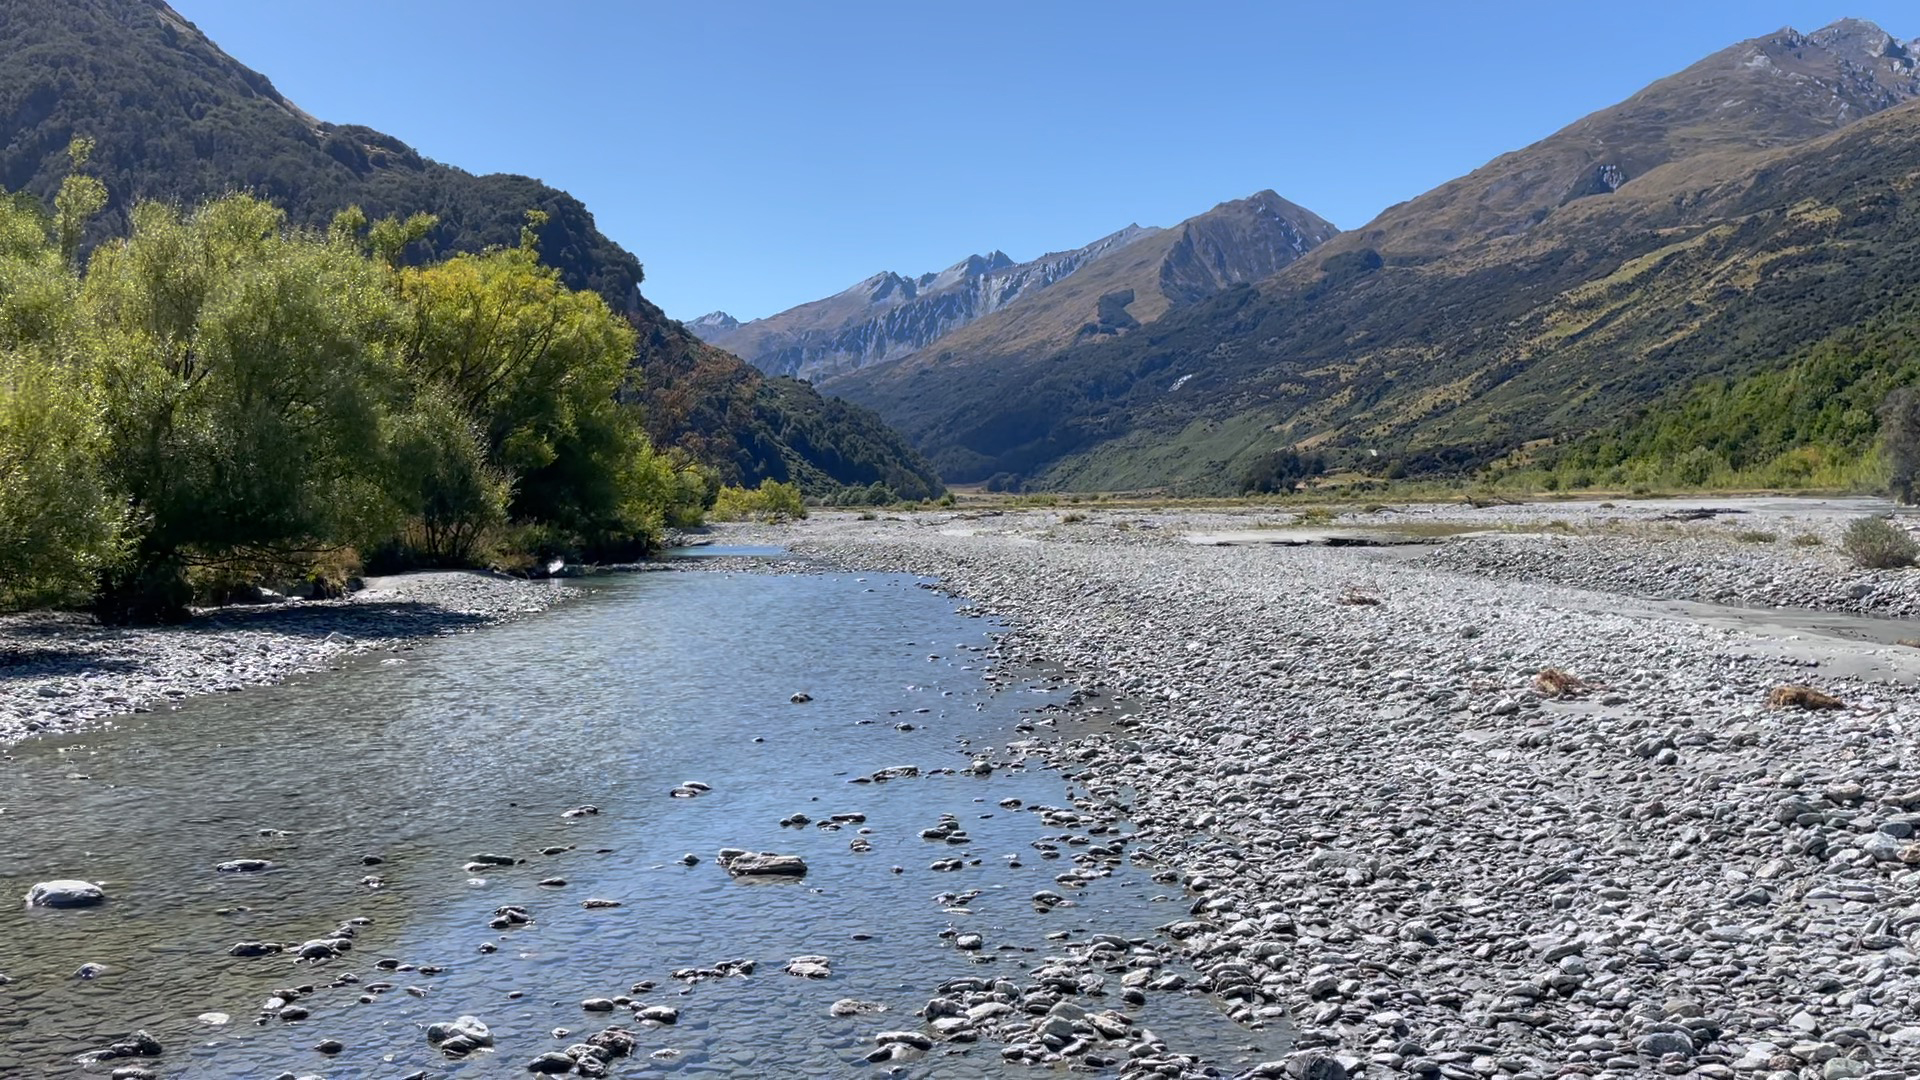
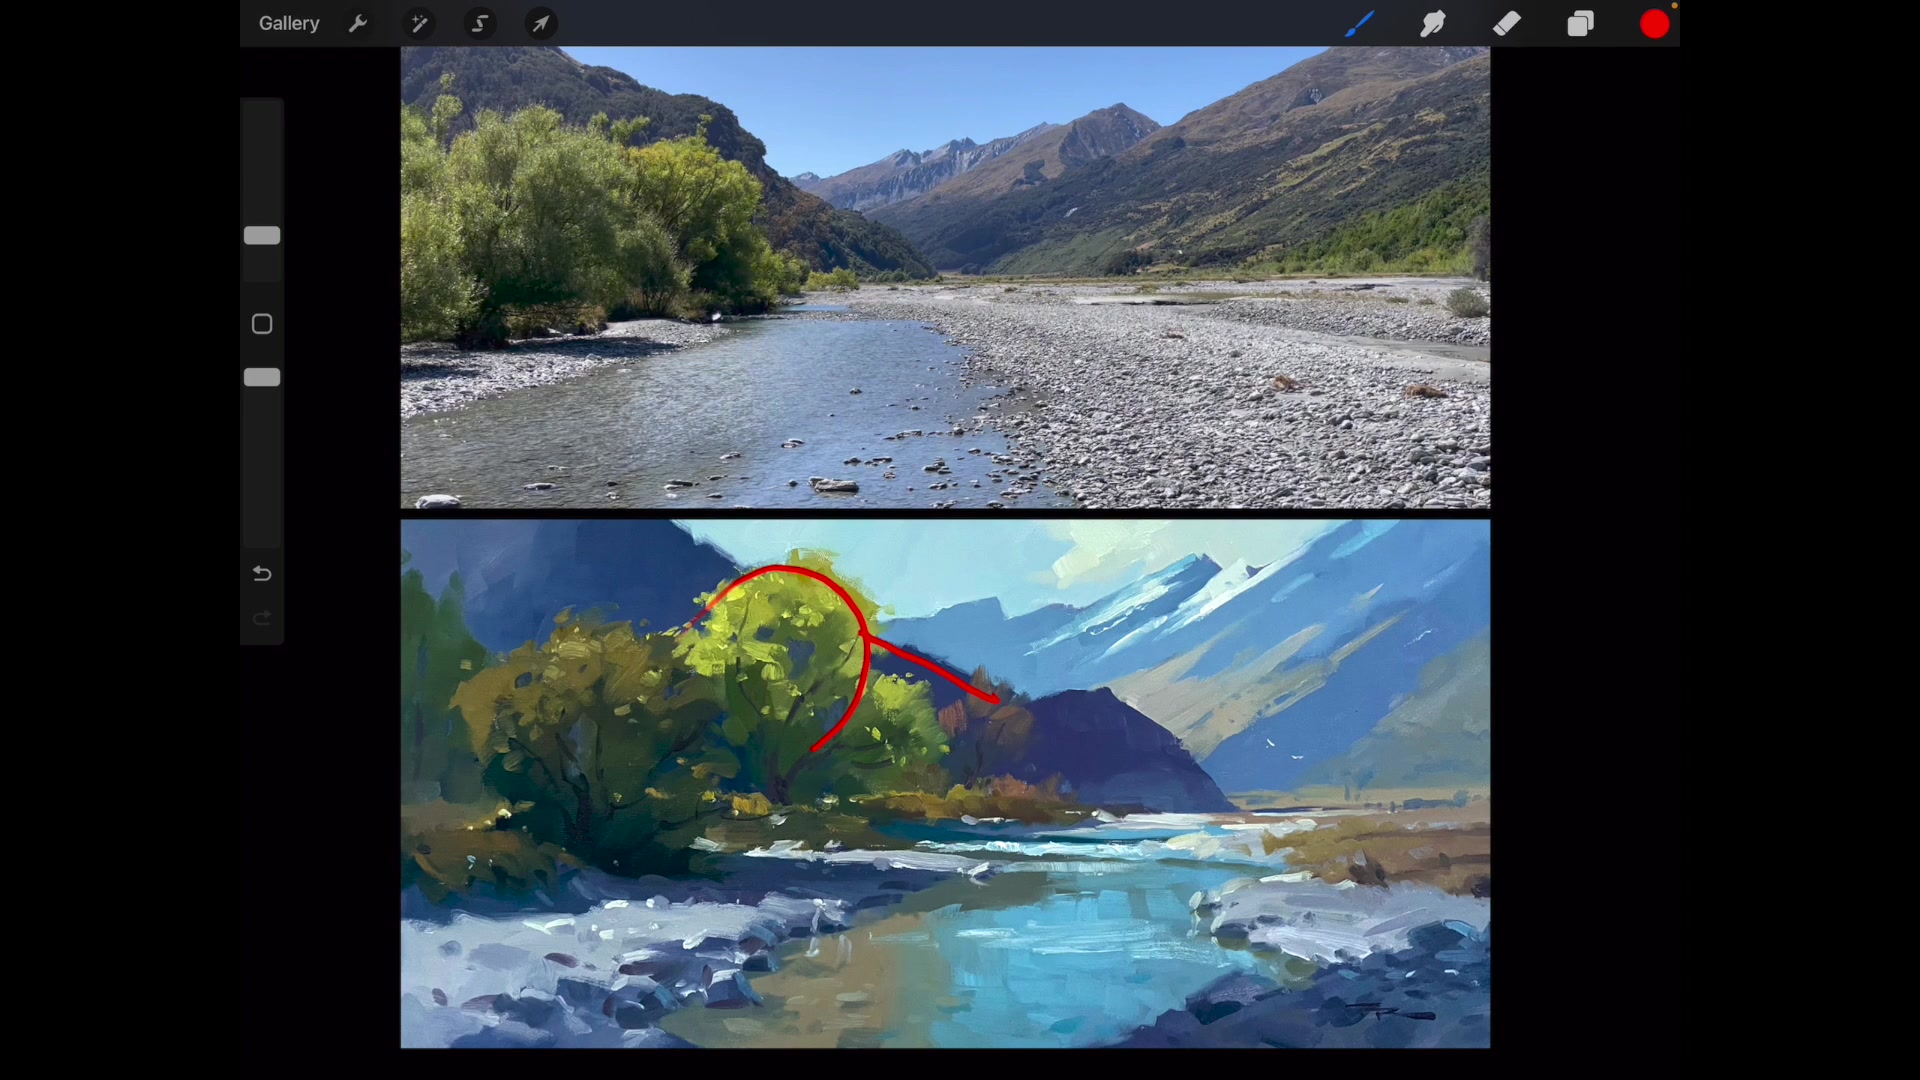
In this chapter, we embark on a journey to capture the breathtaking beauty of the Rees Valley River in New Zealand, a scene that offers endless inspiration for any painter. As we explore this mountain river landscape, you'll learn to embrace the power of variety to create a painting that captivates and endures. Together, we'll delve into the art of designing around a central idea, using a simple palette and expressive brushwork to bring your vision to life. You'll discover how to highlight your focal point by thoughtfully cropping the scene and employing contrast to draw the viewer's eye. This lesson emphasizes the importance of variety in your composition, ensuring your painting holds the viewer's attention and stands the test of time. By the end of this chapter, you'll have a deeper understanding of how to create a painting that not only adorns a wall but also invites viewers to lose themselves in its depths, time and time again. Enjoy the process, and I look forward to seeing your interpretation of this stunning landscape.
This guide accompanies the full video lesson. The lesson includes the complete narrated video, the printable PDF chapter, and personalised critique support.
Identify the main focal point of your painting. In this scene, the tree breaking the dark contrasting line serves as the center of interest.
Crop the Scene
Crop the scene to focus on the center of interest. Remove unnecessary elements like excessive sky or lead-in areas. Decide whether to crop tightly or leave more space around the focal point based on your personal design preference.
Adjust Background Shapes
Modify the shapes in the background if needed to add interest and guide the viewer's eye through the painting. Feel free to change natural shapes that aren't engaging enough.
Refine the River Line
Simplify or alter the river line to enhance the composition. A broken or simple line can be adjusted in the painting for better visual flow.
Pro tipCrop the scene to highlight your center of interest, removing unnecessary elements.
Embark on your painting journey by identifying the element that captivates you the most in your scene. This focal point will guide your composition and ensure your painting has a clear direction. Use cropping and composition techniques to emphasize this center of interest, removing unnecessary elements and adjusting shapes to guide the viewer's eye naturally through your artwork.
As you progress, pay attention to light and shadow adjustments to add dynamism and depth to your scene. Use color temperature differences to create distance and guide the viewer's eye, and remember that the choice of canvas and materials can significantly affect the final outcome. Mixing your paints with the right consistency and using pre-mixed colors can save time and maintain harmony throughout your painting.
Finally, embrace the plein air painting mindset by setting a timer to capture spontaneity and urgency in your work. Use a combination of soft and crisp edges to add variety, and remember to adjust your values for indoor viewing. By focusing on these techniques, you can create a painting that is both dynamic and harmonious, capturing the essence of the mountain river scene.
Points to remember
Use contrast effectively to highlight your focal point.
Crop the scene to highlight your center of interest.
Use color temperature differences to create depth.
Loosen the white paint with walnut oil for better flow.
Use nitrile gloves to protect your skin from harmful pigments.
Vary the angles and distances between elements for dynamic composition.
Use cooler and lighter colors to create the illusion of distance.
Set a timer to capture the plein air effect in the studio.