As I stood before the iconic Three Sisters in New Zealand, I was reminded of nature's ability to reward patience. Despite the grey, drizzly weather, we waited all day for the low tide to reveal this stunning scene. Just as the sun was about to set, a gap in the clouds allowed golden light to pour onto the landscape, creating a breathtaking contrast against the dark sky. This chapter invites you to capture that magical moment on canvas. Together, we'll explore the art of painting these towering cliffs and rock columns, focusing on enhancing their scale and presence. By increasing the height of the cliffs and extending them into the distance, you'll convey their grandeur and continuous nature. Including Mount Taranaki in your composition will add depth, while reflections on the beach will enrich the scene. We'll refine the composition by removing distractions, ensuring the viewer's attention remains on the primary focal point. Through this step-by-step process, you'll not only create a beautiful beach painting but also deepen your understanding of design and contrast in art. Join me in this rewarding journey, where every brushstroke brings you closer to the essence of this remarkable landscape.
This guide accompanies the full video lesson. The lesson includes the complete narrated video, the printable PDF chapter, and personalised critique support.
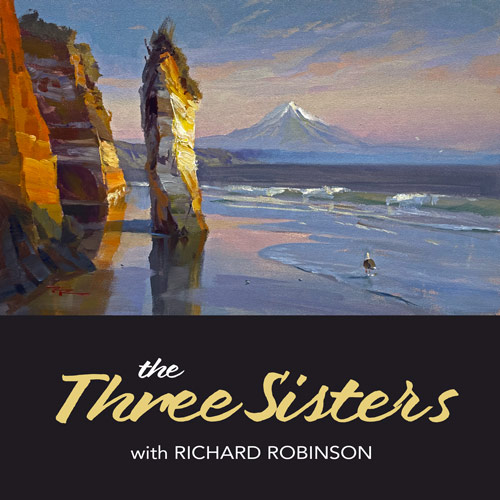
"The Three Sisters" 13x20" Acrylic on Canvas by Richard Robinson
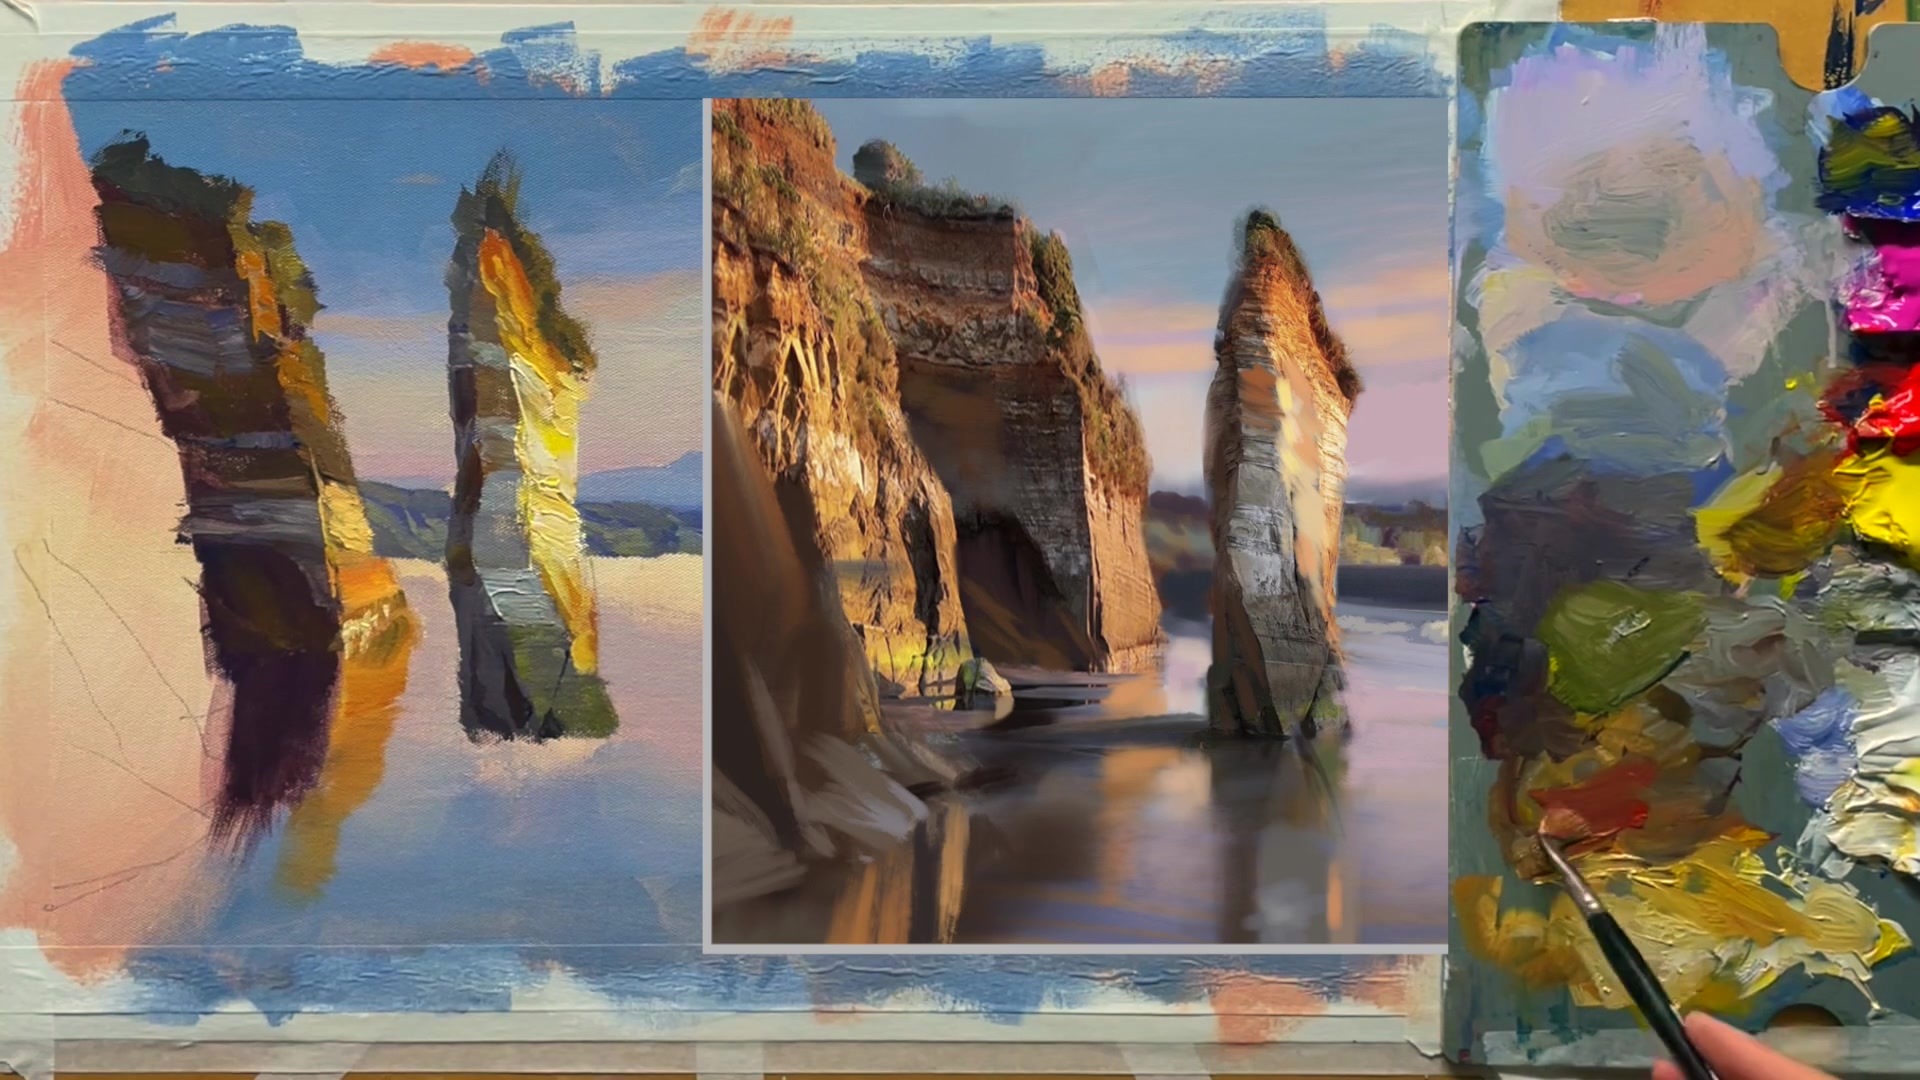
Step 13Painting the Second Rock
Darken the Top of the Rock
Add darker accents to the half tone face of the rock. This area is between the light and shadow sides and needs to reflect the blue of the sky. Darken it slightly to capture this effect.
Adjust the Rock's Shape
Modify the shape of the rock to achieve a more pleasing form. Ensure the angles tilt away from you as they rise, becoming steeper towards the top.
Extend the Cast Shadow
Extend the cast shadow across the surface to add depth and interest. This will help ground the rock in the scene and enhance its three-dimensional appearance.
Pro tipDarken the half tone face of the rock to reflect the blue of the sky, creating a more realistic effect.
In this lesson, you embarked on a journey to capture the majestic Three Sisters and Mount Taranaki. Begin by adjusting your composition to emphasize the towering cliffs and their reflections, setting the stage for a dramatic landscape. Prepare your canvas with a smooth base coat, allowing for seamless color transitions and a vibrant foundation. As you progress, focus on blending colors smoothly to create a warm, shimmering effect that enhances the overall atmosphere of your painting.
Utilize a variety of brushes and acrylic techniques to achieve a painterly effect, reminiscent of oil painting. Sketch your composition carefully, ensuring balance and avoiding symmetry to maintain interest. As you paint the sky and mountains, incorporate subtle variations and textures to enhance realism. Pay attention to the details, using a mix of colors and brush techniques to bring the landscape to life.
Finally, add depth and texture to the cliffs and rocks, using thicker paint and palette knives to create dynamic forms. Focus on reflections and light effects to capture the natural beauty of the scene. By carefully balancing colors and textures, you can create a captivating painting that draws the viewer into the serene landscape.
Points to remember
Increase the height of cliffs to enhance the sense of scale and presence in your painting.
Wet your brush with water and gloss medium to help the paint flow smoothly over the canvas.
Use a spray bottle to keep the canvas wet for easier blending of colors.
Use long-bristle brushes to load more paint and apply it smoothly for a painterly effect.
Use a pencil for more technical drawings, especially when accuracy is crucial.
Add bumps to the mountain shape to avoid a perfect geometric look, enhancing realism.
Use a palette knife to apply thicker paint in curved motions for added texture and form.
Avoid making reflected lights too light to preserve the shadow effect.