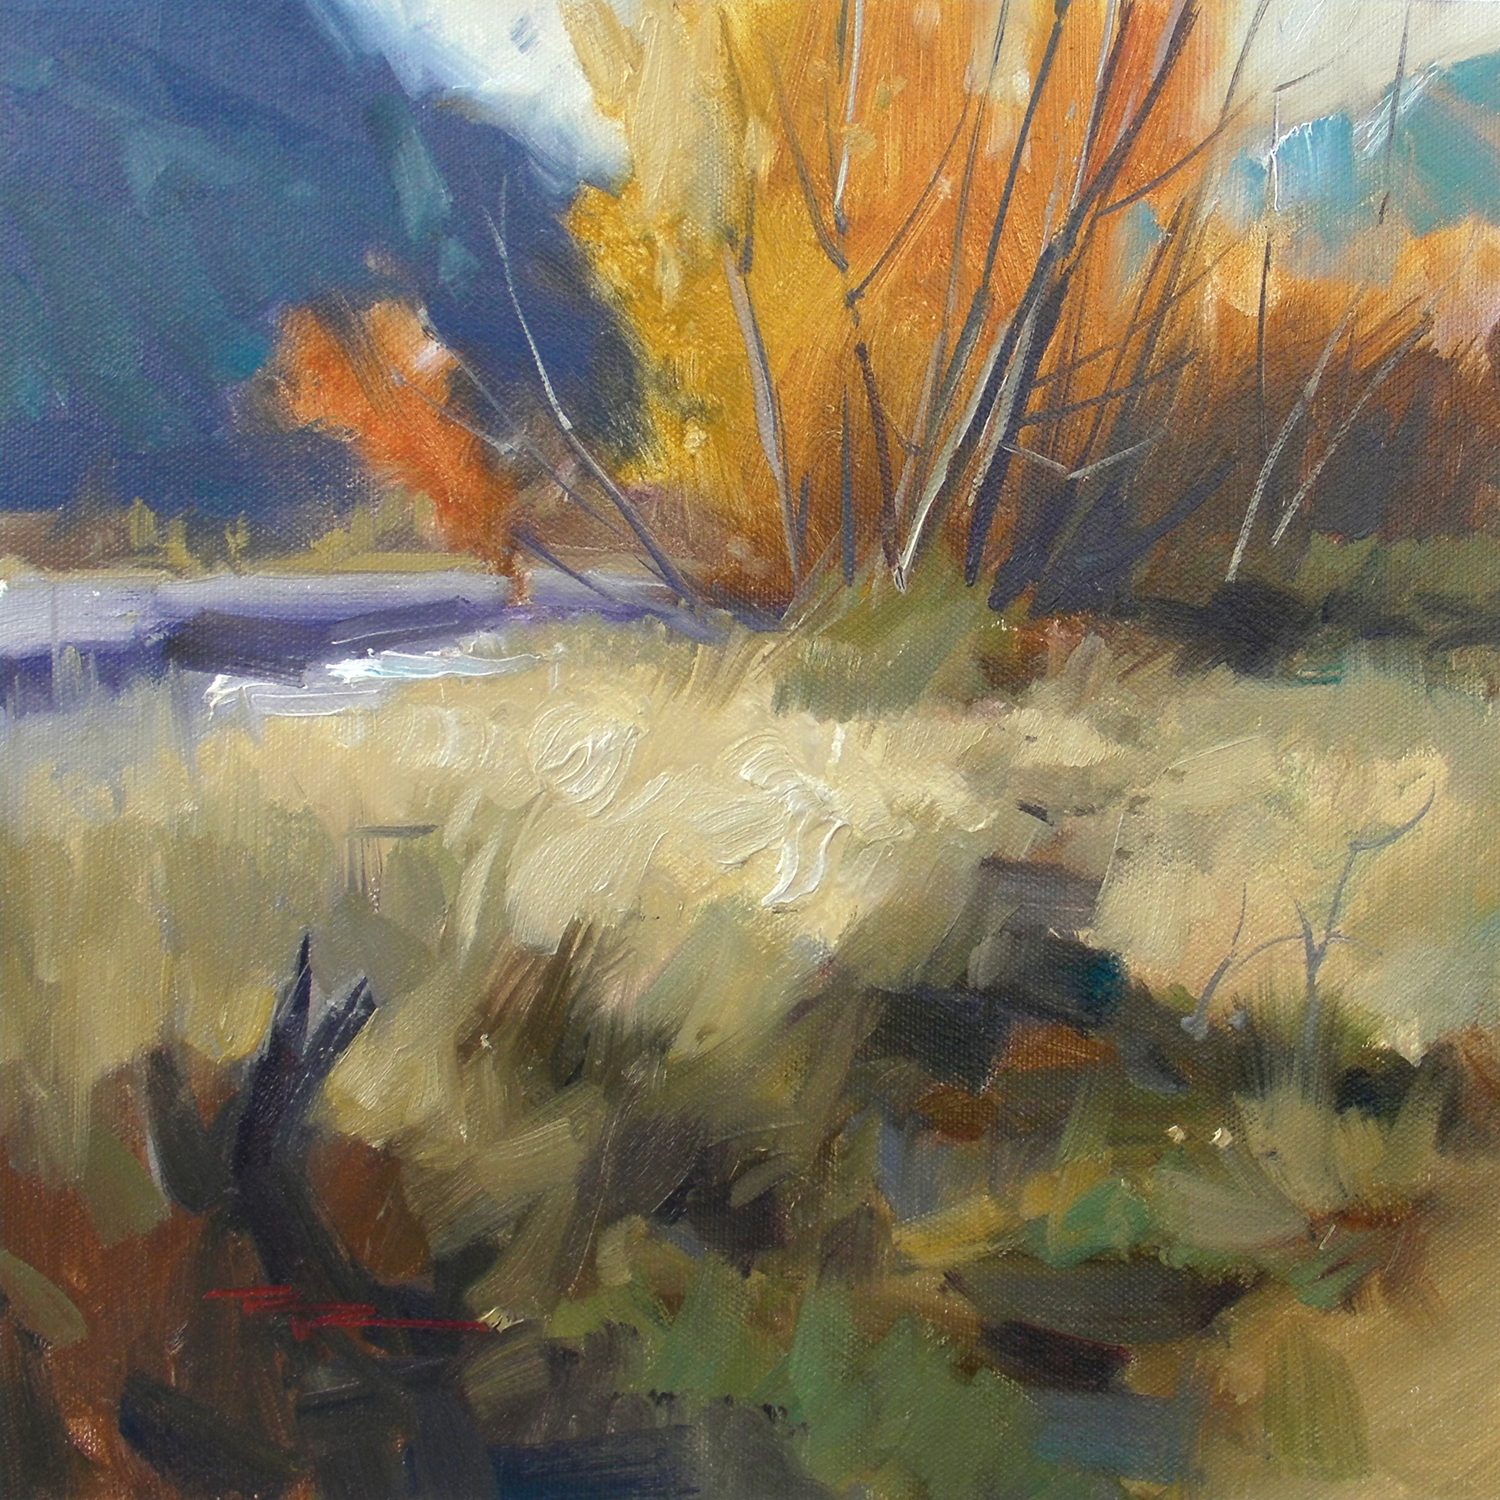
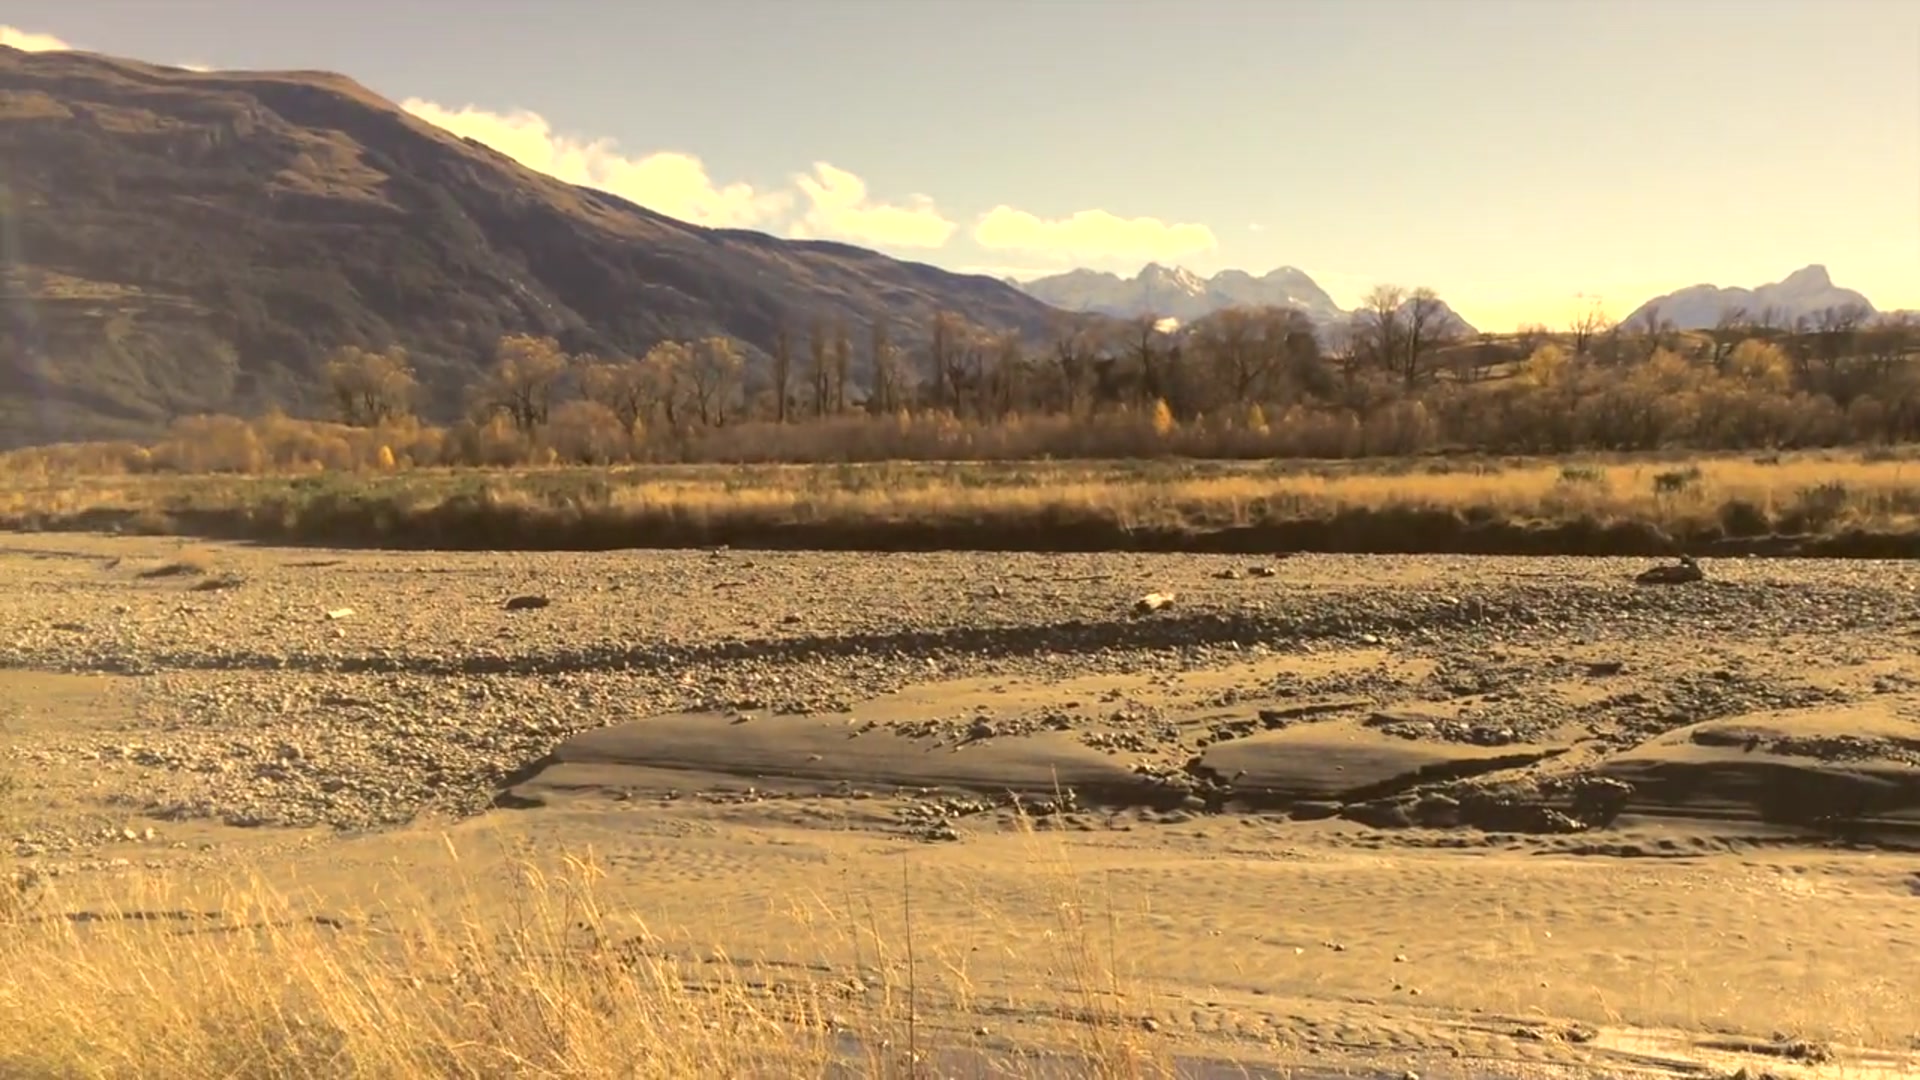
In this chapter, I invite you to join me in capturing the enchanting beauty of an autumn scene, where warm hues dance against the cool backdrop of majestic mountains. This lesson is all about embracing the vibrant colors of fall and translating them onto a 12-inch square canvas using Cobra water mixable oils from Royal Talens. With my palette of colors ready and a selection of brushes, including a synthetic flat wash brush and Rosemary & Co. bristle brushes, we'll embark on this creative journey together. I'll guide you through the process of painting en plein air, sharing my techniques and insights along the way. We'll start by sketching the large shapes of the painting, focusing on creating varied and interesting forms while planning the composition's light and dark areas. This scene is a rewarding subject, offering a rich tapestry of colors and textures to explore. Whether you follow along step by step or use the resource photo to craft something uniquely your own, I hope you'll find joy and inspiration in the process. Let's dive in and bring this autumn landscape to life on canvas.
This guide accompanies the full video lesson. The lesson includes the complete narrated video, the printable PDF chapter, and personalised critique support.
"Last to Fall" 12x12" Oil on Canvas by Richard Robinson
Step 17Post-Painting Reflections
Enhance Foreground Light
Strengthen the light in the foreground to create a clearer distinction between light and shade. This will make the shapes more distinct and easier to read from a distance.
Remove Distracting Elements
Eliminate the old stump with its sharp edge, as it distracts from the center of interest. This will help maintain focus on the main subject of the painting.
Refine Foliage Shape
Soften the candy floss appearance of the foliage by incorporating some background color. This will reduce its distinct form and integrate it better into the scene.
Intensify Center Darks
Deepen the darks in the center of interest with a slightly stronger, warmer hue. This will enhance the focal point and add depth to the painting.
Pro tipStrengthen the light in the foreground to create a clearer distinction between light and shade.
Begin your painting journey by sketching the large, interesting shapes that will form the backbone of your composition. Use a brush to plan out the dark and light areas, focusing on the autumn colors in the trees as your central element. These vibrant hues will guide the viewer's eye and set the tone for the rest of your painting.
As you progress, apply washes and layers to build depth and interest. Use a yellow ochre wash to create a vibrant base, and introduce dark greens and blue-greys to add contrast and dimension. Pay attention to the transitions and variations in color, especially in the foreground and riverbed, to maintain a dynamic and engaging scene.
In the final stages, focus on the details that bring your painting to life. Add texture to the tussock grass, refine the branches with confident strokes, and introduce highlights sparingly to enhance the composition. Remember to step back frequently to ensure your painting reads well from a distance, and make any necessary adjustments to balance light and shadow. Once satisfied, add your signature to complete your artwork.
Points to remember
Use a brush for sketching large shapes to allow for fluidity.
Focus on autumn colors as the focal point with sharp edges and detail.
Apply a thin yellow ochre wash for a vibrant color base.
Use big brush strokes for dark foreground areas to cover quickly.
Mix colors sparingly to maintain control and avoid overpowering hues.
Ensure the hill's edge is soft to create distance.
Use thick, almost white paint for a shimmering water effect.
Step back regularly to check the painting's readability from a distance.