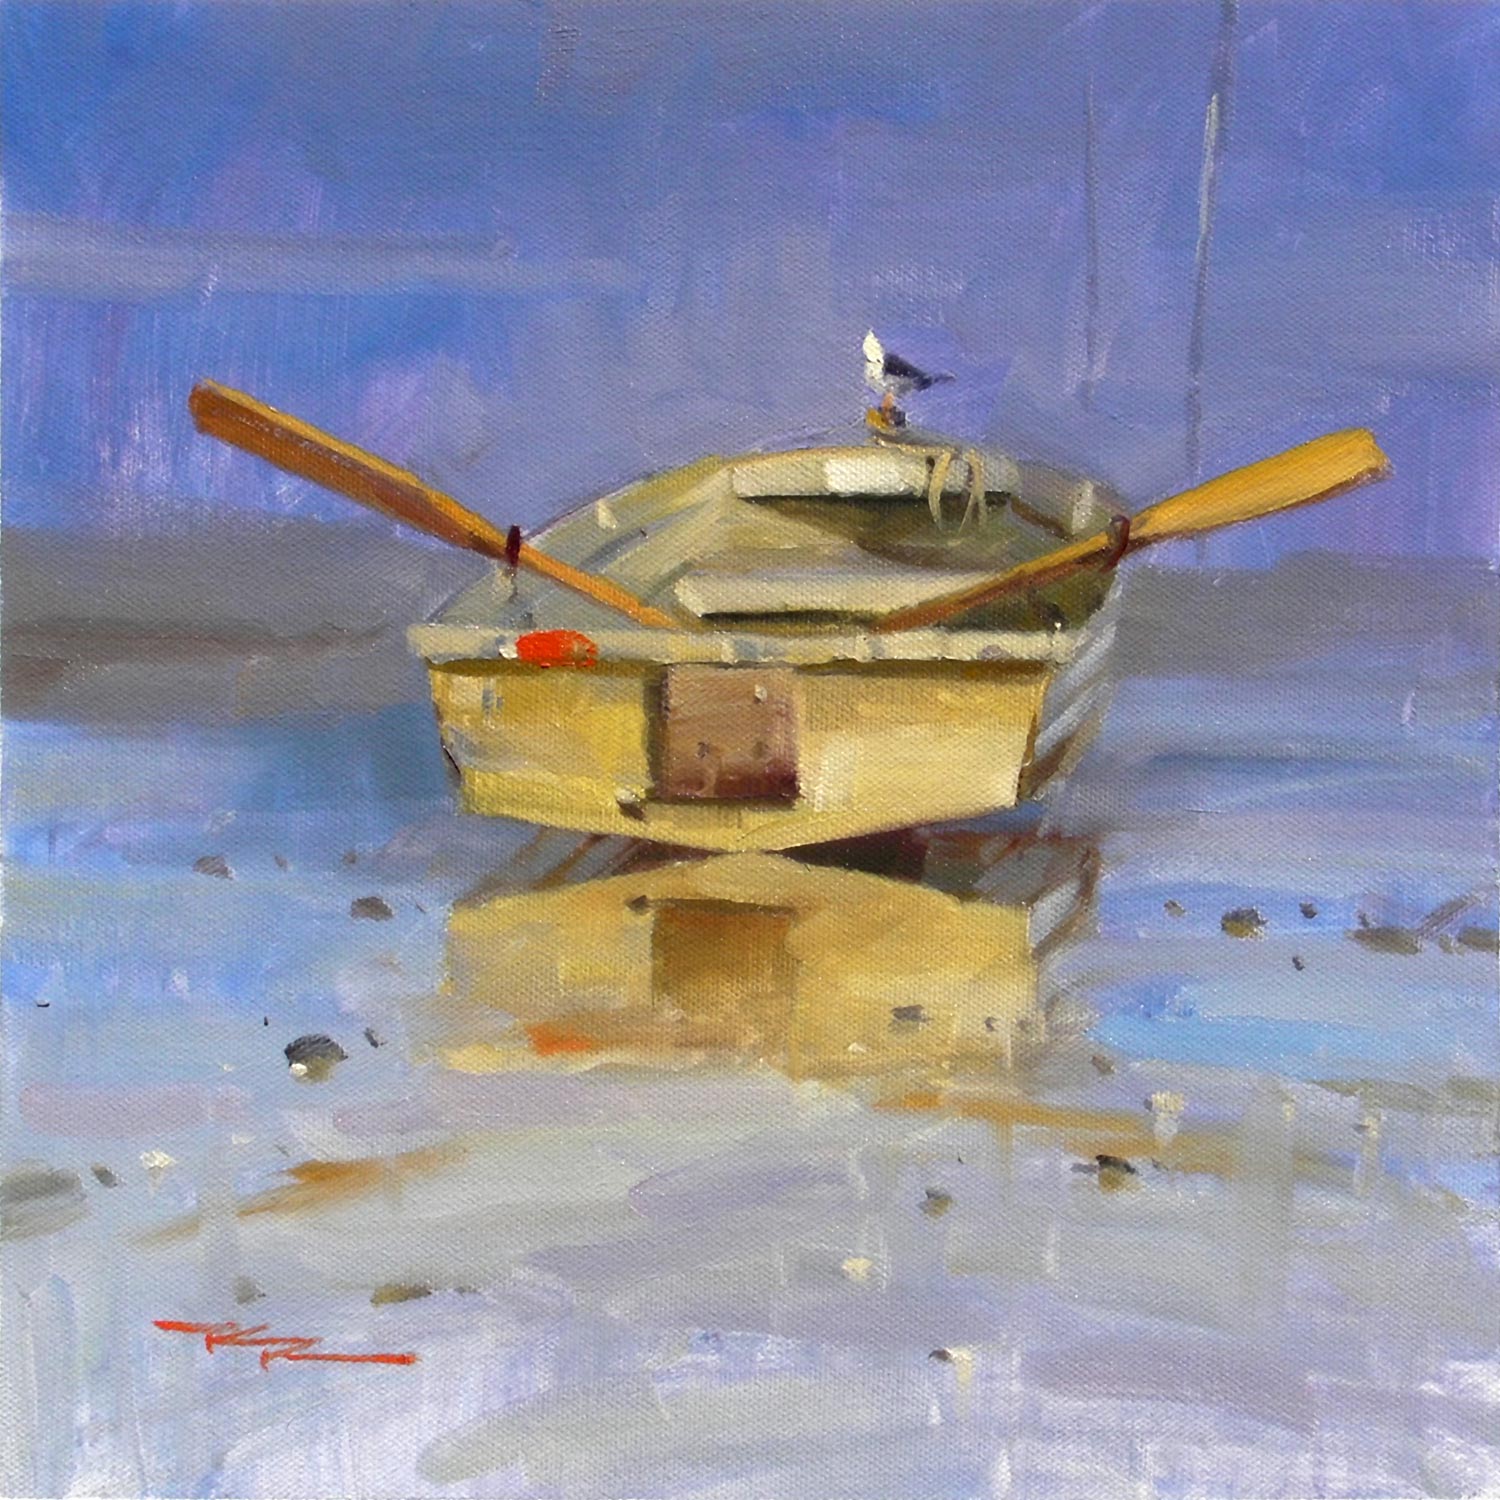
In this chapter, we're diving into a painting technique that marries the best of both worlds—loose and tight brushwork. Inspired by a beautiful scene at One Tree Point in Whangarei Harbour, I found myself captivated not by the mountains I initially intended to paint, but by a simple dinghy bathed in the last light of the day. This lesson is about creating a 'portrait' of your subject, where you focus on tight, crisp details at the center of interest, while allowing the background to flow freely with expressive, loose strokes. This approach is reminiscent of classical portraiture, where a single focal point draws the eye, supported by a softer, more abstract backdrop. You'll learn how to balance these elements, using careful color choices and value placement to enhance the composition. Whether you choose to paint a boat, a seagull, or even an apple, the key is to select a subject that captivates both you and your viewer. The main goal is to enjoy the process and have fun exploring this dynamic interplay of detail and freedom in your artwork.
This guide accompanies the full video lesson. The lesson includes the complete narrated video, the printable PDF chapter, and personalised critique support.
"The Dinghy" 11x11" Oil on Canvas by Richard Robinson
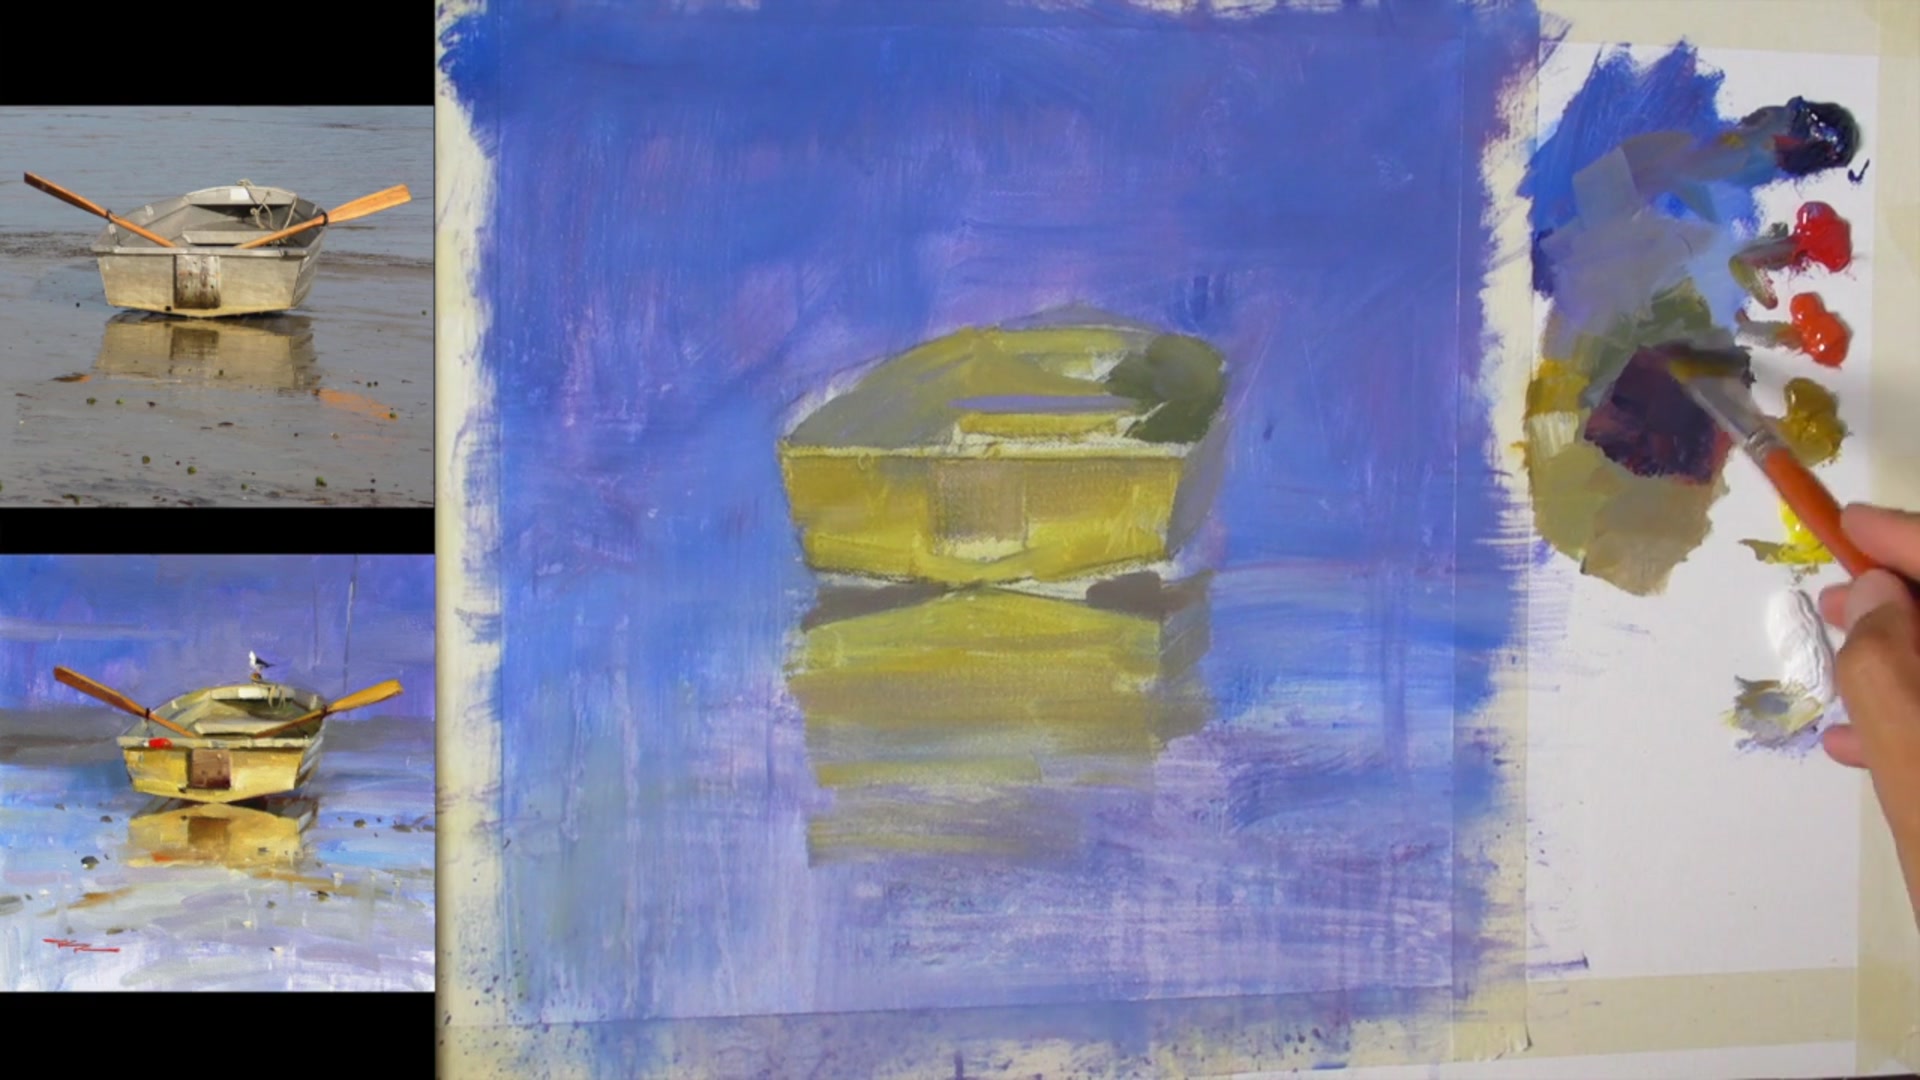
Step 4Mixing Darks and Reflections
Mix Dark Colors
Mix a dark gray by combining black and white. Adjust the hue by adding complementary colors. For instance, if the gray appears too blue, add a touch of orange to balance it. Continue adjusting until the color looks right to your eye.
Paint Reflections
Remember that reflections are generally a bit darker and duller than the original objects. Aim for a subtle difference between the object and its reflection to achieve a realistic effect.
Pro tipUse complementary colors to adjust the hue of your darks for a more balanced appearance.
Embark on your painting journey by establishing a solid foundation with a thin wash of color and a well-transferred drawing. Visualize complex shapes, like the dinghy, within simple geometric forms to maintain perspective and symmetry. As you draw, remember that reflections need careful consideration to appear realistic.
Dive into painting the background with a sense of freedom and creativity. Use large brushes and bold strokes to create a dynamic backdrop, allowing the colors to transition smoothly from dark to light. Experiment with textures by wiping back paint and adding splatters for an engaging visual effect.
As you bring the dinghy to life, focus on color relationships and harmony. Start with a warm base color and thoughtfully mix your shadows and reflections to enhance depth and realism. Pay attention to the details, using sharp brushes for precision, and let your passion for the subject guide your unique artistic expression. Finally, add personal touches and details to make the scene resonate with viewers.
Points to remember
Visualize the boat inside a box to simplify drawing it in perspective.
Use a big brush and don't worry about going over the edges to enjoy the process and create a dynamic background.
After applying a color, consider where else it can be used to save time and maintain color harmony.
Use complementary colors to adjust the hue of your darks for a more balanced appearance.
Use a maul stick to steady your hand when working on small details.
Leave a business card with a personal note on the subject to engage potential buyers.
Choose subjects that excite you, regardless of how often they've been painted before.
When adding crisp details over loose paintwork, focus on the details to make the underlying layers appear more believable.