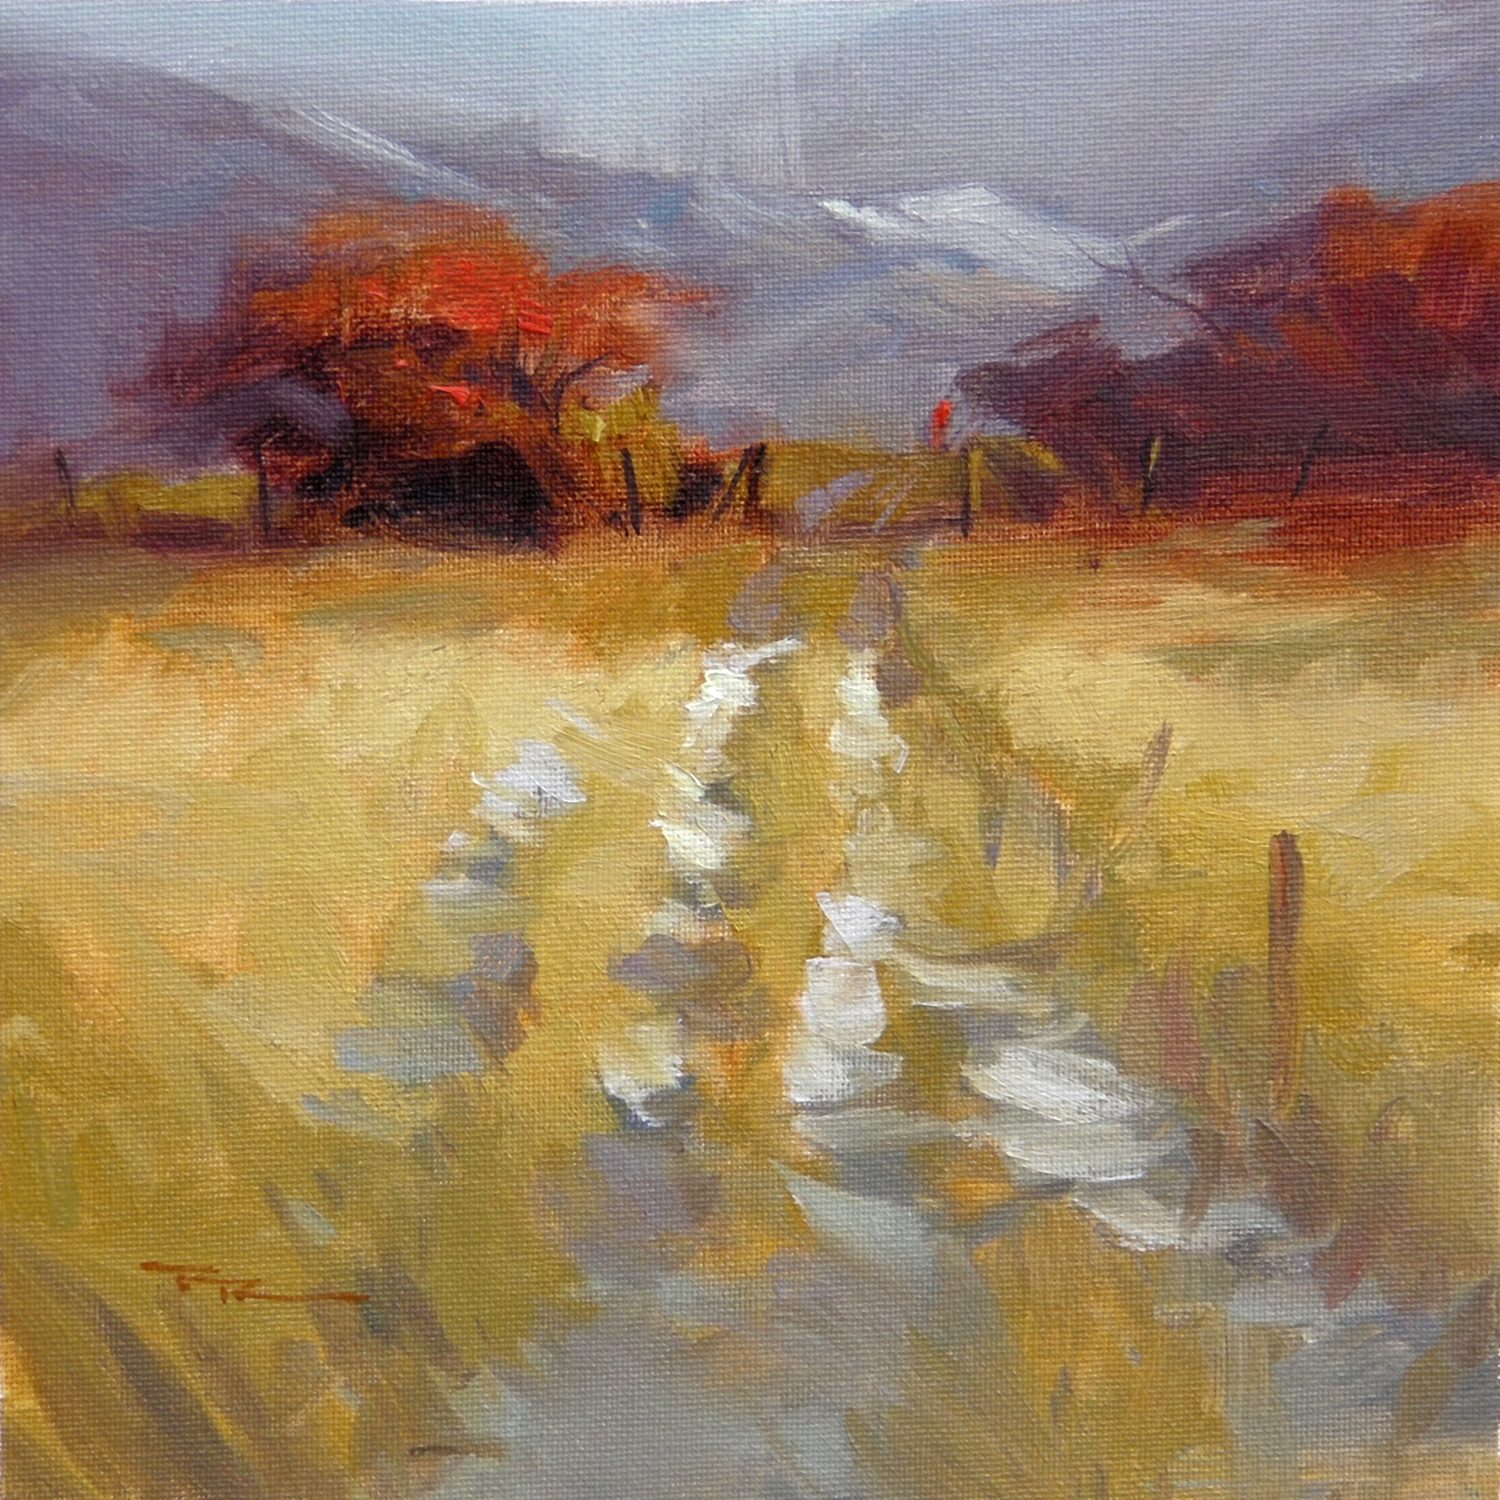
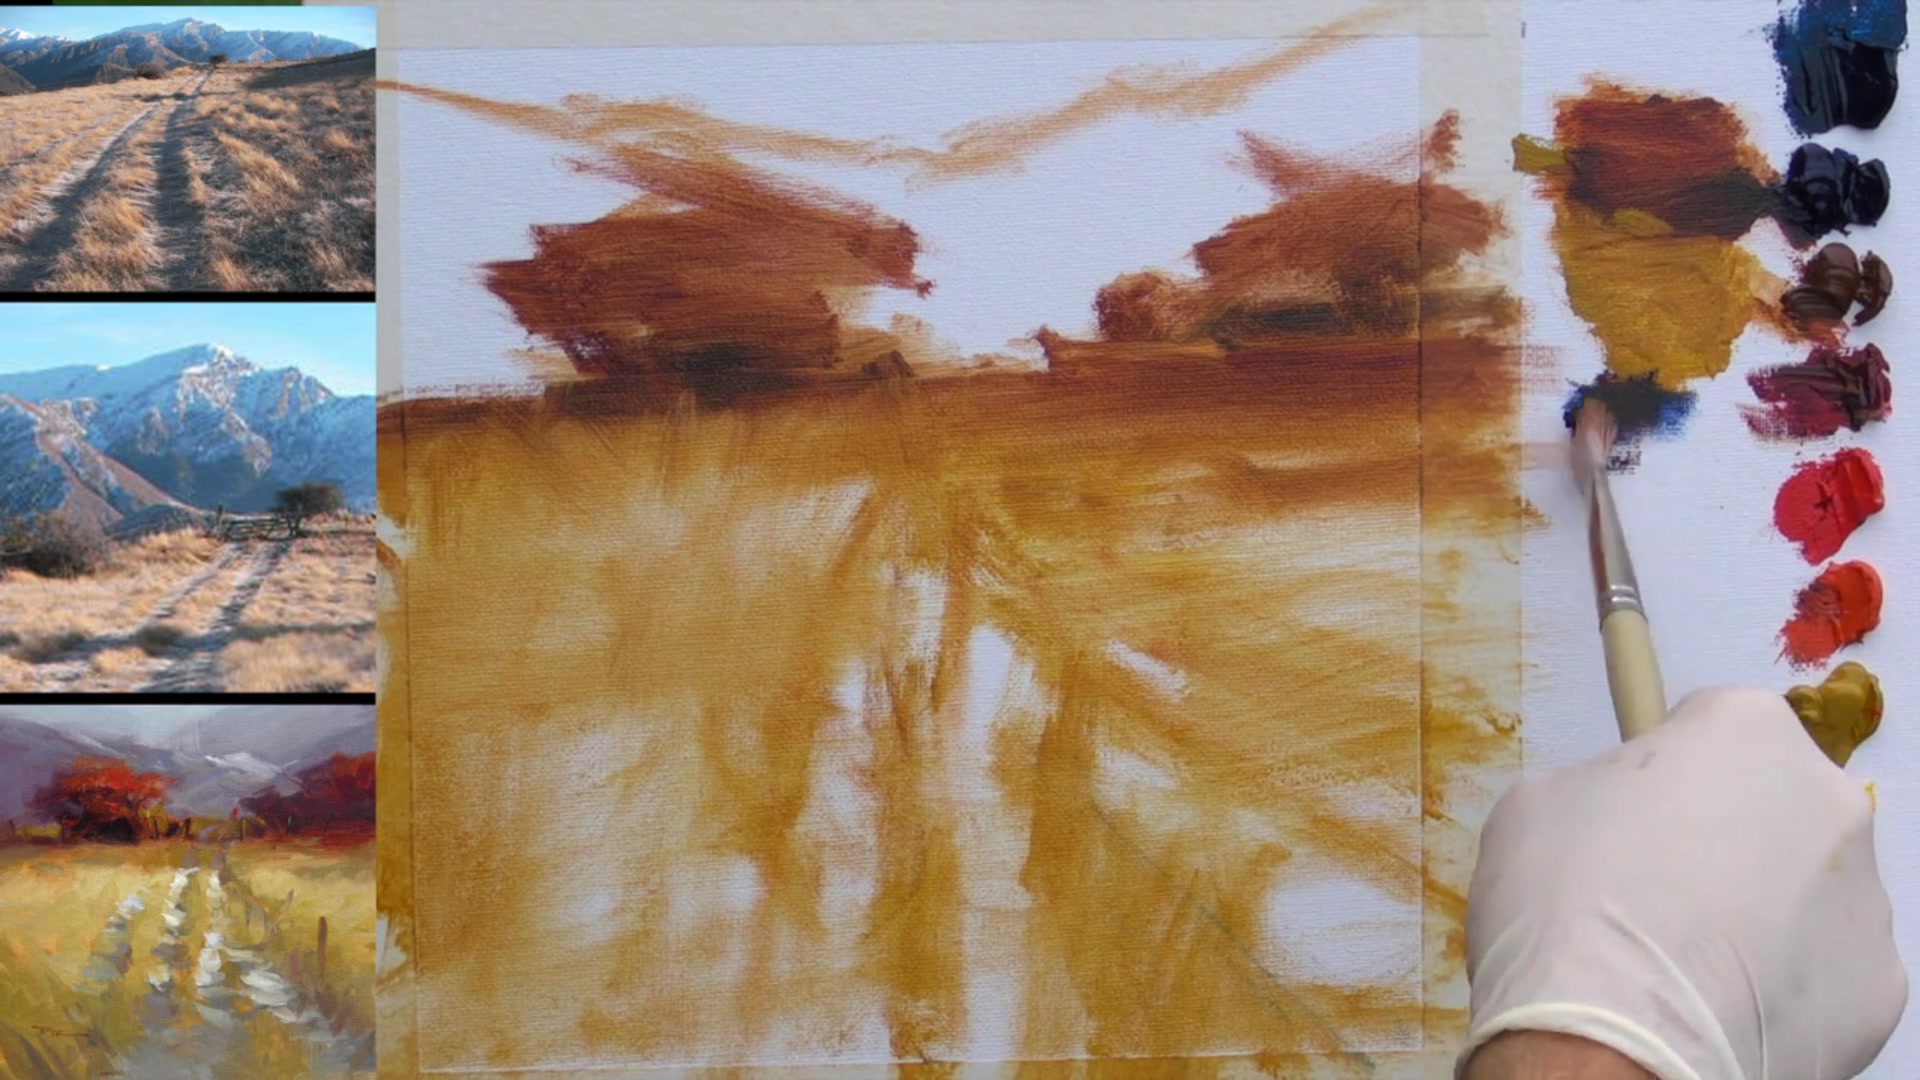
Welcome to this chapter, where we explore the vibrant interplay of color in a stunning scene from the Crown Range overlooking Arrowtown in New Zealand's South Island. This breathtaking location offers a perfect canvas for experimenting with color contrasts. In this lesson, we'll delve into the art of balancing vibrant hues with more subdued, greyed tones to achieve a tasteful and harmonious composition. The simplicity of the scene allows us to focus on pushing the boundaries of color, particularly by contrasting the strong colors of the foreground with a muted background. As you follow along, you'll learn how to enhance your painting's mood by selectively emphasizing certain colors, such as bringing out the reds while softening the background. This approach not only adds depth but also guides the viewer's eye through the painting. Whether you choose to replicate my interpretation or create your own, the goal is to master the delicate balance between vibrancy and subtlety. Happy painting!
This guide accompanies the full video lesson. The lesson includes the complete narrated video, the printable PDF chapter, and personalised critique support.
"Mountain Path" 11x11" Oil on Canvas by Richard Robinson
Step 10Mixing and Applying Snow Shadow Colors
Mix Snow Shadow Color
Create a shadow color for the snow by mixing blue with a complement of orange, a touch of white, and a little crimson. Aim for a mid-value cool gray that appears cool next to the warm colors in the painting.
Apply Snow Shadow Color
Brush the mixed color thinly onto the canvas using a fair amount of linseed oil. Focus on blocking in the shadows on the snow in the foreground, keeping the shapes irregular to avoid duplication.
Add Warmer Gray Highlights
Mix a slightly warmer, lighter gray and add it to the foreground. This will enhance the sense of depth and variation in the snow.
Pro tipKeep shadow shapes irregular to maintain a natural appearance.
Embark on your painting journey by experimenting with color variations to set the mood and tone of your piece. Begin with a basic sketch using a thin blend of linseed oil and burnt sienna, establishing major shapes and a balanced composition by dividing your canvas into thirds. As you progress, focus on creating a natural, organic feel by breaking up straight lines and ensuring asymmetrical balance with varied shapes and sizes.
Pay attention to the interplay of light and shadow, particularly in the grass and snow, to add depth and realism. Use a combination of warm and cool grays to subtly define these areas, and ensure your brush strokes vary in direction for added texture. As you block in the sky and background, maintain soft edges to enhance the mysterious atmosphere and keep the focus on the main subject.
In the final stages, refine details by adding texture and contrast to trees and enhancing the foreground with light and shadow. Use a light touch to introduce color variations without disturbing underlying layers, and consider the composition when adding your signature. With these techniques, your painting will capture the viewer's eye and convey a sense of depth and balance.
Points to remember
Feel free to play with colors to achieve the desired effect.
Divide the canvas into thirds to create a balanced composition.
Avoid dividing the canvas in half vertically or horizontally.
Vary the size and shape of elements to create asymmetrical balance.
Ensure the mountain line is either above or below the bushes.
Use soft edges in the sky to enhance the mysterious atmosphere.
Focus shadows on the left sides of grass clumps for a natural light effect.
Use a thin rigger brush to achieve a ramshackle look for fence posts.