good move signing up for the free painting lessons! You are officially a clever cookie.
Haven’t signed up yet but would like to receive these lessons by email (and 20% off your first order?) Get started here!

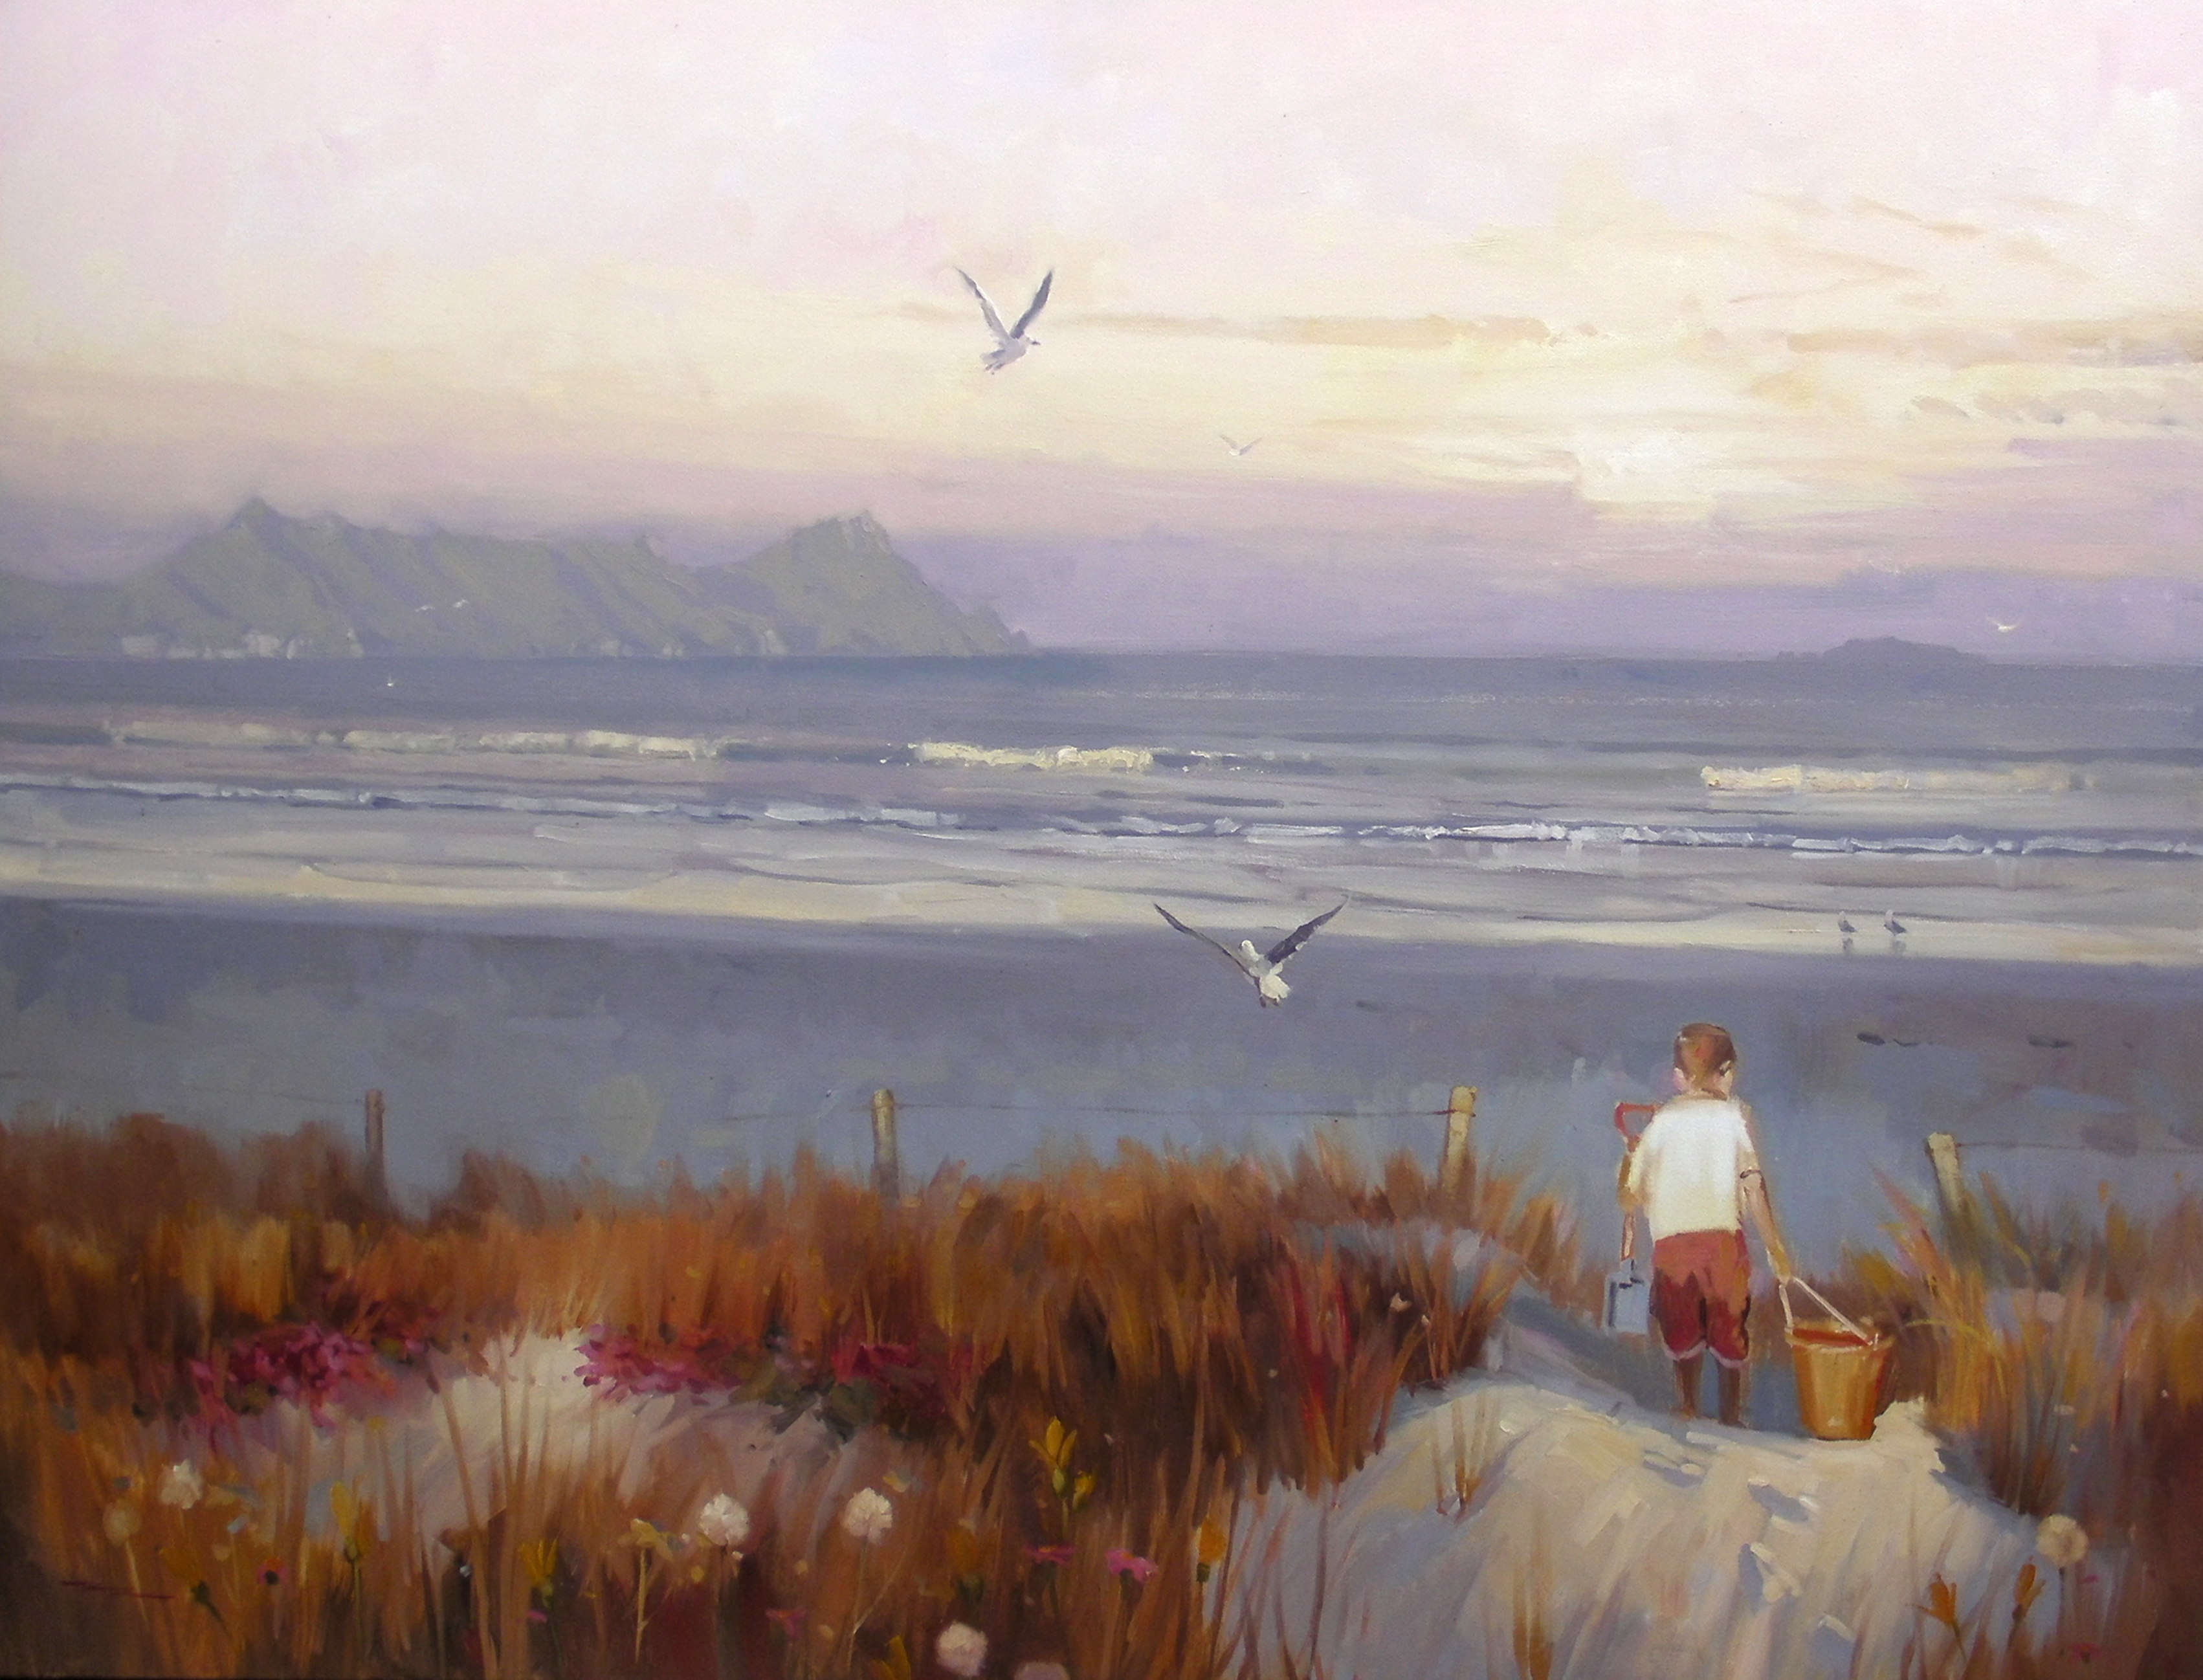
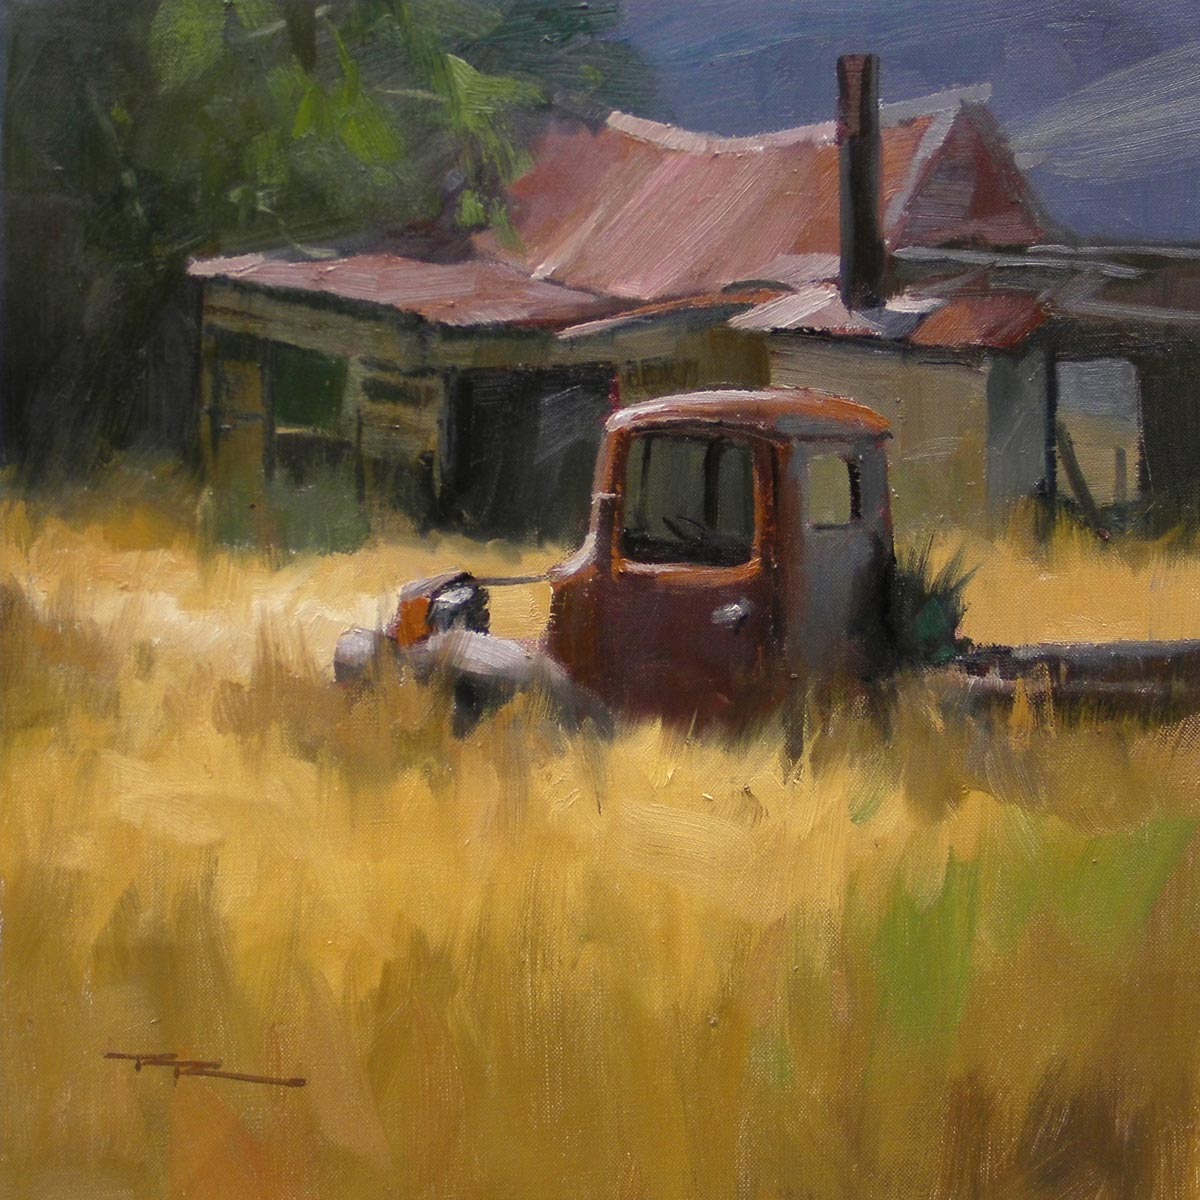
The Concept
Make an area or object comparatively lighter and sharper than its surroundings.
Ways to do it
– Lighten the focus area and sharpen edges or
– Darken the surrounding areas and soften edges or
– BOTH of the above, for extra punch!
Glazing:
Mix a little bit of paint with lots of painting medium (something like Liquin) and lay this on the dry painting over the areas you wants to subdue. Bonus – this harmonizes the colours beneath – and it’s all about harmony isn’t it? What colour should you use? It’s good to use a darker colour than what you’re painting on top off. If you use a lighter colour it tends to look like a milky layer over the top. For that reason it’s not good practice to try lightening an area by glazing over the top either – no harm in trying, but you’ll see what I mean. (if you want to try glazing lighter I’d suggest using Zinc white because it’s more transparent than Titanium white).
Tip: You can use a rag to apply a glaze, and to remove it where you don’t want it, or soften the edges of the glaze.
Scumbling:
Just grab some dryish paint (with no painting medium mixed in with it) and with an old brush work it loosely over the surface of your dried painting in the areas you want subdued.
Tip: Use a slightly darker mixture than what’s there already.
Wet in Wet:
This is the trickiest one because it requires a bit of planning. Decide where your focus area is going to be, then choose to either start there or begin with the surrounding area. Either way you have to keep your spotlight effect goal in mind all the time. If you start with the outside, your mixtures should (or could) be slightly darker and thinner, with softer edges, the paint getting thicker and lighter as you move towards the center of focus.
Tip: Use BIGGER brushes for the outer areas!
That’s it!
Try the spotlight effect on your next painting – even if it’s just a little one. I think you’ll be pleasantly surprised at how powerful it can be.
I’ll send you another painting lesson soon. It’s very cool too (if I do say so myself) – it’s all about Infused Light – pretty advanced, but again, well worth the extra paint.
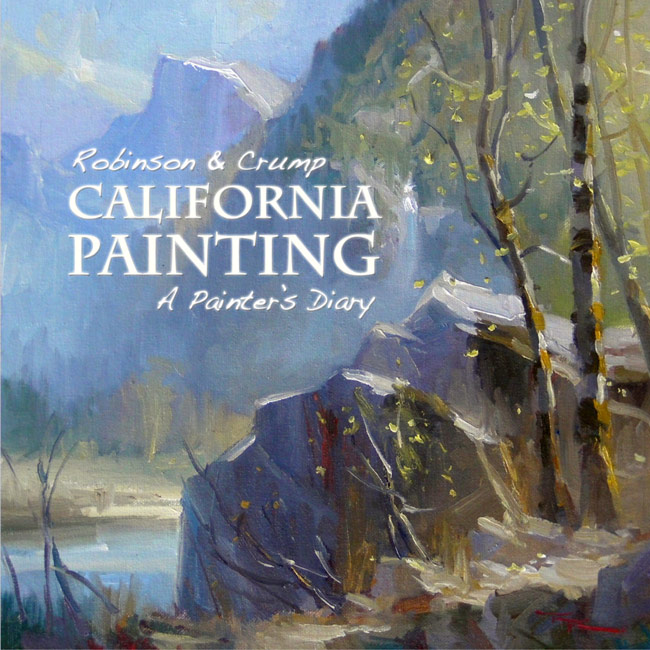
Oh and here are 2 great ebooks for you (click on them)...

Happy Painting,
![]()
Richard.
Loved that free lesson?
If you haven't already signed up for these lessons you can do that here completely free:
If you have already signed up, your next free painting tip will be coming to your inbox soon!
Login to your account to post a comment.