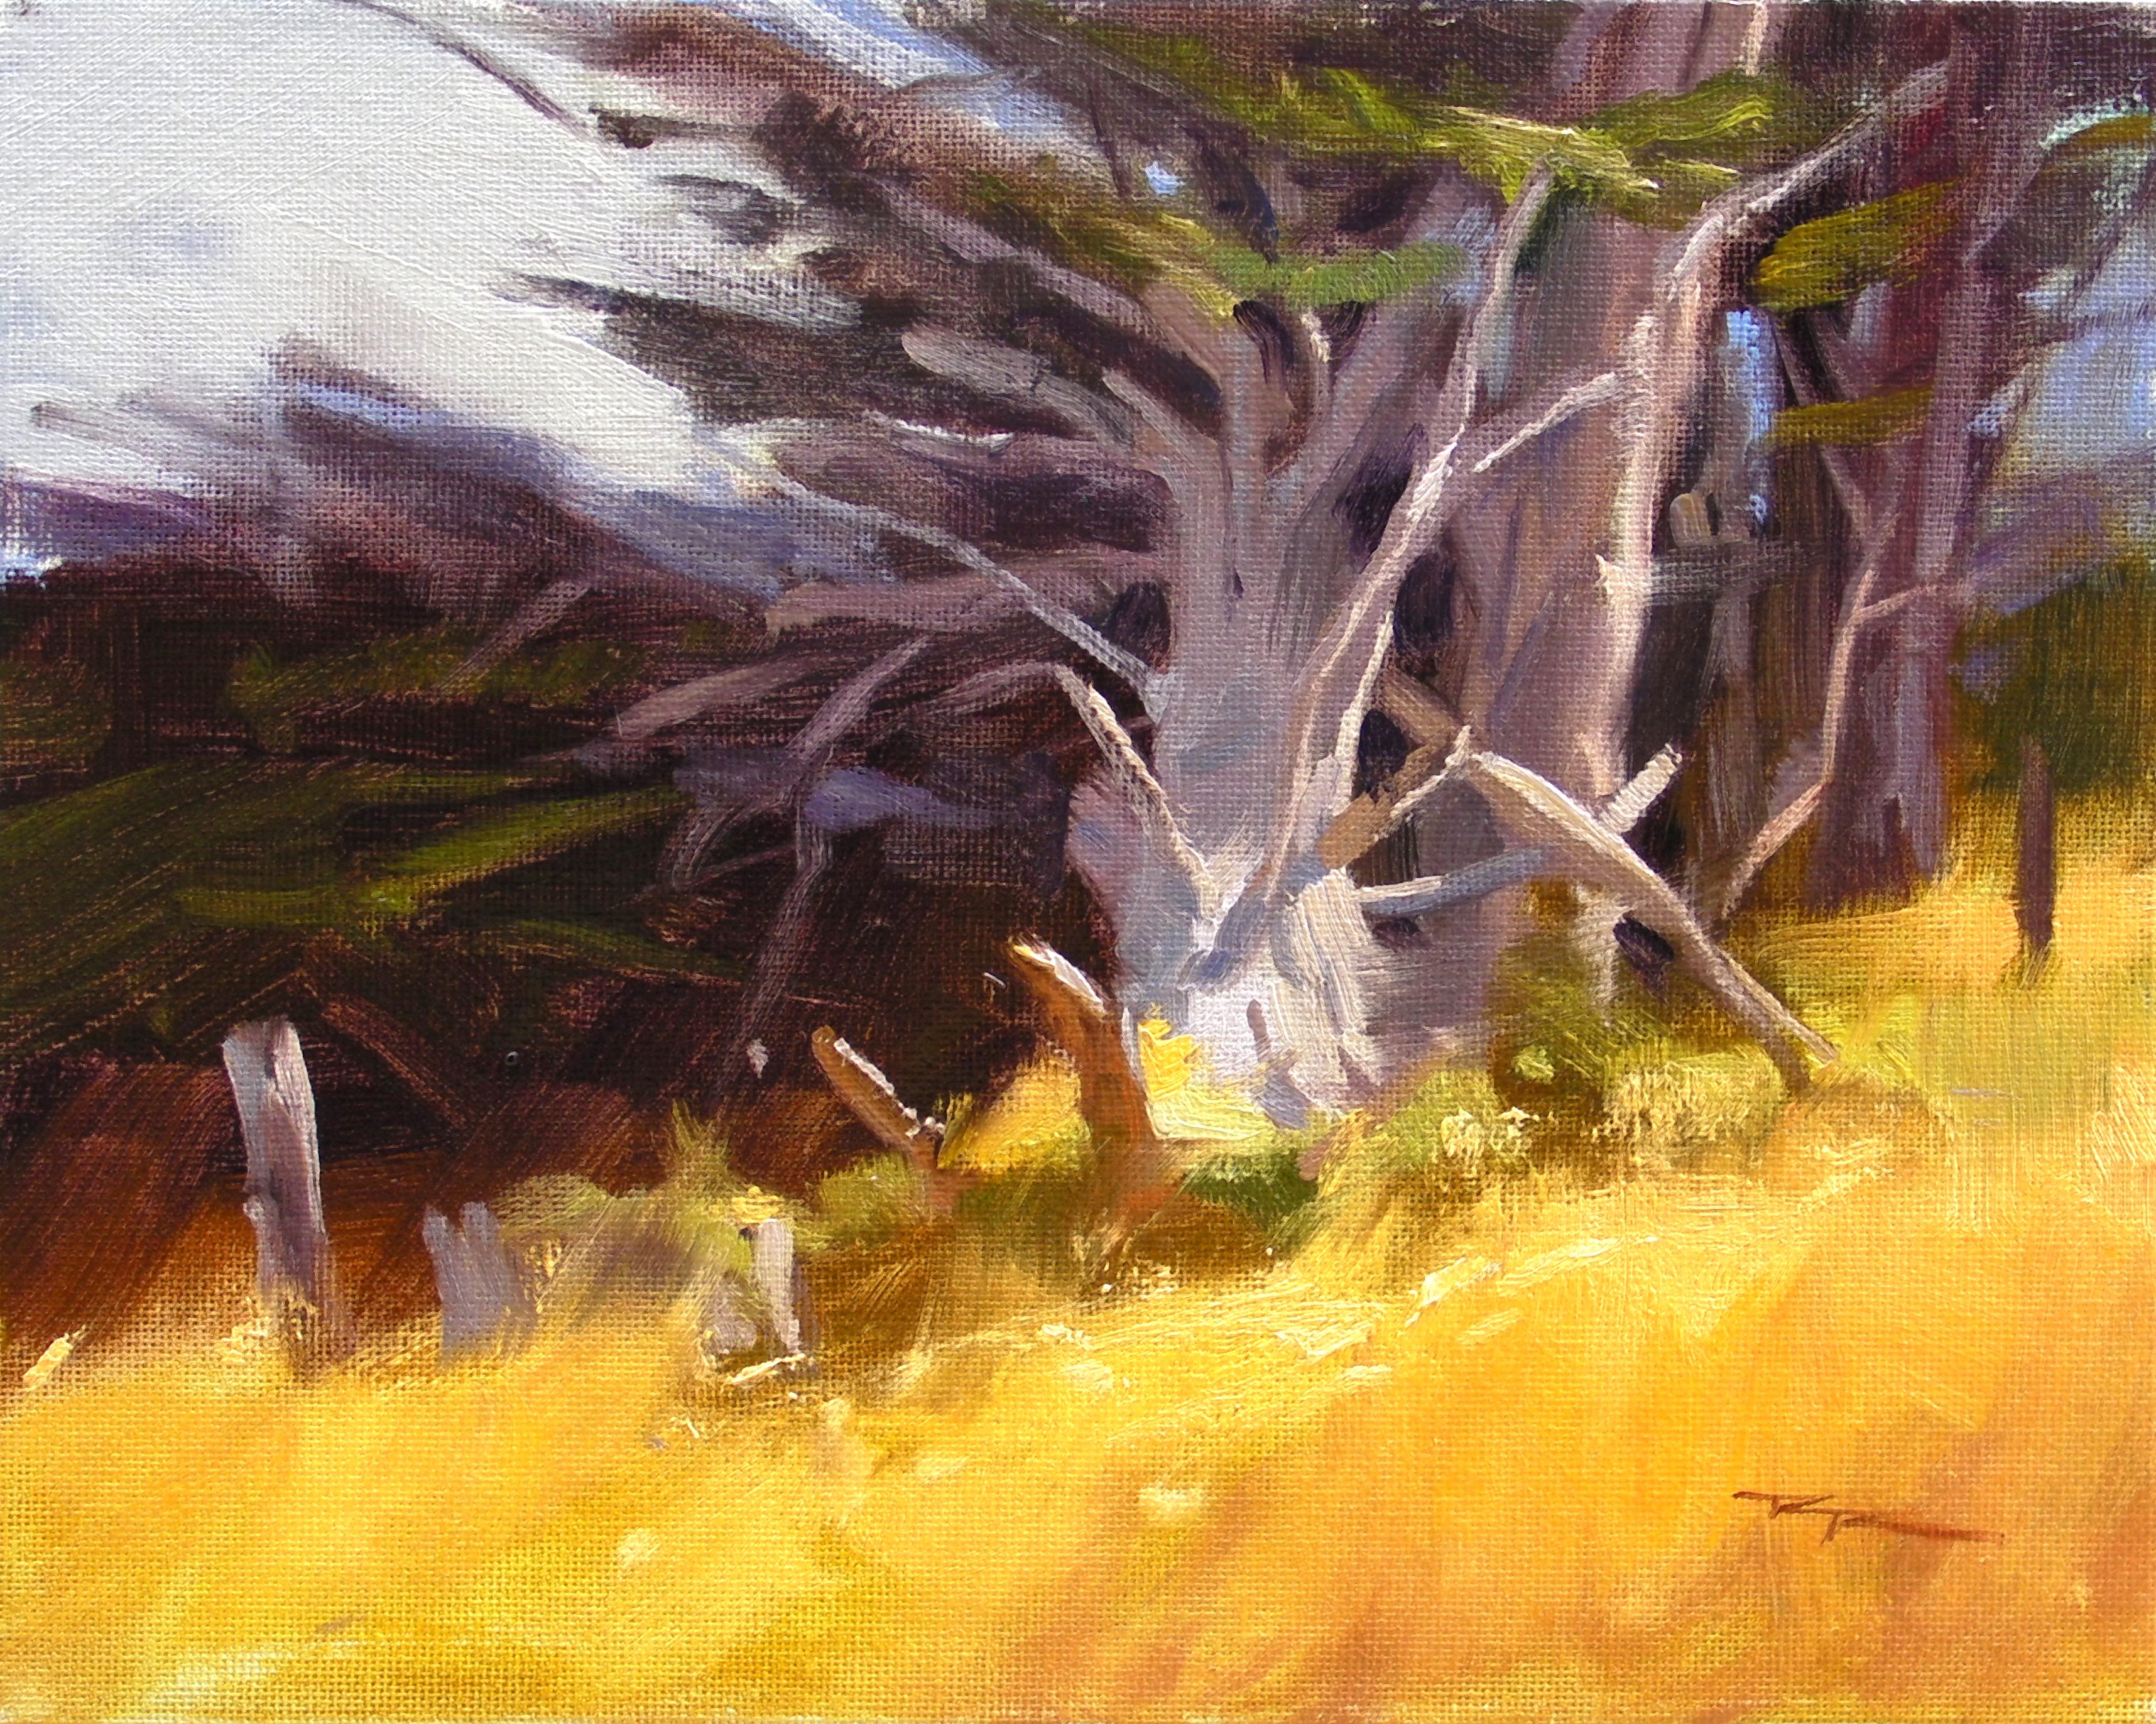
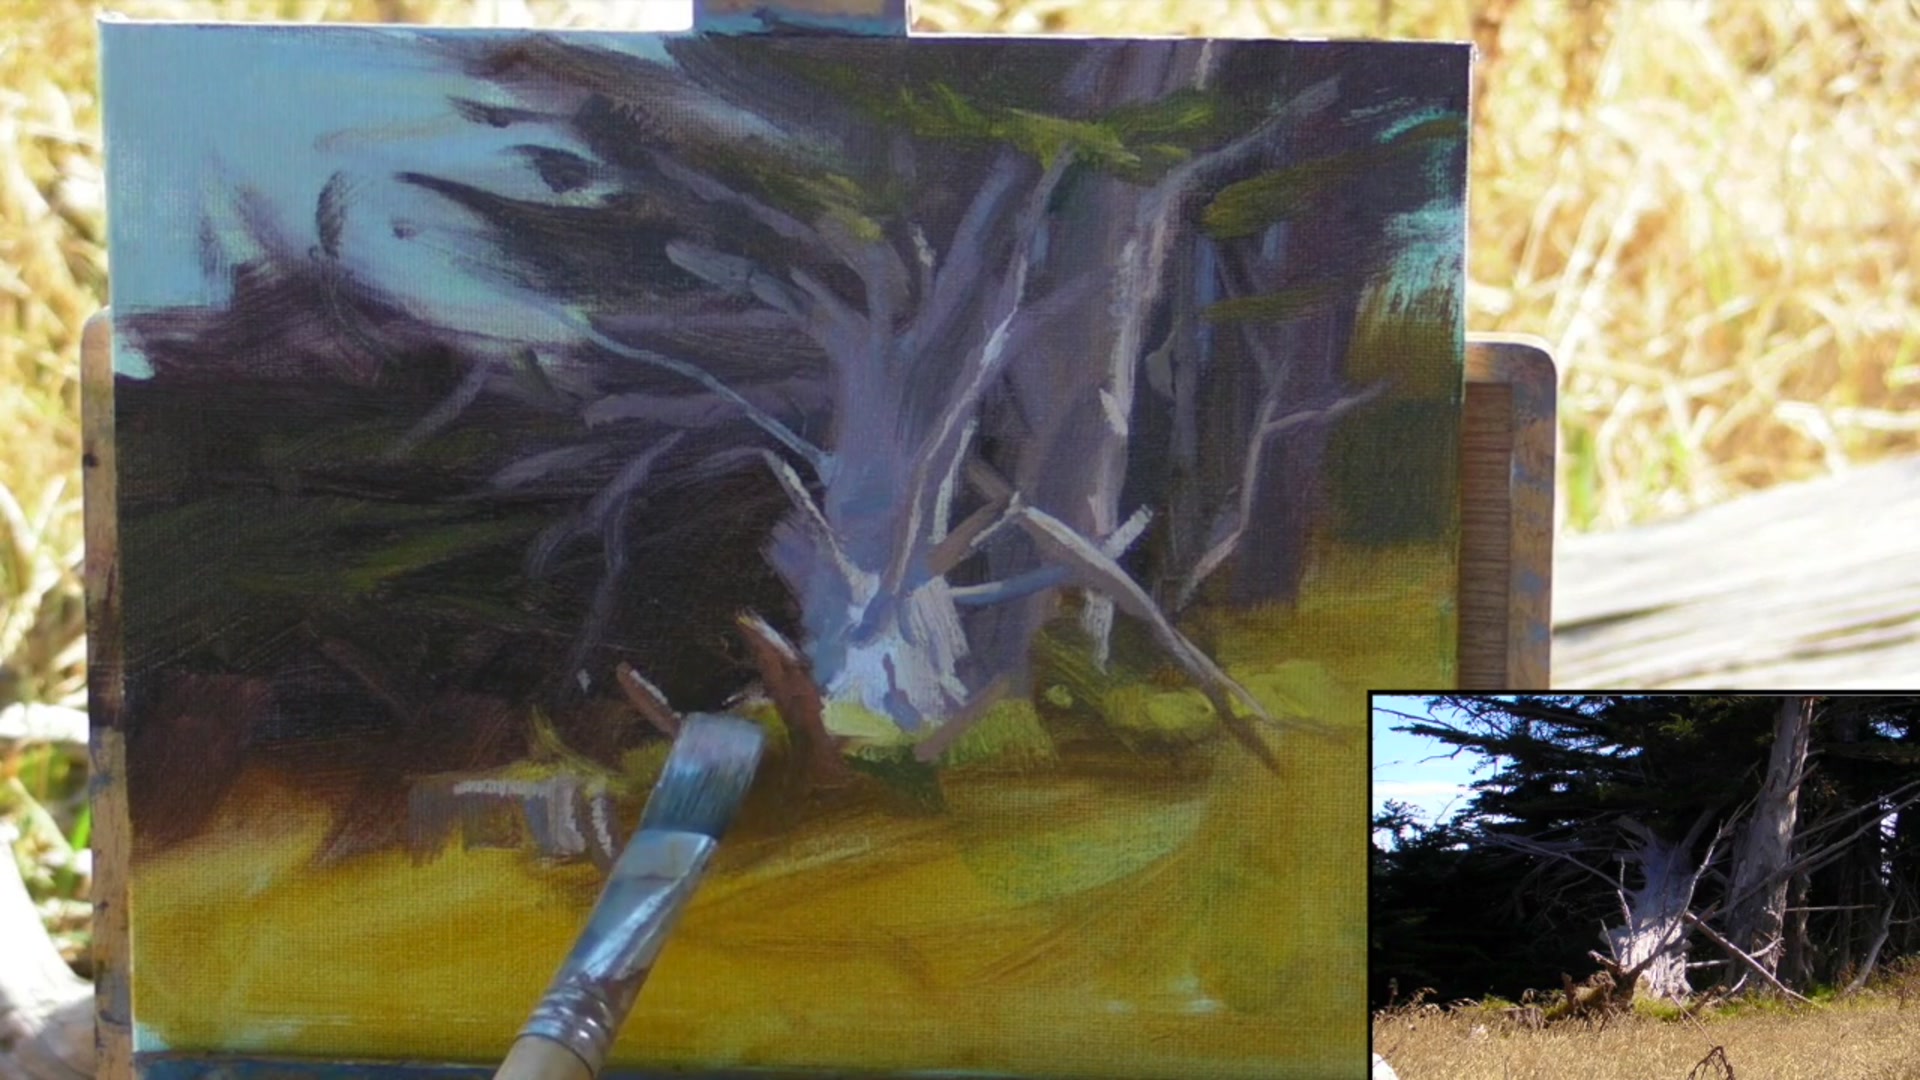
Join me on a painting adventure right here at One Tree Point, just down the road from my home. I initially set out to paint a different tree, but as I explored, I stumbled upon these magnificent old trees leaning together, their stark shapes beautifully contrasting against a dark backdrop and a glowing field of golden grass. The scene captivated me instantly, and I felt an overwhelming urge to capture it on canvas. In this chapter, I'll guide you through the process of painting this dynamic scene on a 10 x 8 panel, which took me about an hour and 20 minutes. You'll see how using large brushes can help you swiftly capture the essence of a scene without getting bogged down in details. The key is to focus on what you love most about the subject, and this lesson will show you how to do just that. I hope it inspires you to venture outdoors and create your own masterpieces, embracing the spontaneity and joy of plein air painting.
This guide accompanies the full video lesson. The lesson includes the complete narrated video, the printable PDF chapter, and personalised critique support.
Add small details to the tree, balancing between too much and too little. These details help convey the scale and size of the tree.
Apply Rich Foreground Color
Mix irilamide yellow deep with a little bit of white to create a rich foreground color. Apply it thickly to add texture, but avoid overdoing the detail.
Soften Background Edges
Use a pure mixture of aromillide yellow, similar to cadmium yellow deep, for the glowing area at the base of the tree. Soften the edges with your finger to allow sharp elements to stand out.
Introduce Foreground Color Variation
Add alizarin crimson to the yellow in the foreground to introduce a more interesting color. This change adds interest to the large area of color, moving beyond just shadowing the golden grass.
Maintain Soft Foreground Edges
Keep the edges in the foreground very soft to avoid drawing attention away from the center of interest.
Pro tipUse your finger to soften edges for a more natural transition between elements.
Embark on your painting journey by thoughtfully arranging your palette and preparing your canvas. Begin with a pre-painted and scrubbed canvas to facilitate smooth paint application, and sketch your composition using a loose, watery mixture of alizarin crimson and ultramarine blue. Position your subject slightly off-center to create a dynamic and engaging composition.
As you lay in the darks, use odourless thinners for a subtle base layer, and plan your color palette to emphasize the main subject. Focus on the painting process as a learning opportunity, experimenting with thin layers to achieve light textural effects. Imagine your trees as a family to naturally vary their sizes and positions, avoiding uniform patterns.
Balance detail and abstraction by using broad strokes and adding selective details to highlight key elements. Pay attention to the interaction of light and shadow, using reflected light to enhance realism. Build up green tones with vibrant mid-greens and apply intuitive design choices to guide the viewer’s eye, creating a harmonious and lively composition.
Points to remember
Arrange your palette for easy access and mixing.
Use a pre-painted canvas for smoother paint application.
Position your subject off-center for dynamic compositions.
Use odourless thinners for laying in darks.
Plan your composition by focusing on the main subject.
Work with thin paint layers for light textural effects.
Vary the size and placement of sky holes to avoid patterns.
Think of objects as mirrors to determine reflected colors.