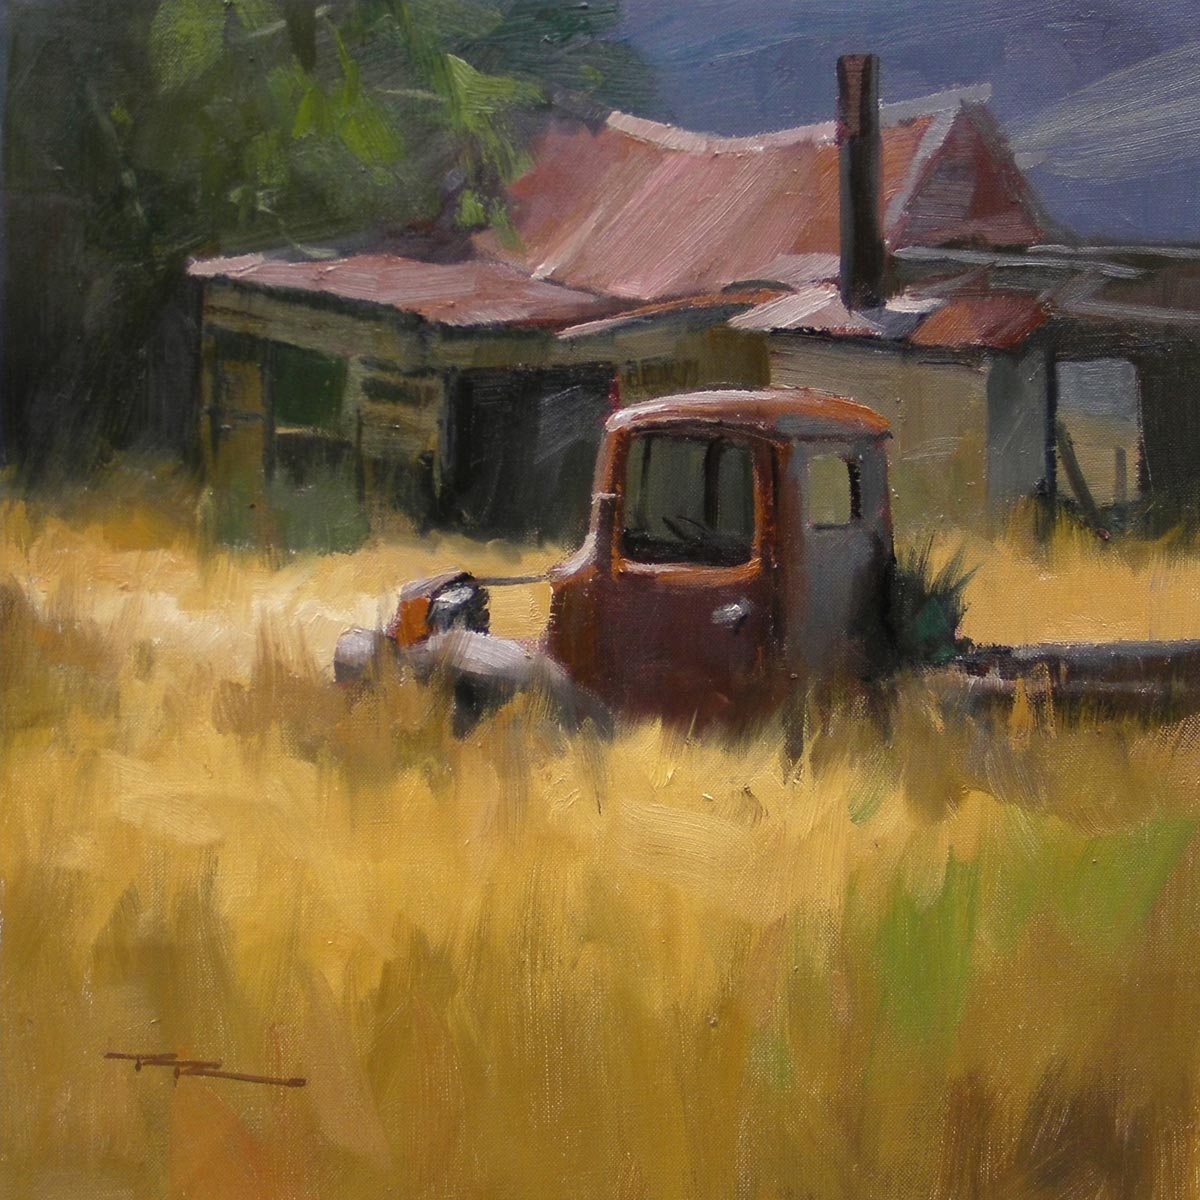
Welcome to the enchanting Glen Orkey, nestled in the Dark River Valley, where the old mill house stands as a testament to time. Today, I have the pleasure of painting this captivating scene, complete with an old truck partially buried in gravel and grass, under the warm embrace of the sun. This setting offers a rich tapestry of textures and colors, making it an ideal subject for our painting journey. I am thrilled to be here with John Crump, a renowned painter whose expertise has been invaluable during my stay. Using all of John's equipment, from his fine Belgian linen canvas to his palette of colors and brushes, I aim to immerse myself in his painting technique. This chapter captures my learning experience, as John guides me with insightful feedback, helping me refine my skills. As we explore this scene together, you'll discover how to adapt and enhance a landscape to create a compelling composition. Let's embark on this creative adventure and see what we can achieve under the brilliant Glen Orkey sun.
This guide accompanies the full video lesson. The lesson includes the complete narrated video, the printable PDF chapter, and personalised critique support.
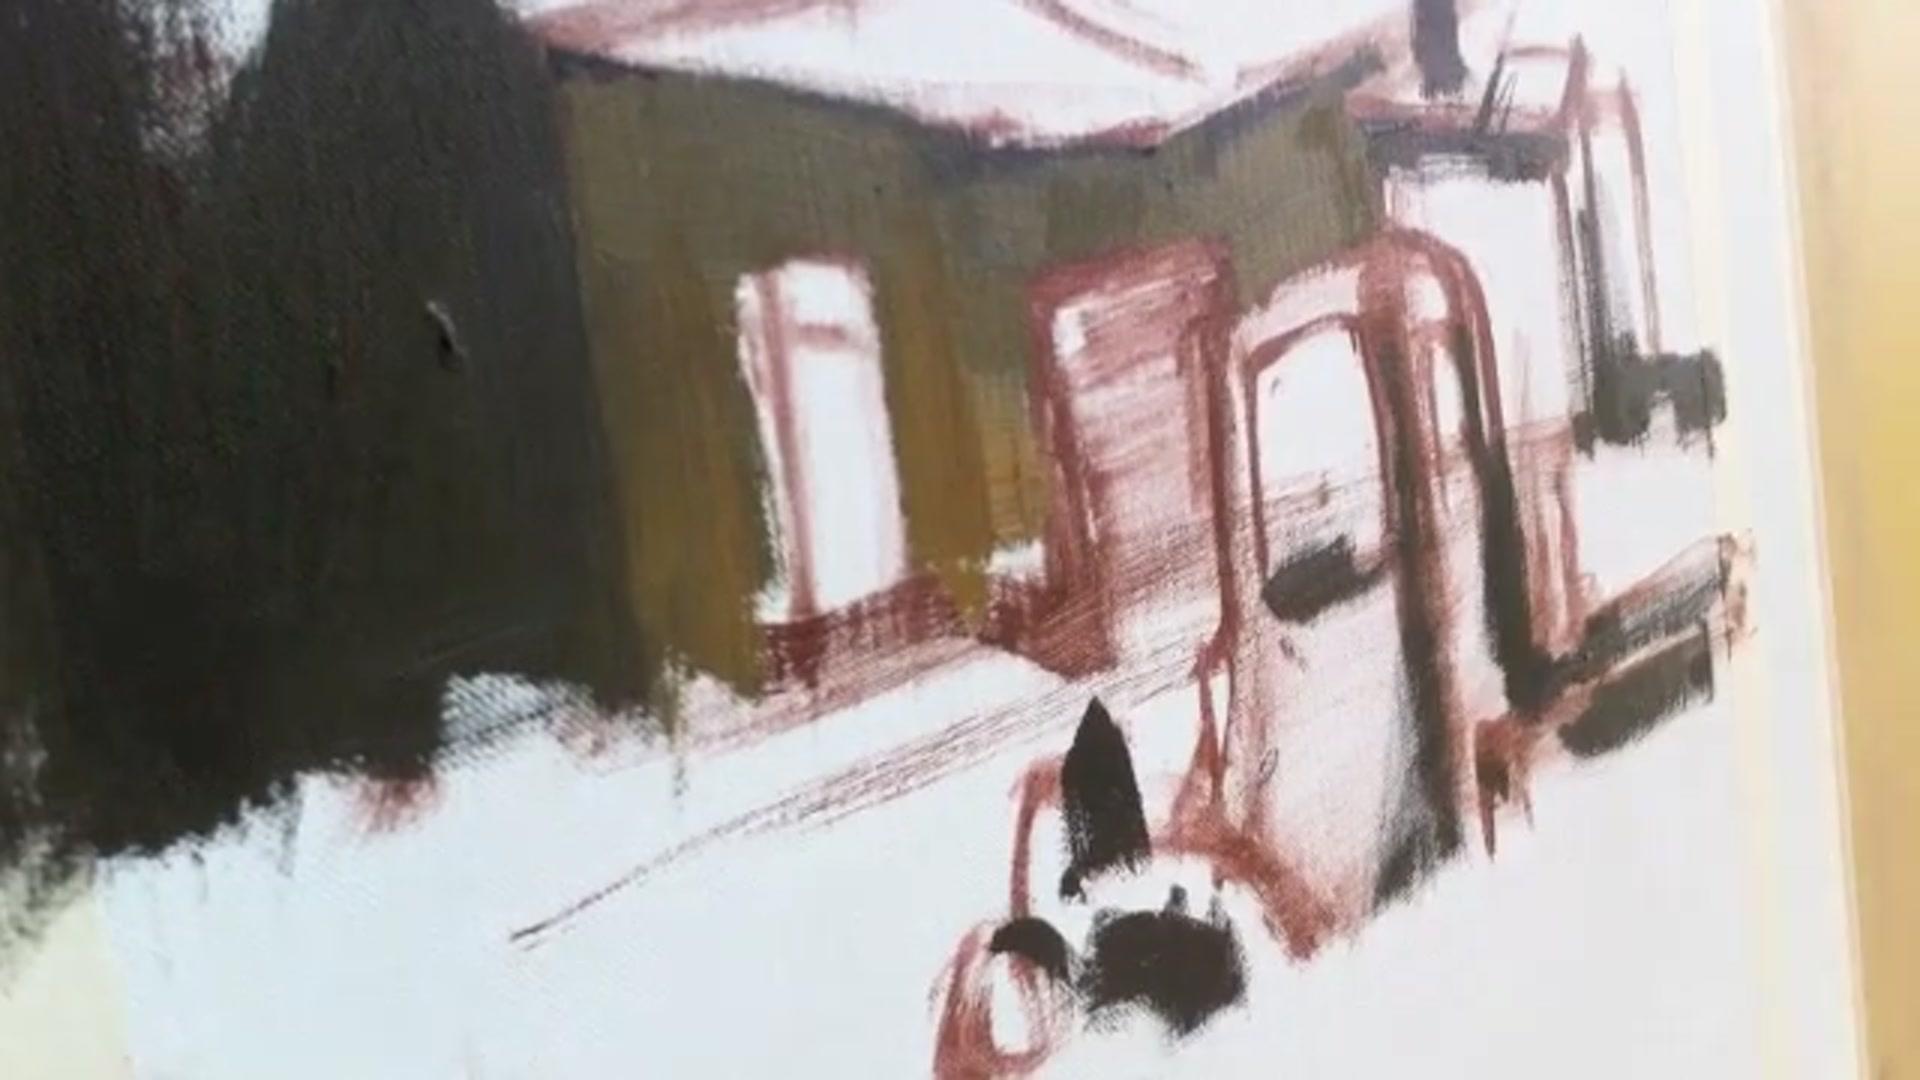
Identify the areas in your painting that require the next darkest tones, such as windows or shadowed holes. Apply these darkest tones to create depth and contrast. This approach helps in building up the painting from dark to light, allowing you to see the progress across the entire piece.
Pro tipStart with your darkest darks and work up towards your lightest lights to effectively build contrast and depth.
Embark on your painting journey with the Old Mill House by first preparing your materials. Use Liquin medium to ensure smooth paint application and sketch your composition lightly, focusing on the perspective and placement of your main subjects. As you lay down the initial lines, remember to keep them thin to avoid interference with subsequent layers.
As you progress, emphasize the focal points of your painting, such as the house and the truck, by reducing detail in the background. Carefully plan your composition, ensuring elements like the truck stand out through strategic use of light and shadow. Simplify your scene by avoiding central placement of major lines and maintaining a balance between light and dark areas.
Finish your painting by refining colors and adding details. Use high-quality paints for vibrant hues and consider the effects of reflected light to enhance realism. Prepare your canvas to avoid stark white areas, and use soft edges in the background to keep the focus on your main subjects. Learn from other artists and continuously refine your technique to grow as a painter.
Points to remember
Always dip your brush into Liquin before adding paint for smooth application.
Keep your initial sketch very thin to avoid it showing through final layers.
Emphasize main subjects by keeping background elements subdued.
Ensure overlapping shapes bring the truck forward in the composition.
Avoid placing major construction lines in the center to maintain balance.
Use soft edges for shadows in areas with less direct light.
Invest in high-quality cadmium colors for vibrant and strong hues.
Prepare your canvas by staining it to eliminate the white surface.