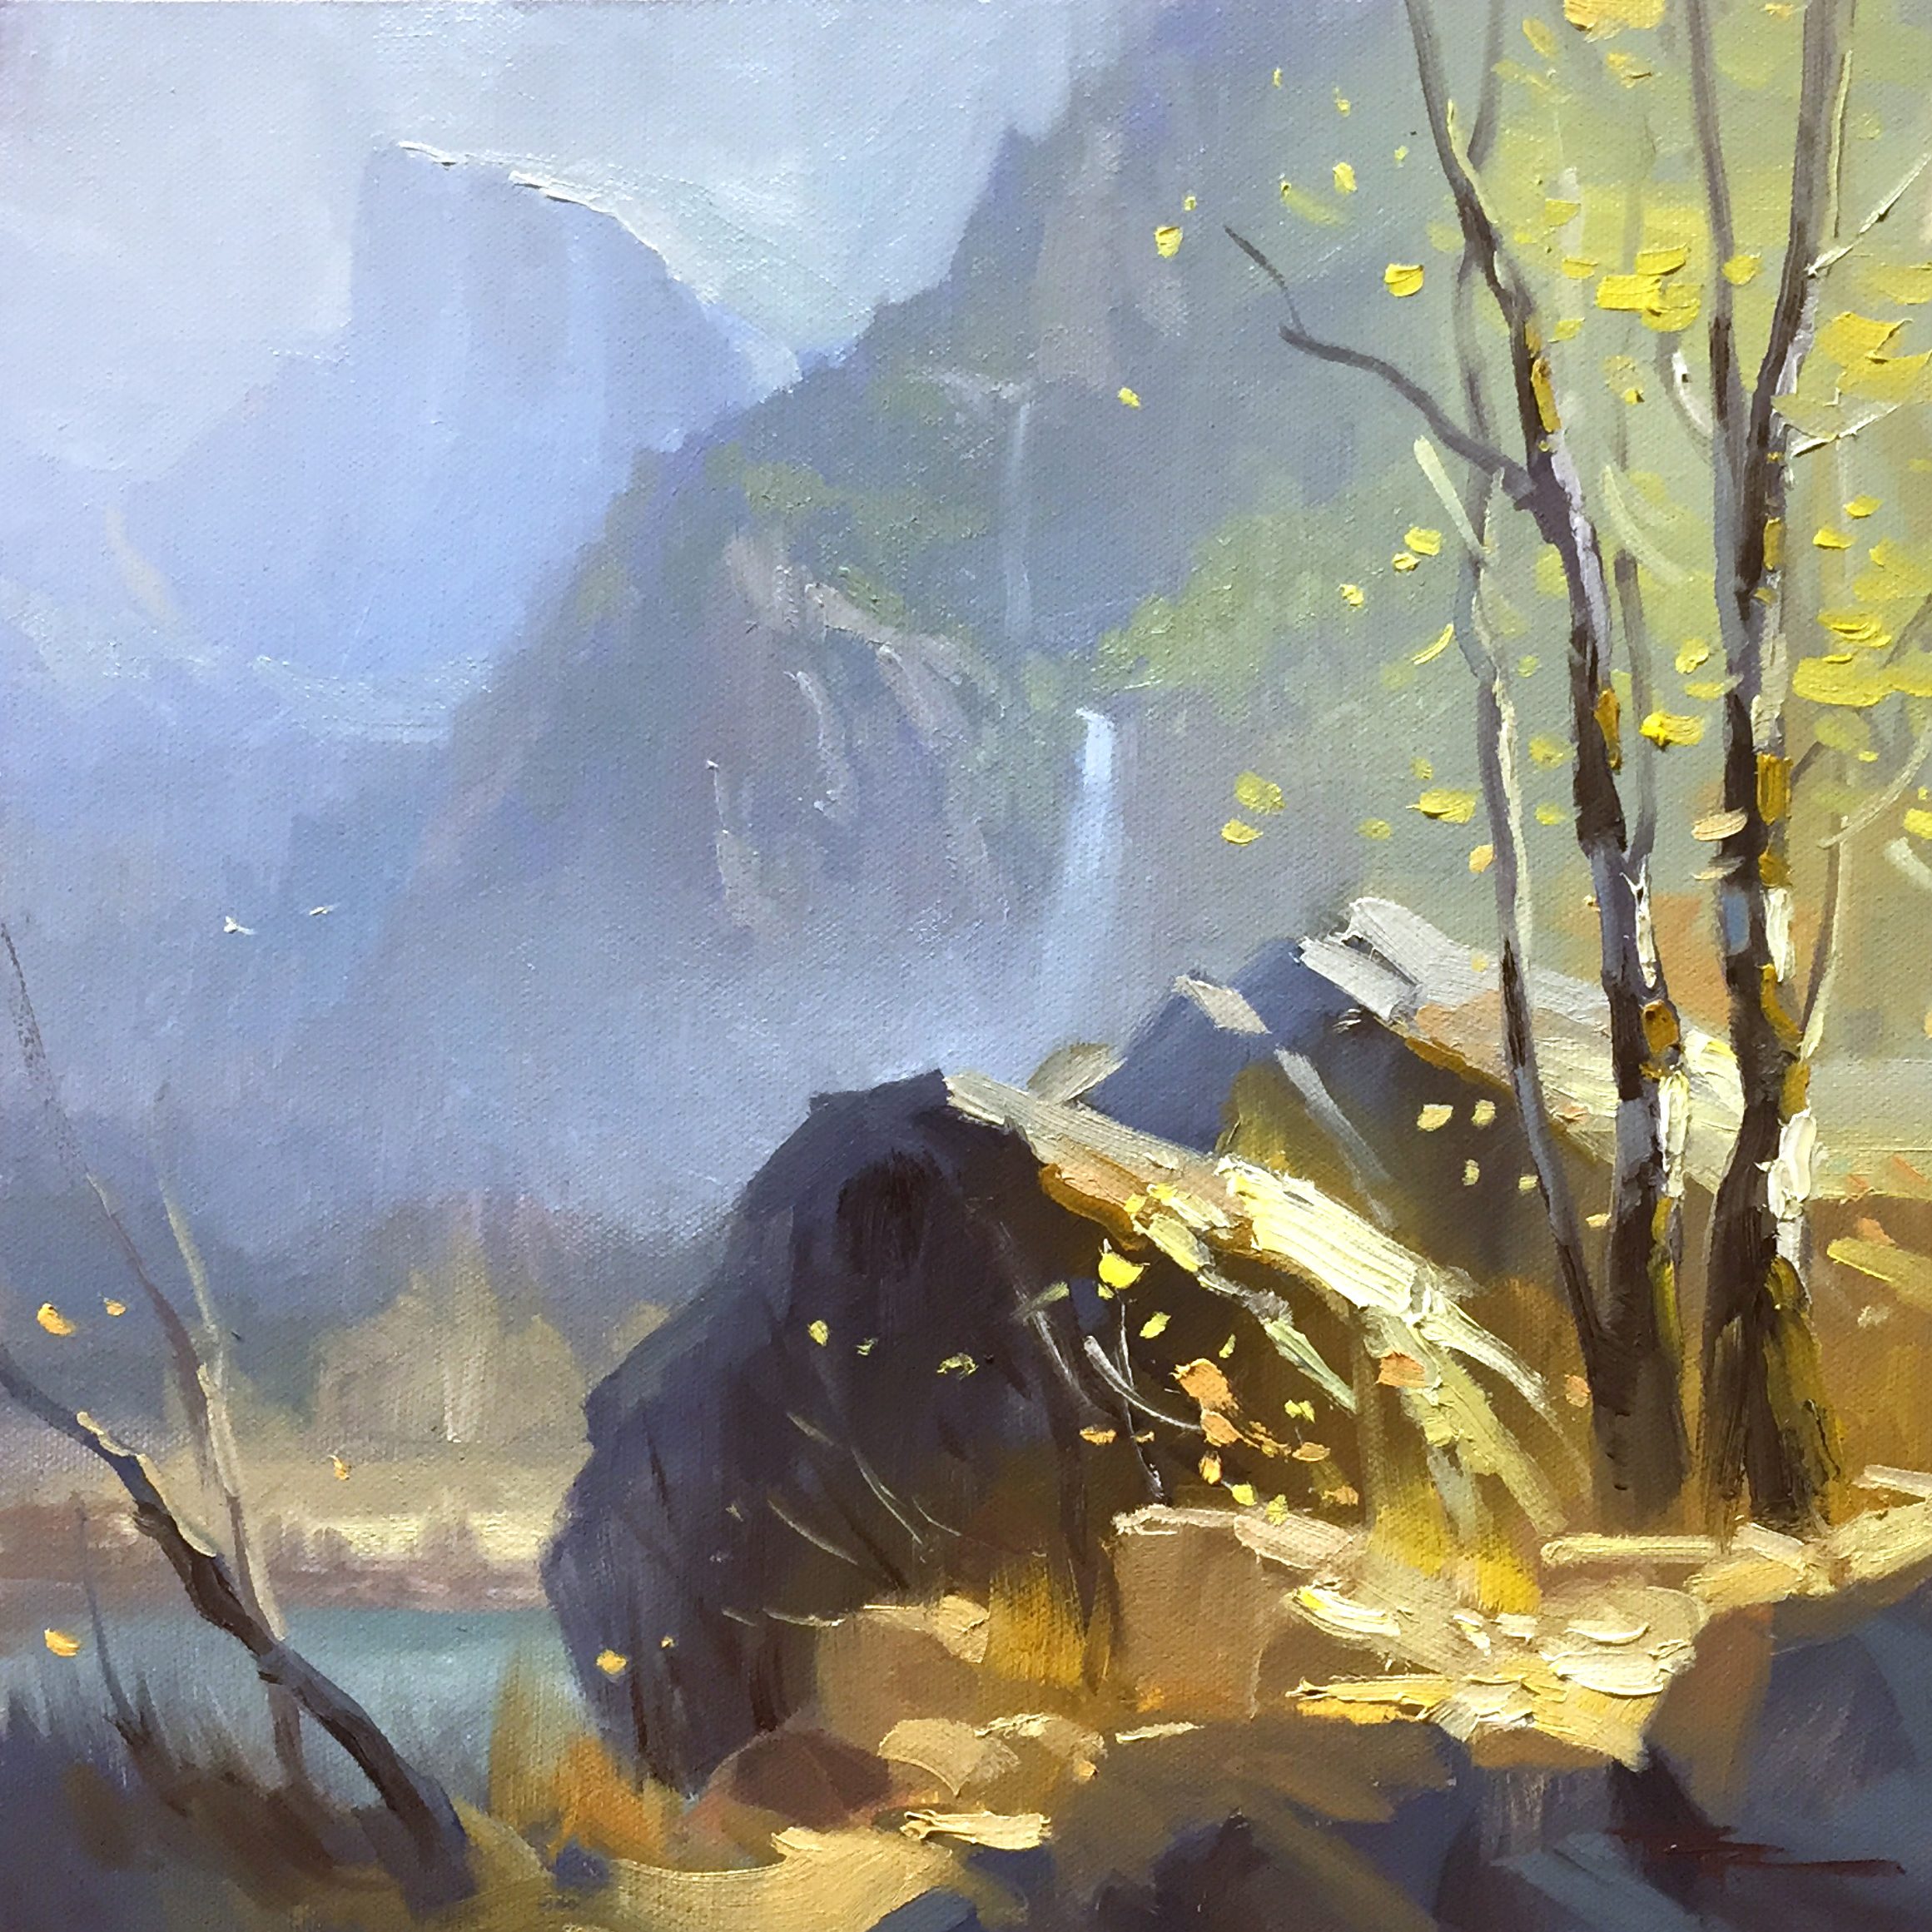
Welcome to the breathtaking Yosemite National Park in California, where we're about to embark on the exciting challenge of painting Half Dome. This iconic landmark, with its towering granite cliffs and majestic sequoia trees, offers a view so vast and awe-inspiring that it can be quite a task to capture it all on canvas. But fear not, as I guide you through this lesson, you'll learn how to use your artistic license to rearrange elements and create a composition that truly captures the essence of Yosemite. Together, we'll explore the art of painting with light and atmosphere, focusing on misty atmospherics and the intense, glowing light effects that make this scene so rewarding. You'll also discover the joy of using juicy impasto brushwork to bring texture and depth to your work. By the end of this chapter, you'll have not only a beautiful painting of Half Dome but also a deeper understanding of how to convey the grandeur of nature in your art.
This guide accompanies the full video lesson. The lesson includes the complete narrated video, the printable PDF chapter, and personalised critique support.
"Half Dome, Yosemite" 11 x 11" Oil on Canvas by Richard Robinson.
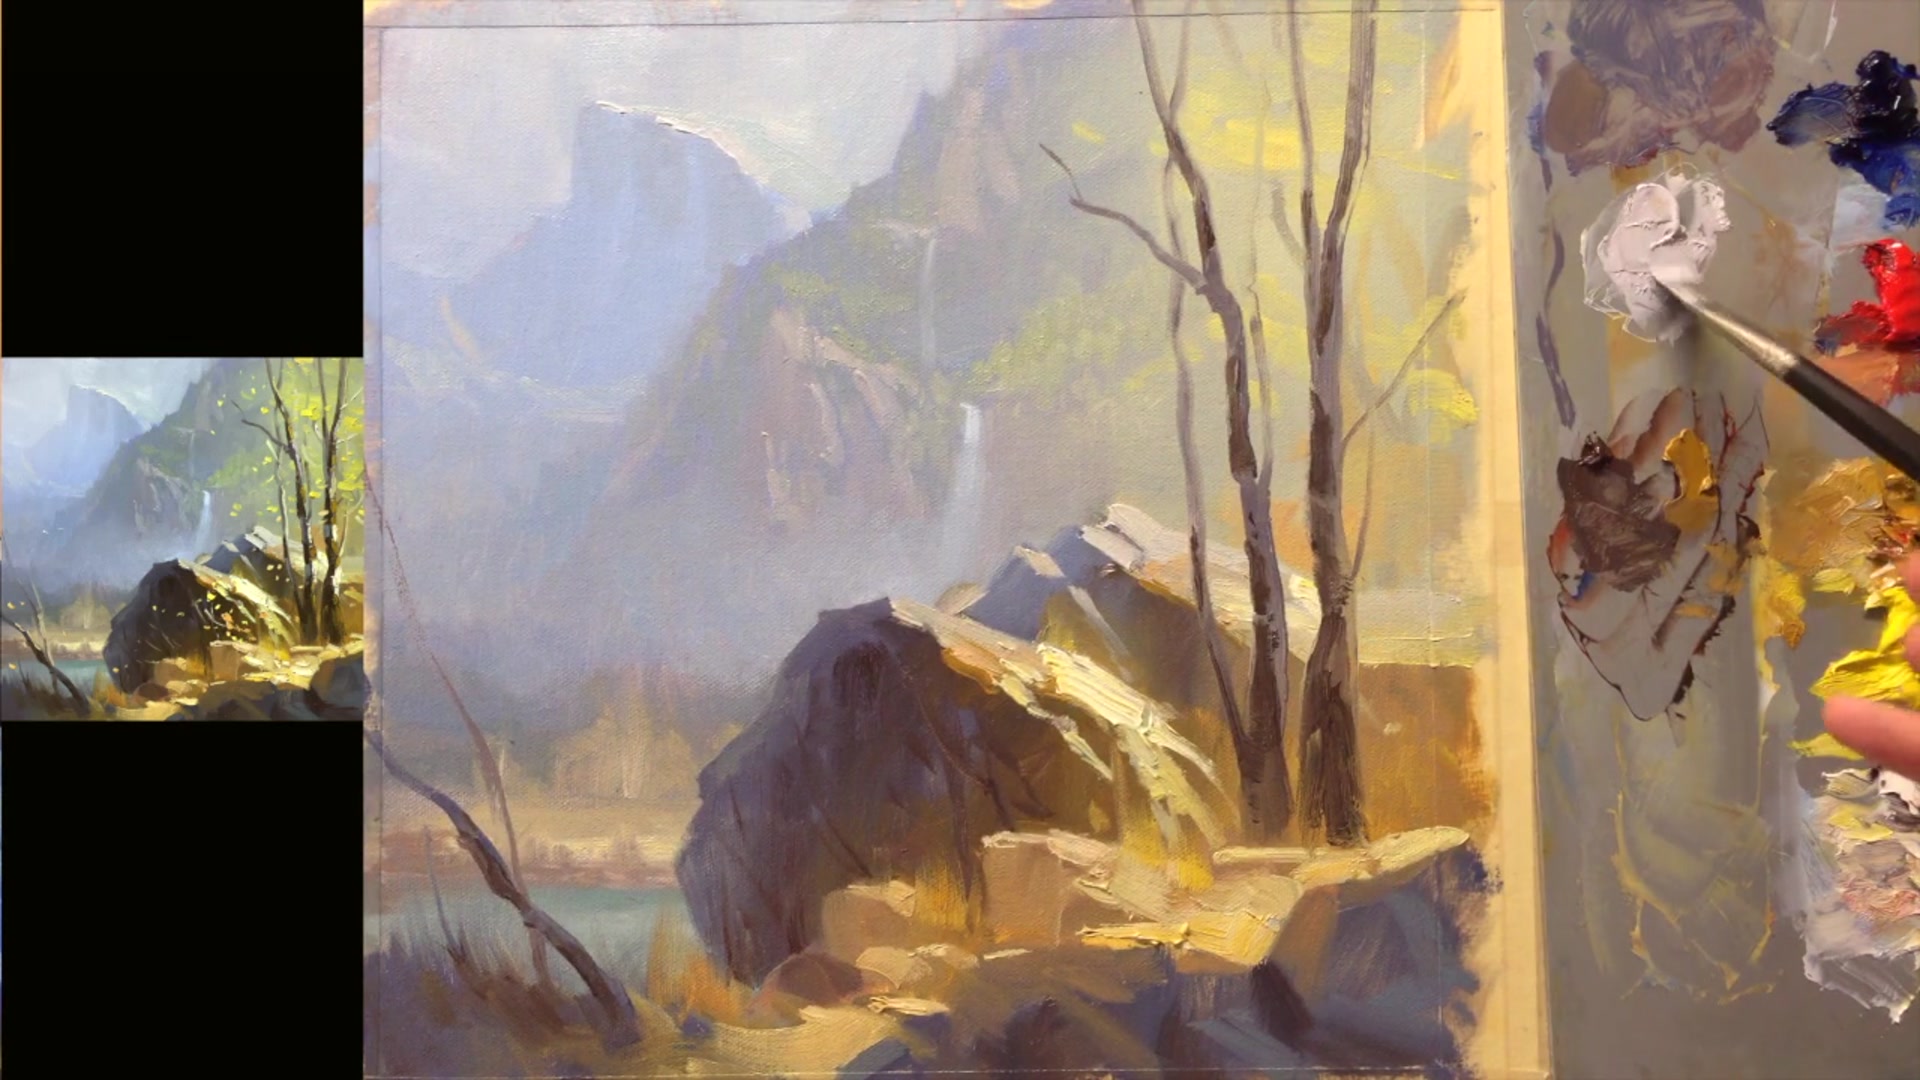
Step 18Final Touches on Trees
Apply Light to the Trunk
Load the paint onto the end of the bristles, avoiding the ferrule. Flatten the paint and push the brush into it to create a crisp edge. Keep the brush clean by removing any dirt picked up during strokes.
Enhance Light Intensity
In areas where the light is more intense, mix white and yellow to create a thick highlight. Apply this mixture to the trunk for a bright effect.
Add Moss Details
Use straight yellow ochre with a touch of bright yellow to add color spots. Avoid creating bands around the tree at the same height; instead, space them randomly.
Highlight Leaves
Mix white and yellow for the leaves catching the light. Apply in small clumps with sharp edges, varying the size and angle of each stroke to avoid uniformity.
Pro tipKeep the brush clean to maintain crisp edges in your strokes.
Embark on your painting journey by embracing the grandeur of Yosemite's Half Dome. Begin by visualizing the majestic scene and feel free to rearrange elements to suit your composition. Use your artistic license to capture the essence of the landscape while maintaining a balanced and cohesive painting.
As you progress, focus on establishing a warm and cool color scheme to create depth and contrast. Start with the background to set the atmosphere, using soft, misty effects to enhance the sense of depth. Gradually build up the foreground with sharp edges and strong contrasts to draw attention and add interest.
In the final stages, pay attention to the details that bring your painting to life. Use a combination of brush techniques to create texture and dimension in the trees, rocks, and water. Remember to keep the background subtle, allowing the foreground to capture the viewer's attention and imagination.
Points to remember
Use your artistic license to rearrange elements for a balanced composition.
Start with the background to establish the atmosphere and mood of the painting.
Use a warm, cool color scheme to create contrast and depth in your painting.
Keep the paint thin in areas where you plan to add warm colors later for easier blending.
Use small downward brushstrokes to create a vertical, mottled effect for distant trees.
Avoid starting with your brightest highlight; build up to it for a more dynamic effect.
Use subtle color variations to suggest details without overpowering the foreground.
Pay careful attention to the shapes you make to avoid a straight path, aiming for a natural, rocky appearance.