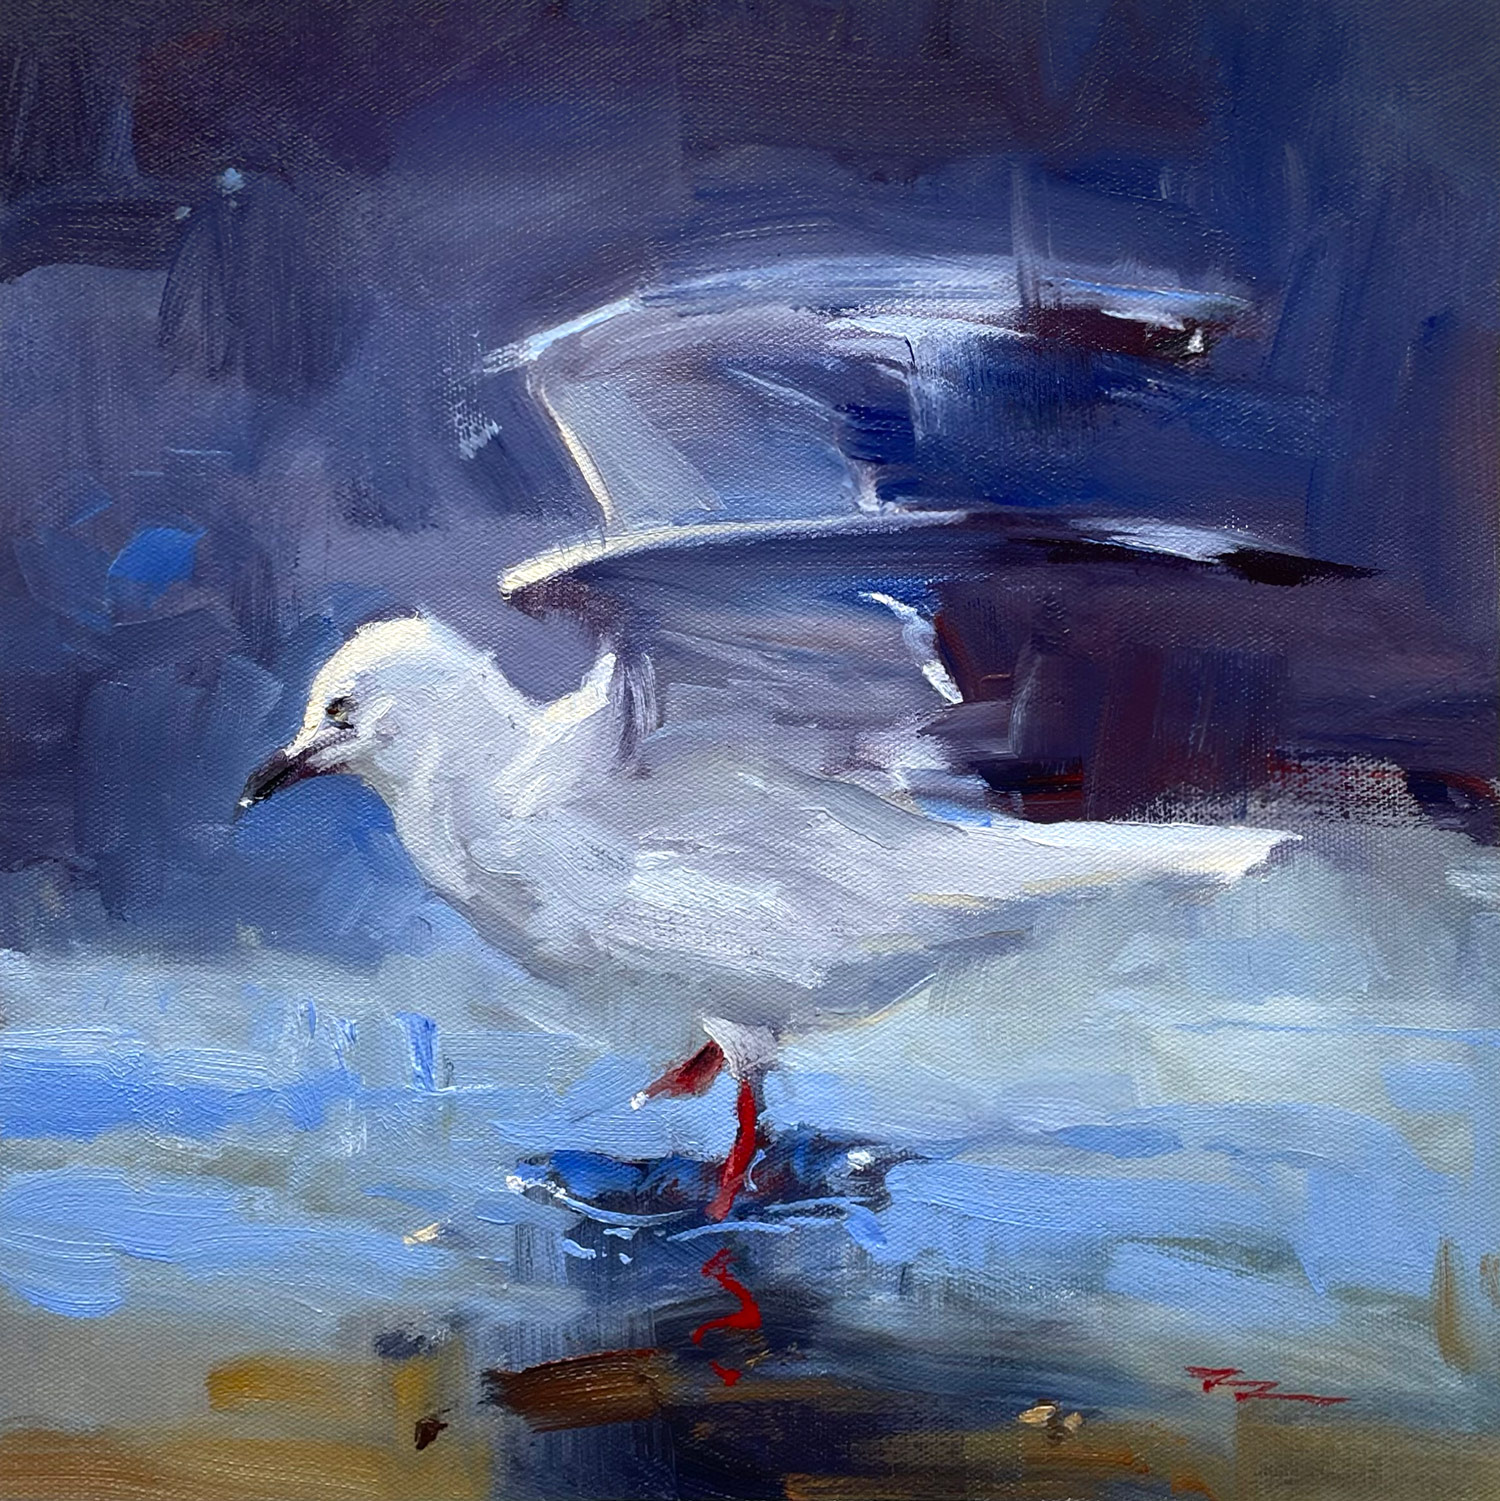
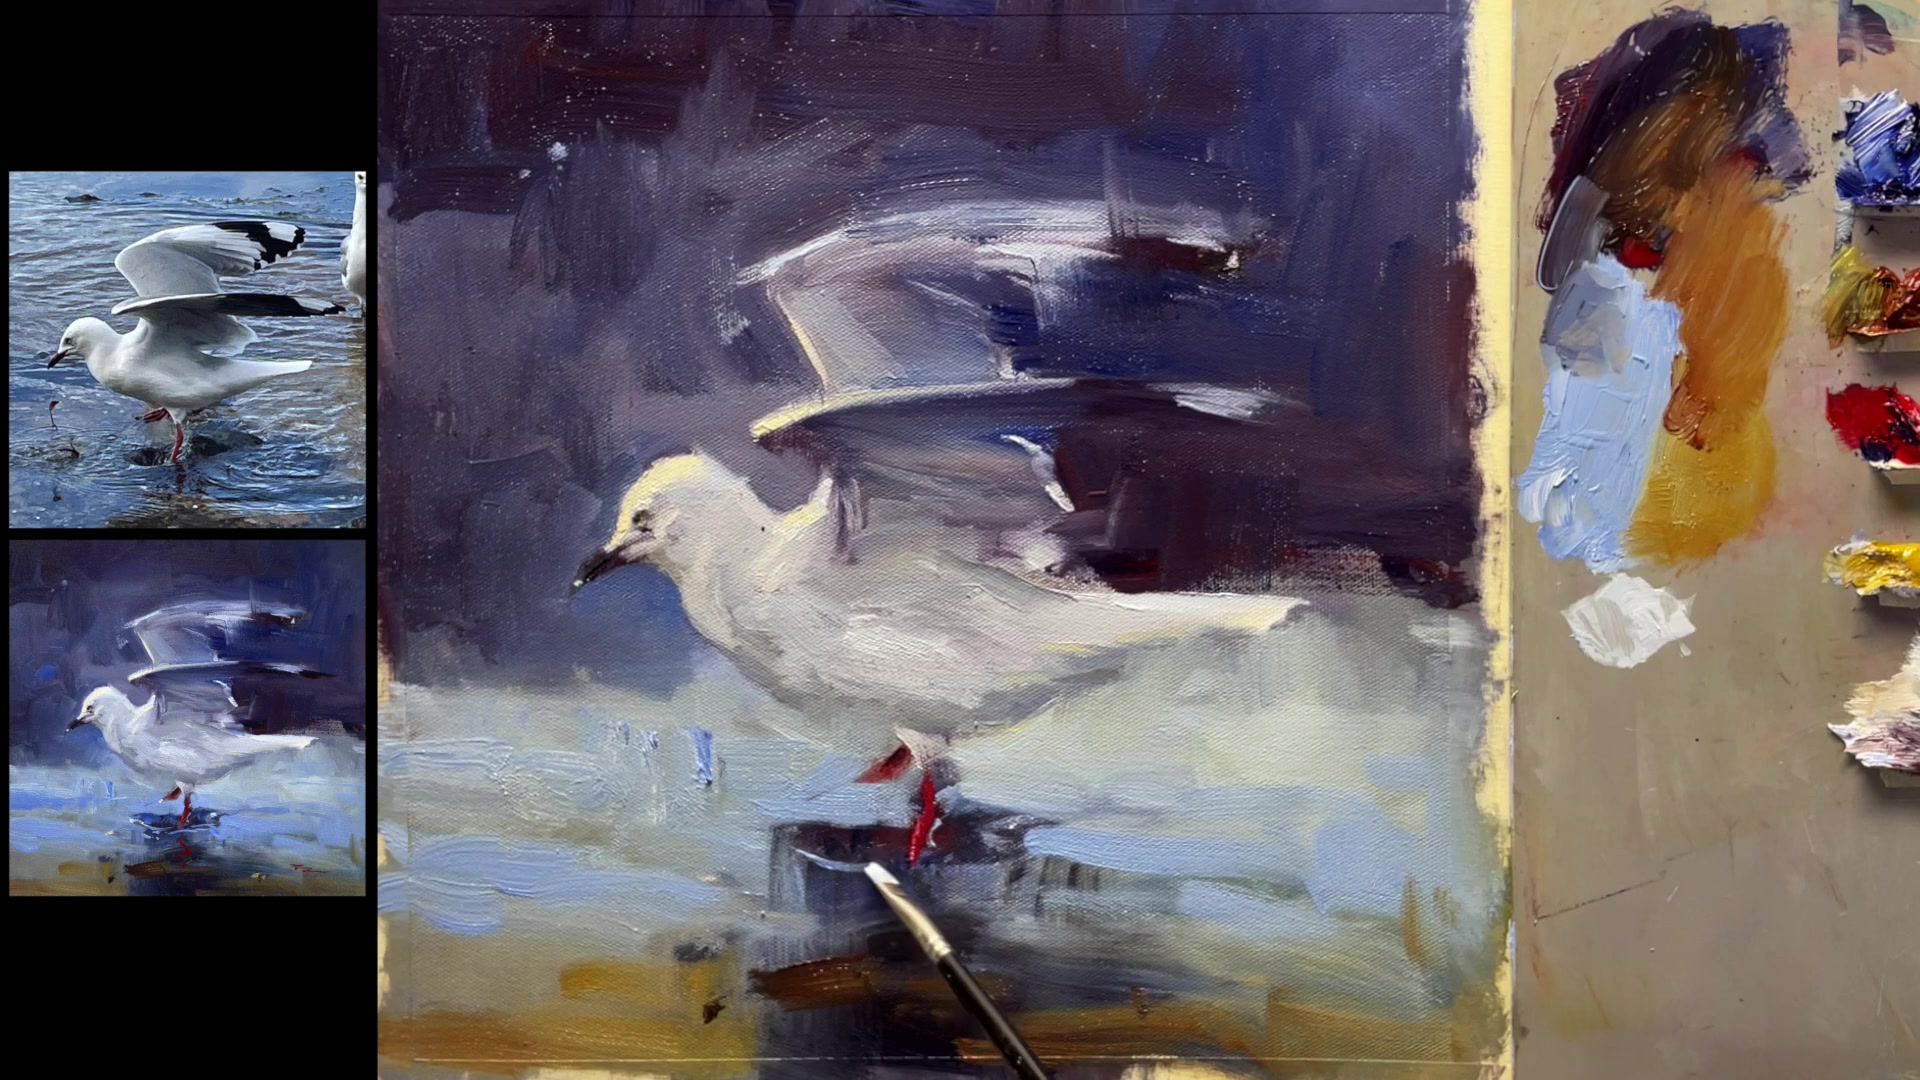
In this chapter, I'm excited to guide you through the process of painting 'The Dancing Seagull,' where abstraction meets realism in a harmonious dance. We'll explore how to create expressive abstract backgrounds that set the stage for the striking details of a beautiful seagull in motion. This scene is a rewarding subject because it challenges us to focus on the essence of the seagull's graceful shape and movement. As we paint, I'll emphasize the importance of starting with a strong design concept, ensuring every brushstroke contributes to the overall idea. You'll learn to embrace risk, understanding that sometimes sacrificing parts of your painting can lead to greater achievements. Remember, if you push too far, you can always paint it back. I'll also encourage you to listen to your inner voice, allowing your unique artistic expression to shine through. With a simple palette and a painterly approach, we'll delve into good design, accurate drawing, and passionate brushwork. Let's embark on this creative journey together, and I hope you find joy and inspiration in every stroke.
This guide accompanies the full video lesson. The lesson includes the complete narrated video, the printable PDF chapter, and personalised critique support.
Add crisp edges to important areas like the splash and the seagull's neck. Ensure a soft transition in some areas to create contrast with sharp edges. This will enhance the painting's depth and interest.
Add Color Accents
Introduce pure blue and white accents on the seagull's back for color variation. These small notes act like grace notes in music, adding subtle interest to the composition.
Enhance Foreground Definition
Focus on adding more care and detail in the foreground. Sharpen edges behind the leg and add a crisp red detail to avoid any unintended textures.
Create Splash Effect
Consider how light interacts with the splash. Add glints of light at the front and bottom curve, and introduce a bit of transparency in the water to suggest movement and realism.
Correct Wing and Add Final Touches
Ensure the wing is not clipped to maintain the seagull's ability to fly. Add a calligraphic squiggle with the reflection of the leg as a finishing touch.
Pro tipUse small color accents like pure blue and white to add subtle interest and variation to your painting.
Embark on your painting journey with 'The Dancing Seagull' by preparing your materials and palette. Secure your canvas and choose brushes that suit both broad strokes and fine details. A limited palette will simplify your color mixing and enhance the harmony of your painting. Begin by establishing the background with bold, dark tones, and use mediums to ensure smooth application and effective composition.
As you progress, focus on blocking in large shapes and maintaining a dynamic texture. Use expressive brushwork to draw the seagull, capturing its form with both precision and gestural freedom. Balance your composition with contrasting colors and carefully consider the proportions of light and dark areas to create visual interest. Introduce texture with varied brushstrokes and tissue techniques to add depth and dimension.
In the final stages, refine your painting by adding highlights and details with a painterly touch. Use warm and cool tones to create contrast and guide the viewer's eye. Maintain focus on the overall impression rather than exact replication, allowing your artistic expression to shine. With each stroke, aim to capture the essence of the scene, ensuring your painting remains lively and engaging.
Points to remember
Use a limited palette to simplify color mixing and enhance harmony.
Apply walnut alkyde medium for smoother application in darks and mid values.
Squint at your reference to focus on large shapes and simplify your process.
Start curves with straight edges to ensure accuracy before refining them.
Mix light grays in advance to speed up your painting process.
Avoid using pure white everywhere to maintain focus and lead the viewer's eye.
Use varied brushstrokes to create texture and avoid a photographic look.
Scumble a bit of white or bluish-grey to lighten overly dark shadows.