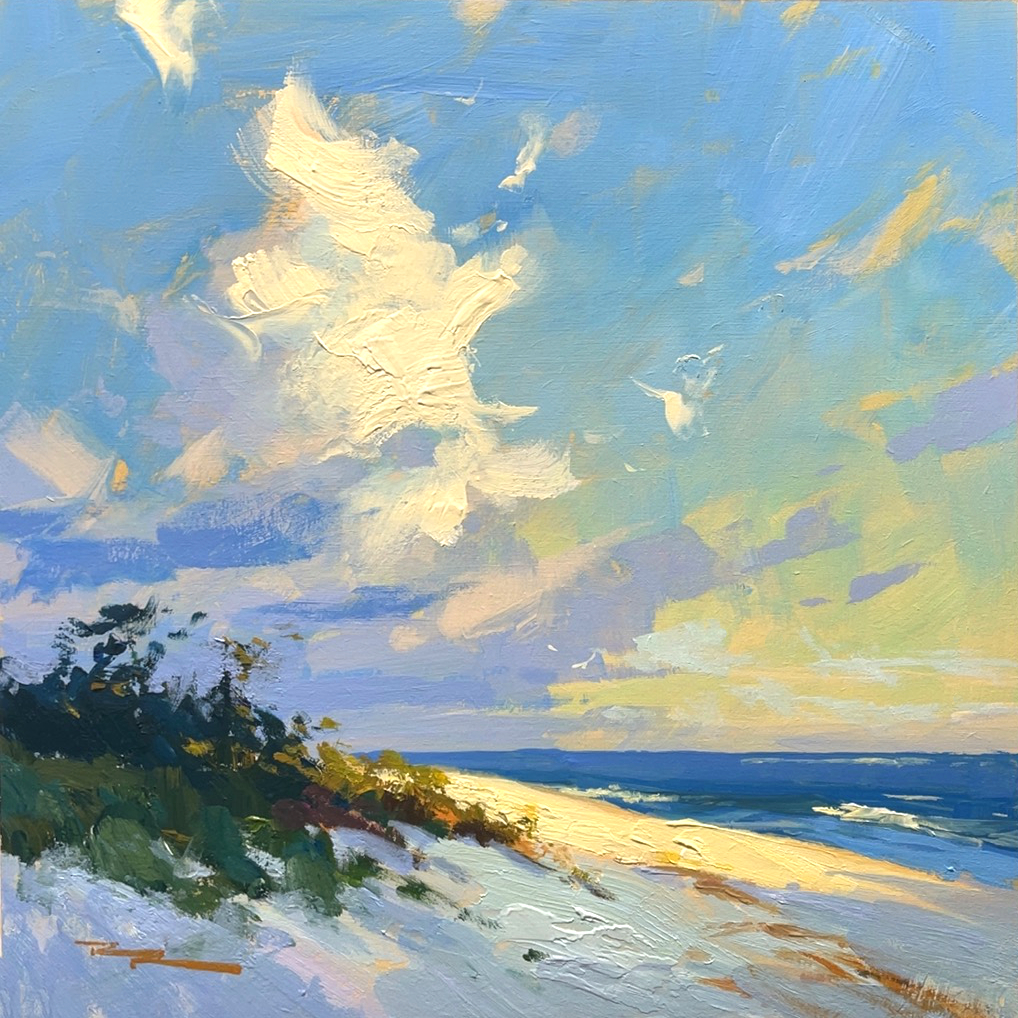
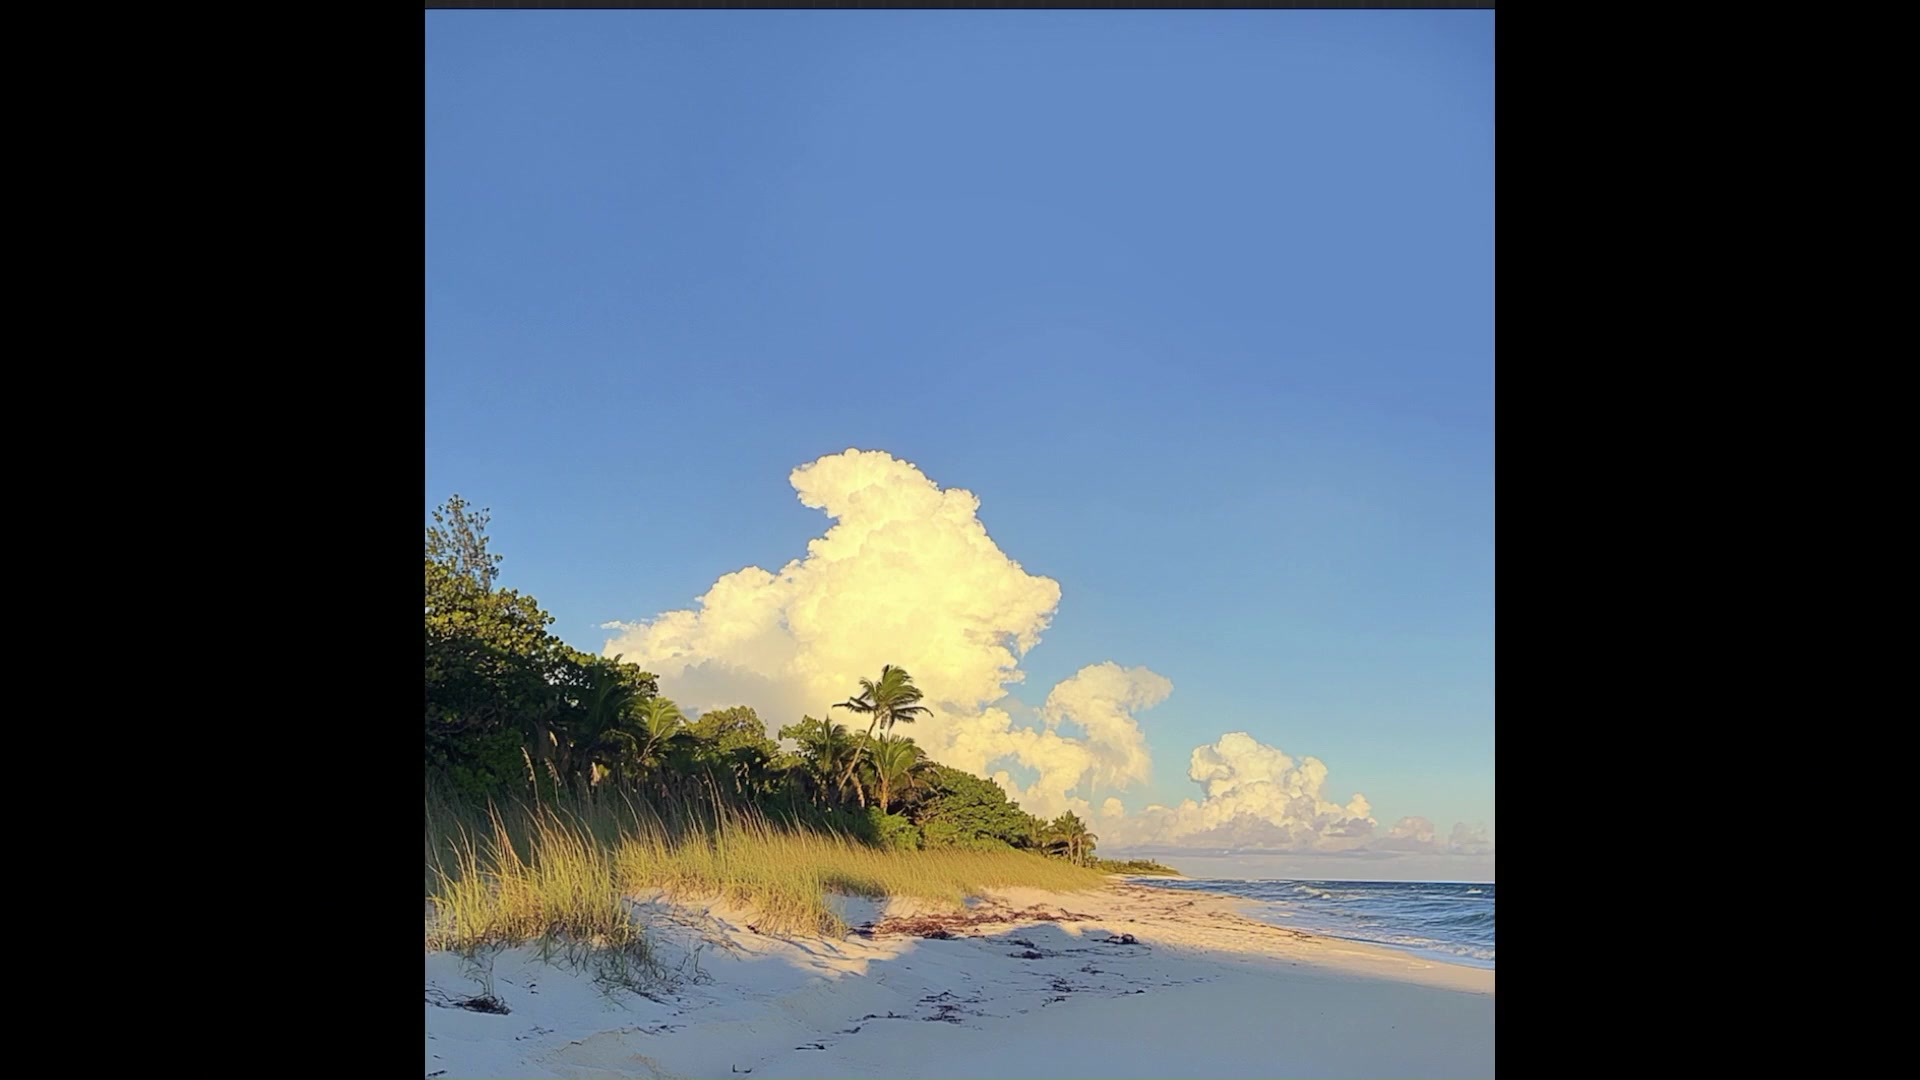
In this chapter, we'll embark on a journey to capture the breathtaking beauty of expressive skies, focusing on a scene that features towering clouds illuminated by the warm, golden light of a tropical sunset. This lesson is designed to help you transform your landscape paintings by enhancing the sky, a key ingredient often overlooked. We'll delve into the art of improving upon photographs for painting, using your heart to design, and understanding the nuances of front lighting. The scene I've chosen is particularly rewarding because it allows us to explore the dramatic interplay of light and shadow, with the volcanic fog adding an orangey glow that enriches the sky's palette. You'll learn to create variety in your clouds through shape, color, edge, and texture, making your paintings more engaging and expressive. By the end of this chapter, you'll have the skills to bring attention to the beauty you see, using just six steps to guide you through the process. Whether you're working with acrylics or oils, this lesson will inspire you to experiment and infuse your work with the vibrant energy of expressive skies.
This guide accompanies the full video lesson. The lesson includes the complete narrated video, the printable PDF chapter, and personalised critique support.
Observe how in a front lighting situation, the light source is behind you, causing shadows to be pushed to the edges of objects. This creates a subtle gradation from light to shadow on curved surfaces.
Identify Shadow Placement
Notice that the darkest shadows appear on the sides of objects, enhancing the rounded forms. This subtle transition from light to shadow adds depth without flattening the scene.
Appreciate the Warmth
Recognize the beauty of front lighting during the evening, with its warm tones and yellow hues from the setting sun. This lighting effect can add a pleasing and inviting atmosphere to your painting.
Pro tipPlace the darkest shadows on the sides of objects to emphasize their rounded forms.
Embark on your painting journey by visualizing the dramatic beauty of tropical skies, where towering clouds meet the warm glow of a sunset. Begin by selecting a front-lit scene to capture the essence of warm, bold colors that define these expressive skies. As you progress, focus on the subtle gradations from light to shadow, which add depth and dimension to your composition.
Prepare your canvas with care, ensuring a smooth base layer that harmonizes with the warm tones of your scene. Use a well-chosen palette to bring your vision to life, selecting colors that convey the mood and atmosphere you wish to express. As you block in the sky and paint the clouds, pay attention to the transitions and textures that create a natural and inviting atmosphere.
In the final stages, add details and texture to enhance realism and interest. Use techniques like impasto and soft blending to capture the vibrant energy of the scene. Remember to sign your work with a touch of color that complements your composition, and don't hesitate to modify elements to highlight what you love most. Your painting is a reflection of your unique perspective and artistic expression.
Points to remember
Use volcanic fog effects to add a warm, orangey glow to your skies.
Place the darkest shadows on the sides of objects to emphasize their rounded forms.
Increase the cloud size to make it the focal point and allow more warm colors to enrich the painting.
Always dip brushes in water when using acrylics, unless using a dry brush for softening edges or blending.
Work from light to dark to prevent dulling the colors and achieve a glowing light effect.
Soften edges by smudging with your finger to create natural-looking clouds.
Use a light spray to keep colors wet, allowing for easier blending and softer edges.
Don't be afraid to modify an image to expressively highlight what you love about the scene.