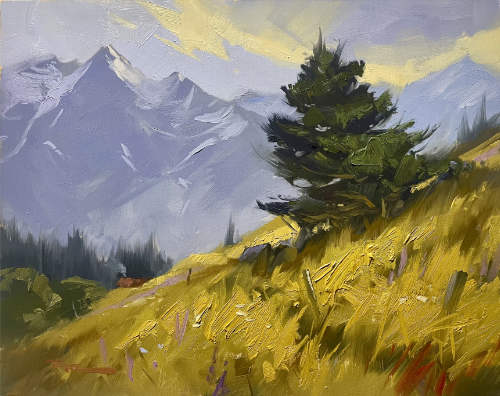
In this chapter, we'll explore the captivating scene of 'The Dancing Pine' at Lake Ohau, where the harmony of shapes plays a pivotal role in creating a cohesive painting. As you embark on this artistic journey, you'll learn how to craft dynamic shapes that echo throughout your composition, much like a recurring musical phrase that unifies a symphony. This lesson will guide you through the process of achieving this unity, focusing on the repetition of swishy shapes that mirror the unique character of the pine tree. You'll discover how to manipulate color and shape to bring your painting together, ensuring each element sings in concert with the others. We'll also delve into the practical aspects of painting, such as achieving the right paint consistency for a smoother application and mixing. By the end of this chapter, you'll have a deeper understanding of how to capture the essence and character of your subject, and how to use artistic license to enhance your composition. I look forward to seeing your interpretations and encourage you to share your work on the website. Enjoy the process and let your curiosity lead you to new artistic paths.
This guide accompanies the full video lesson. The lesson includes the complete narrated video, the printable PDF chapter, and personalised critique support.
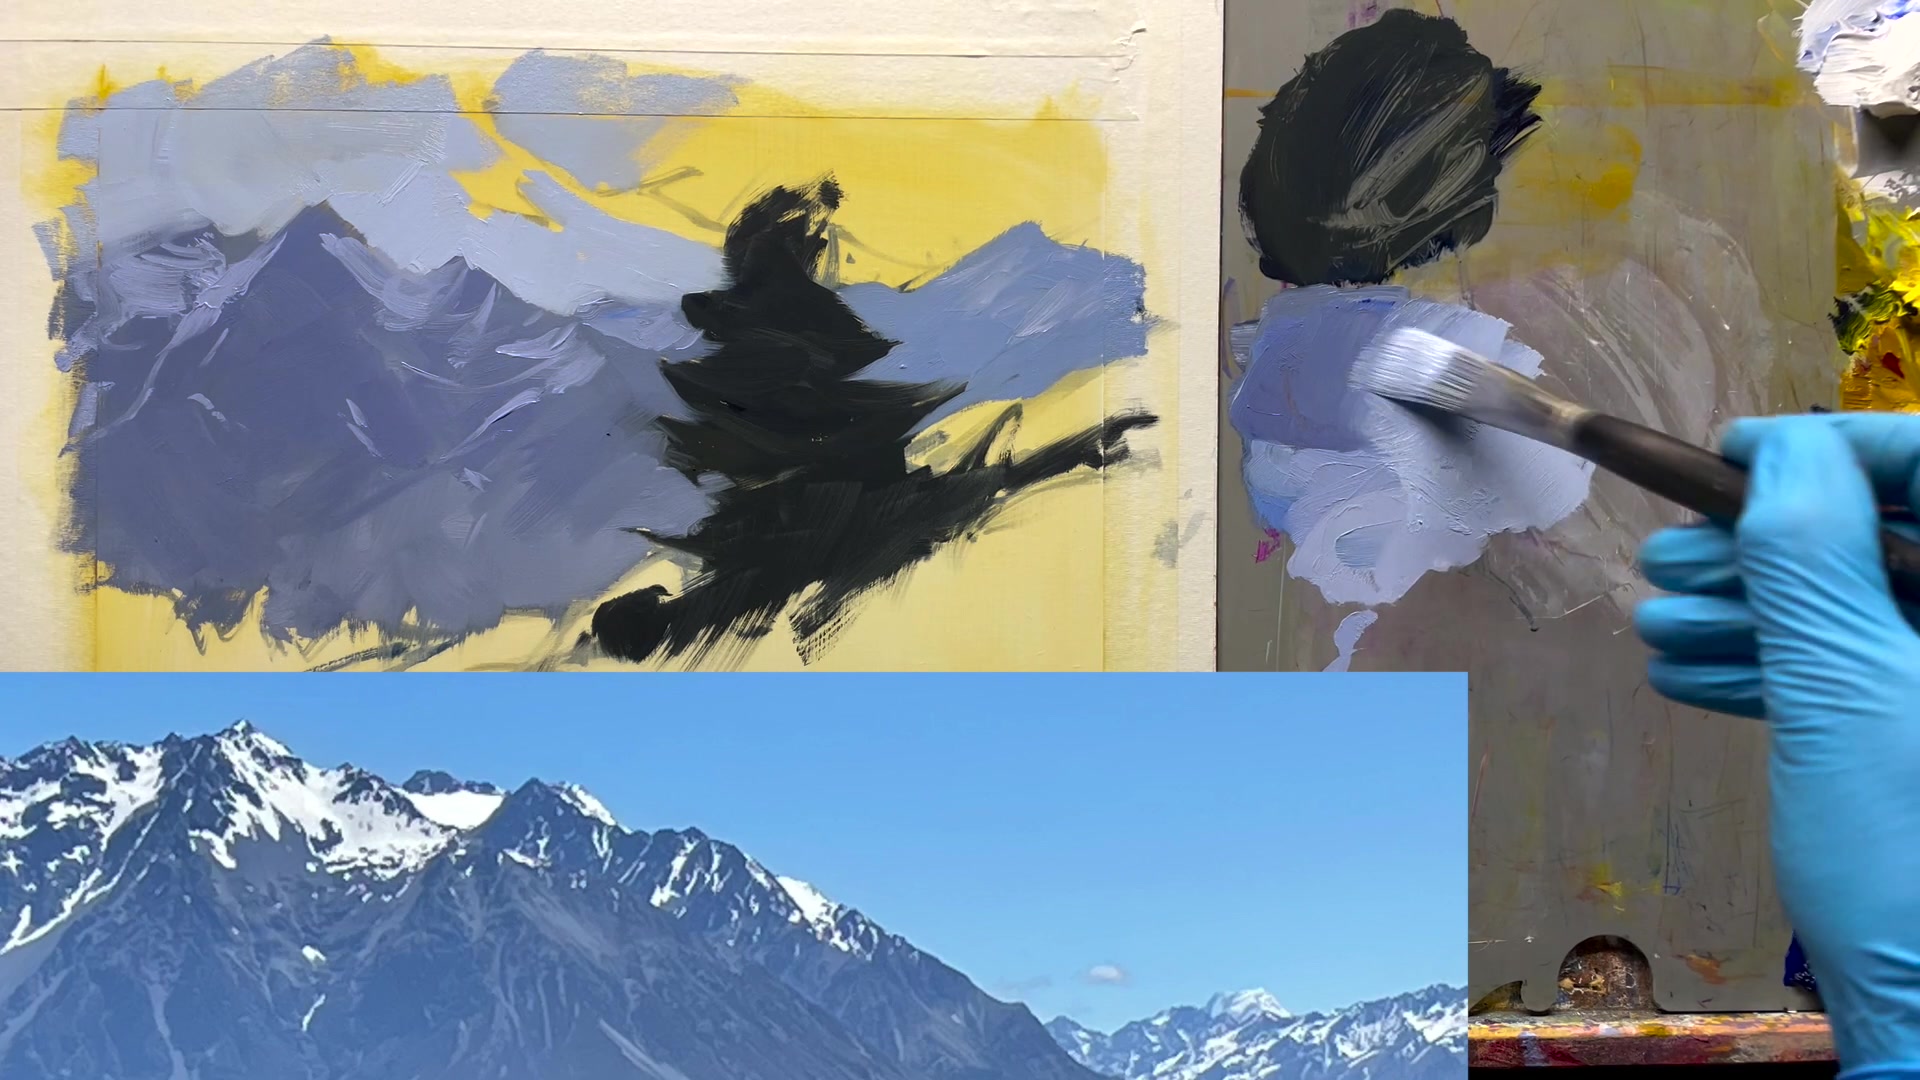
Combine blue, red, and a bit of yellow ochre to create a dark, greyish base color. Ensure the paint is thick enough for the lighter areas you'll add later. Mix beside the original pile to easily compare and adjust the color.
Apply Finishing Strokes to the Tree
Use the mixed color lightly to add finishing strokes to the tree. Aim for soft edges to maintain the tree's dynamic character, avoiding a crisp, uniform outline. Use varied brush techniques to keep the tree lively and expressive.
Create Texture and Detail
Drag the brush lightly and quickly to achieve broken edges, especially if using a fast-drying medium. Use the brush corner for small, lively marks, reminiscent of slow-motion explosions. Ensure edges don't appear artificially straight or flat.
Pro tipMix colors beside the original pile to easily compare and adjust without losing track of the color relationship.
In this lesson, you embarked on a journey to capture the essence of a dancing pine tree in a dynamic landscape. Starting with the preparation of your materials, you ensured that your paints had the right viscosity and selected a suitable medium to maintain a smooth painting process. With your surface ready, you sketched the composition, focusing on the tree's unique character and the balance of elements within the scene.
As you progressed, you paid attention to the tree's defining features and how it interacts with its environment, allowing its personality to shine through. You balanced the composition by positioning elements asymmetrically, creating dynamic shapes and movement throughout the painting. By blocking in big shapes and painting the darkest darks, you established a strong foundation for your work.
Finally, you refined the details, considering atmospheric perspective and the play of light and shadow. You experimented with textures and ensured that the tree remained the focal point, using both brush and palette knife techniques. As you completed the painting, you added the finishing touches to the sky and foreground, capturing the vibrant energy of the scene.
Points to remember
Ensure all paints have a similar viscosity for a smooth painting process.
Use synthetic brushes for crisp edges on board surfaces.
Enhance diagonal lines in your composition for dynamic design.
Observe the tree's unique features to capture its character.
Position elements asymmetrically for a more interesting composition.
Incorporate dynamic shapes to convey movement and energy.
Reload the brush frequently to maintain pure colors.
Soften edges as they approach the canvas edge to focus on central elements.