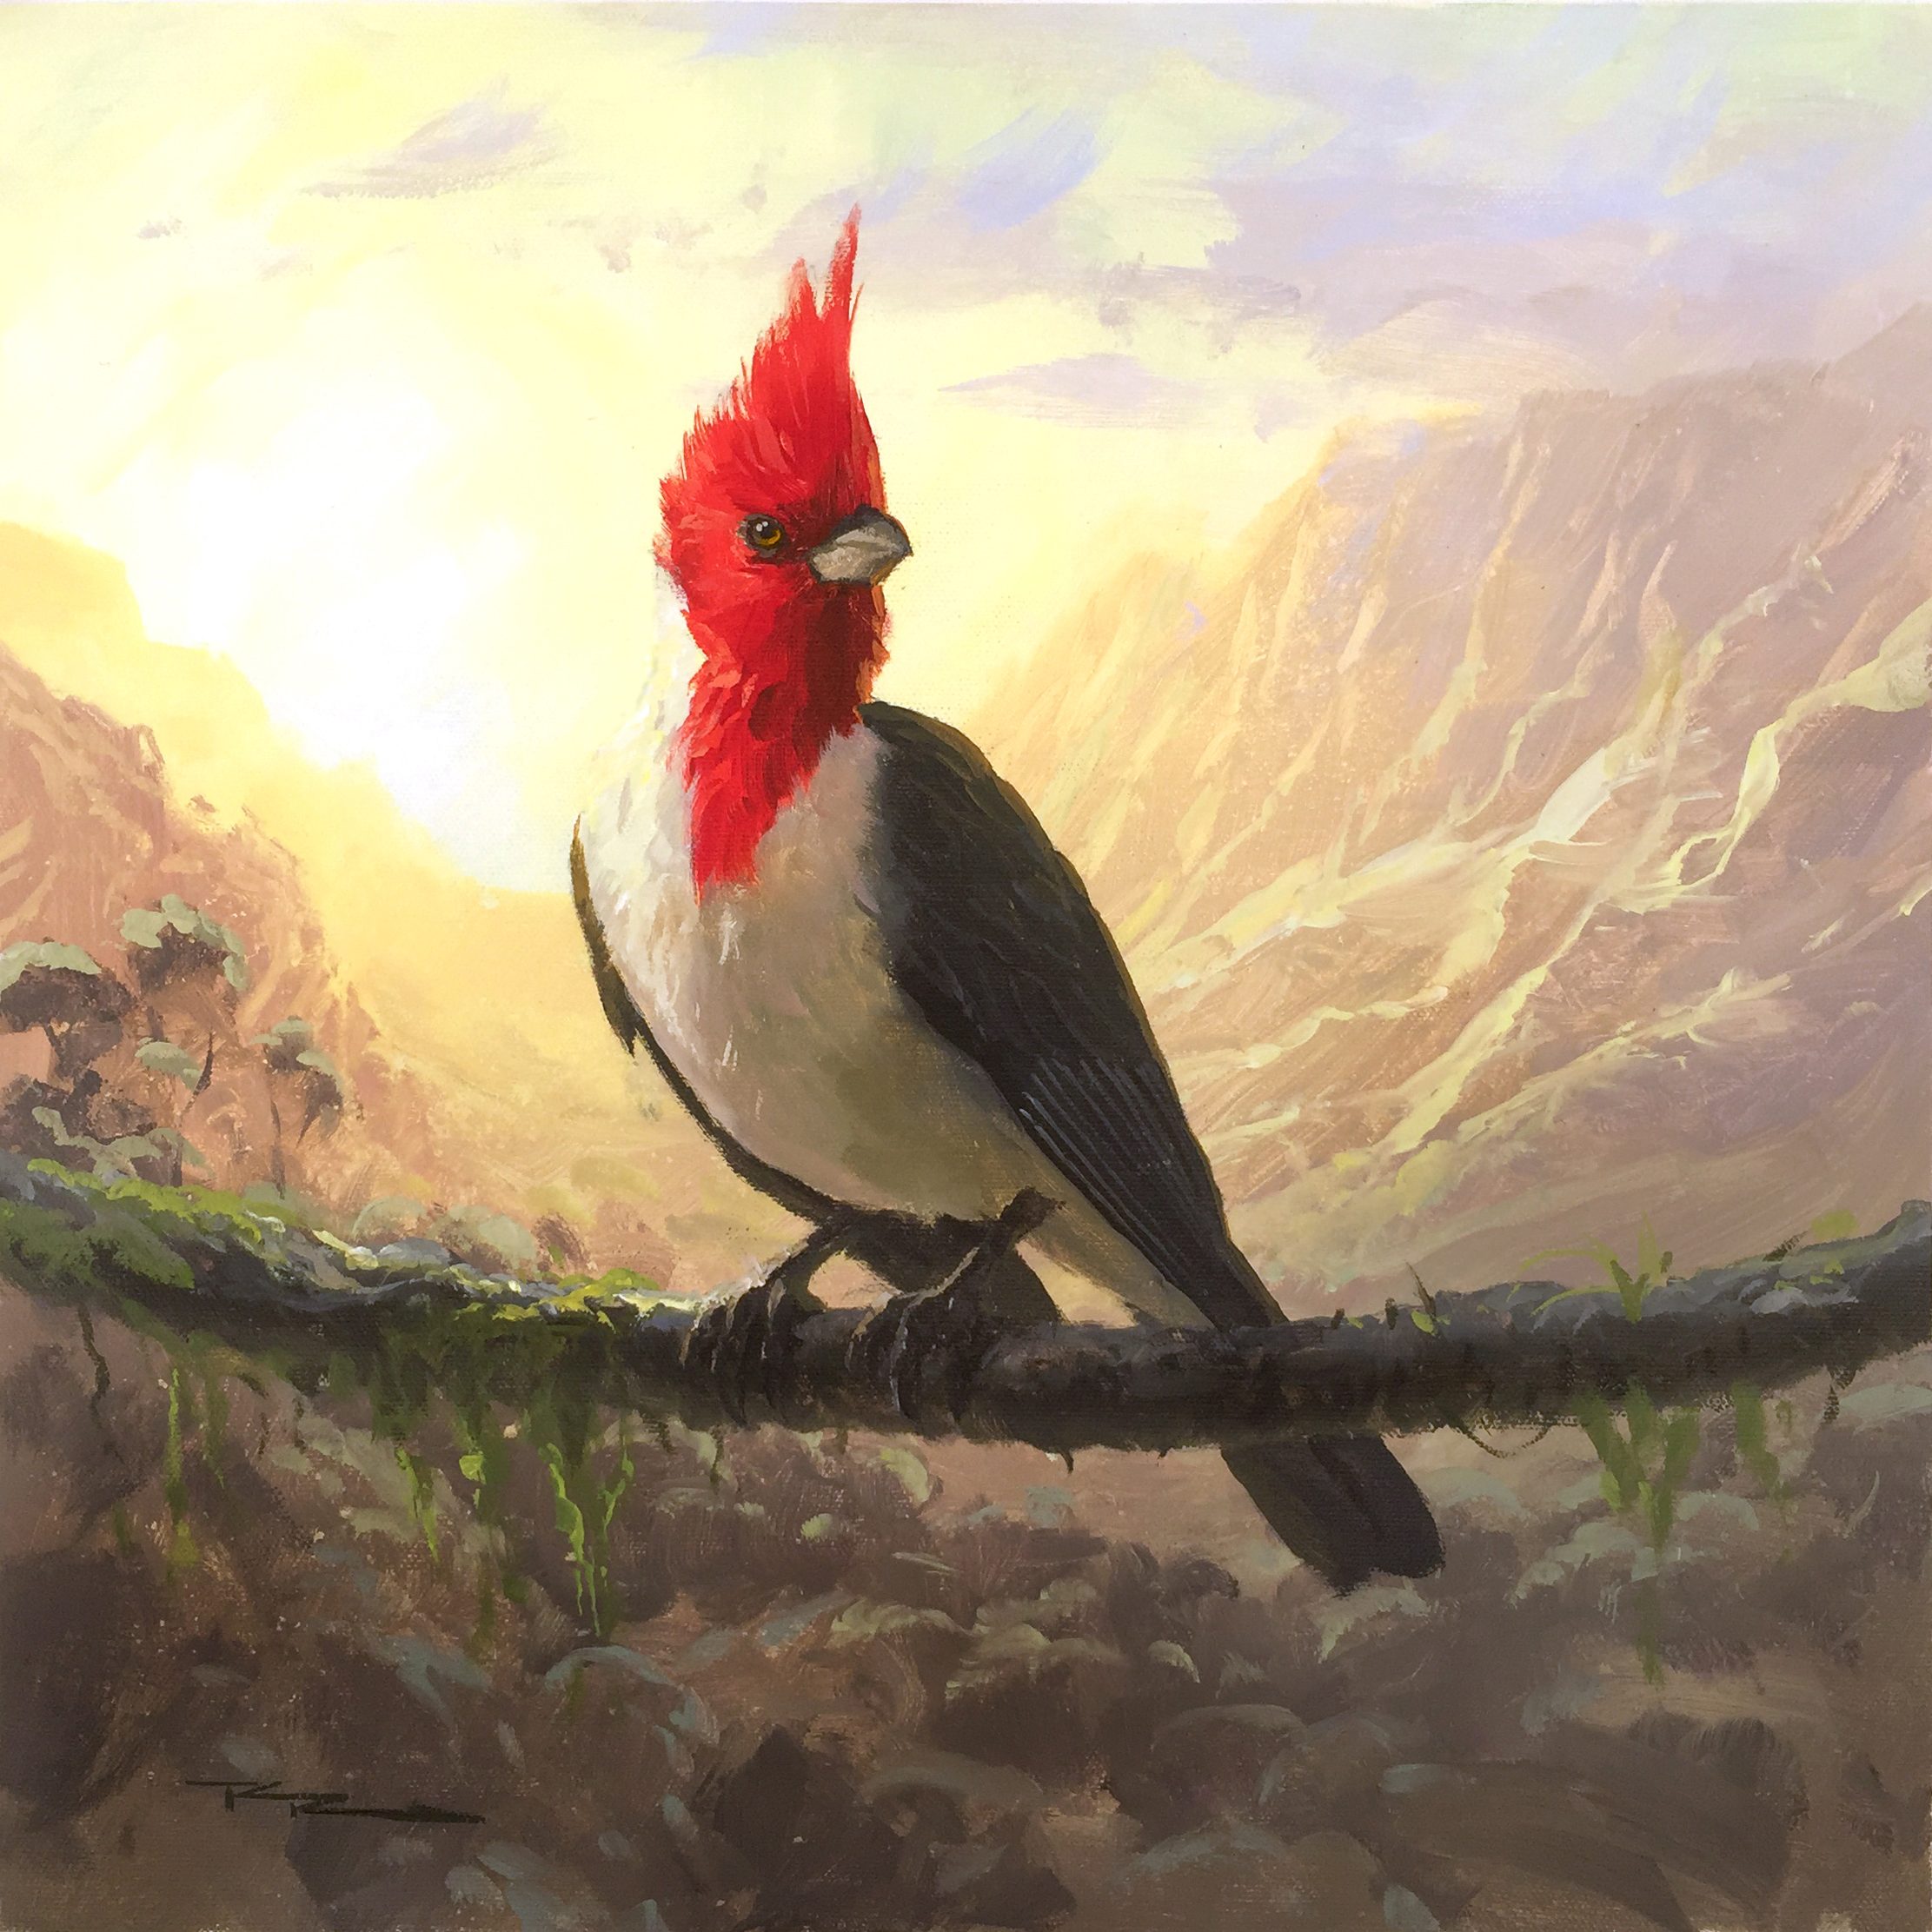
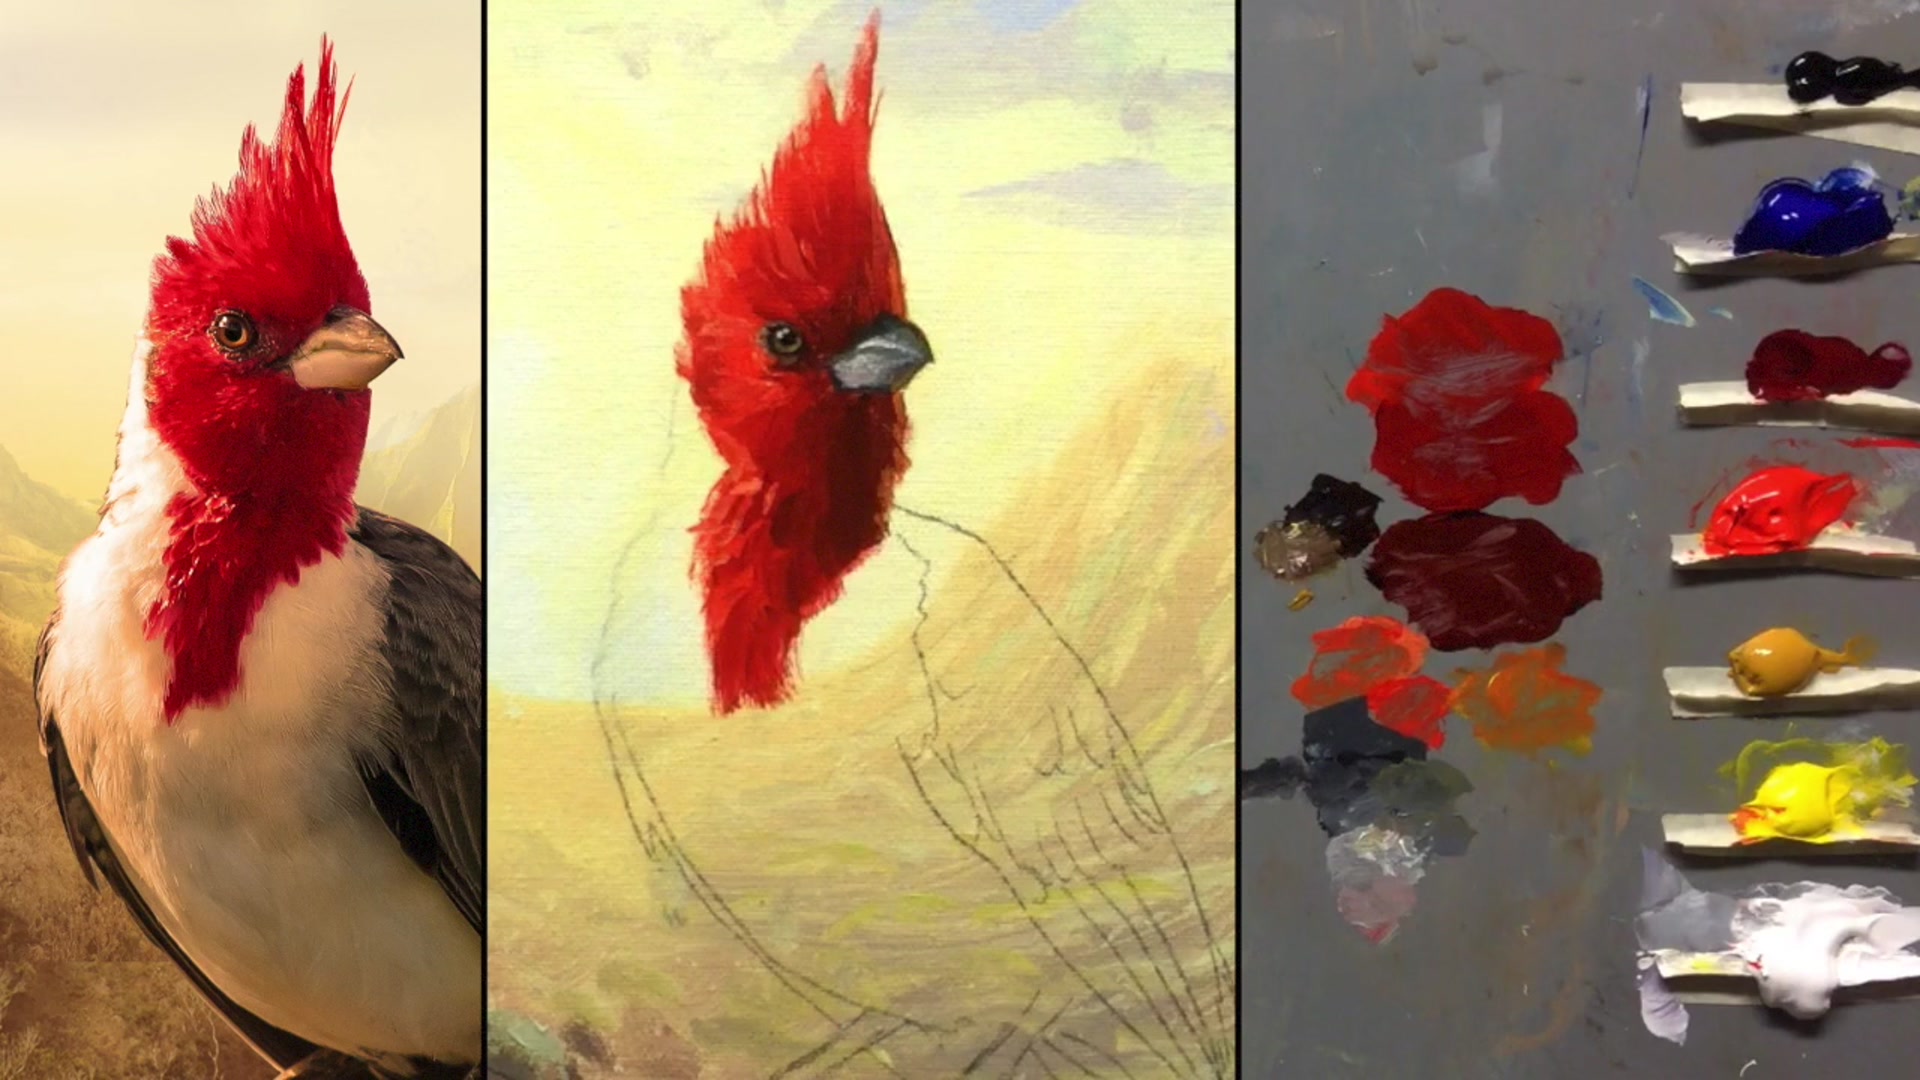
While working on some pieces for my gallery in Hawaii, I stumbled upon a captivating photograph by David Lennard of a red-crested cardinal. This stunning songbird, native to South America and introduced to Hawaii, inspired me to imagine it perched in the breathtaking Kalalau Valley on Kauai. With a bit of creative photoshopping, I combined elements from various photos to create a scene that truly captures the essence of this beautiful bird in its new habitat. In this chapter, I'll guide you through the process of painting this environment portrait on a smaller scale, using a 16-inch canvas. We'll explore how to craft a glowing background that enhances the cardinal's vibrant presence, and I'll share simple techniques for achieving intricate details. Whether you follow my steps closely or adapt the techniques to create your own masterpiece, you'll find this scene a rewarding subject that combines the allure of nature with the joy of painting. Let's embark on this artistic journey together and bring the red-crested cardinal to life on canvas.
This guide accompanies the full video lesson. The lesson includes the complete narrated video, the printable PDF chapter, and personalised critique support.
"Kalalau Opera 2" 16 x 16" Acrylic on Canvas by Richard Robinson.
Step 11Painting the bird's wing
Paint the Wing Base
Use a big brush to apply pure black paint to the initial section of the wing. Cover the area all the way down to create a solid base.
Add Color to the Wing
Mix a little white with a touch of yellow ochre and paint the next section of the wing. Gradually introduce more yellow ochre to create a soft curve, adding warmth and depth to the wing.
Soften the Edges
Soften the edge where the wing meets the breast area, preparing for the grey of the breast. Ensure the transition is smooth to maintain a natural look.
Create Feather Textures
Use a smaller brush to add feather shapes with a lighter grey. Refer to your resource photo to accurately place the feather details. Avoid making the grey too light to maintain the shadow effect.
Detail the Feather Sections
Observe the feather sections carefully before painting. Note the top half over the shoulder, the central larger feathers, and the long flight feathers. Use a light touch with the brush to glide along the surface, capturing the natural texture.
Pro tipLeave some brush strokes visible to mimic the texture of feathers, ensuring they are placed accurately based on your reference photo.
Embark on your painting journey by preparing your canvas with care. Begin with a smooth surface by applying gesso and lightly sanding it down. Select a range of brushes, including flat and filbert brushes, to give you the versatility needed for different textures and details. As you start painting, keep your canvas and paints moist to achieve smooth blends and vibrant colors.
Create a glowing light effect by layering colors and maintaining moisture on your canvas. Progress to painting the landscape, using gestural strokes to build depth and dimension. Pay attention to the natural flow of colors, from the warm glow at the center to the cooler tones at the edges. Add clouds and landscape details, ensuring they integrate seamlessly with the background for a harmonious composition.
As you bring the red-crested cardinal to life, focus on the intricate details of its feathers, eye, and beak. Use a combination of bold and subtle strokes to capture the bird's vibrant colors and delicate features. Carefully position the bird on a branch, ensuring natural placement and realistic anatomy. Finish with the bird's feet and the branch, adding shadows and highlights to enhance the overall realism of your painting.
Points to remember
Always sand the canvas lightly after applying gesso for a smooth surface.
Use a long rigger brush for intricate details.
Keep the canvas and paints wet to create smooth blends with acrylics.
Add a touch of yellow to cloud colors to harmonize them with the sky.
Join dark shapes into larger ones to avoid a bitsy look and create shape harmony.
Use a filbert brush for highlighting tree tops, as its curved shape naturally follows the foliage contours.
Squint at your subject to better see the big shapes and subtle color shifts.
Use a Rig-A-Brush to add fine details and highlights to the bird's feet.