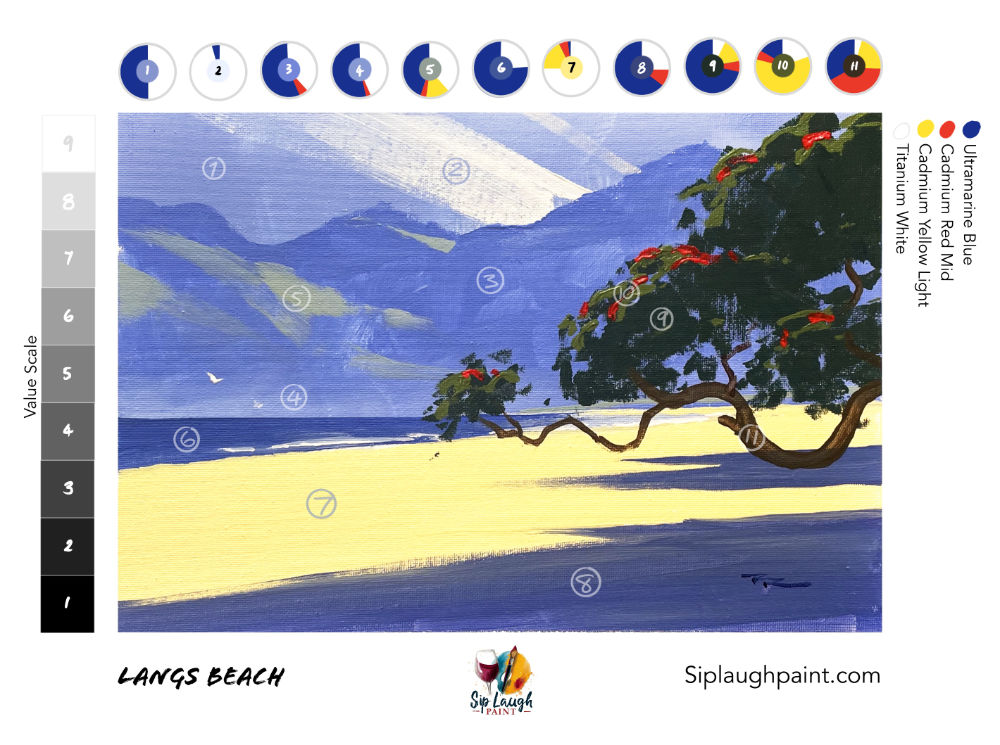
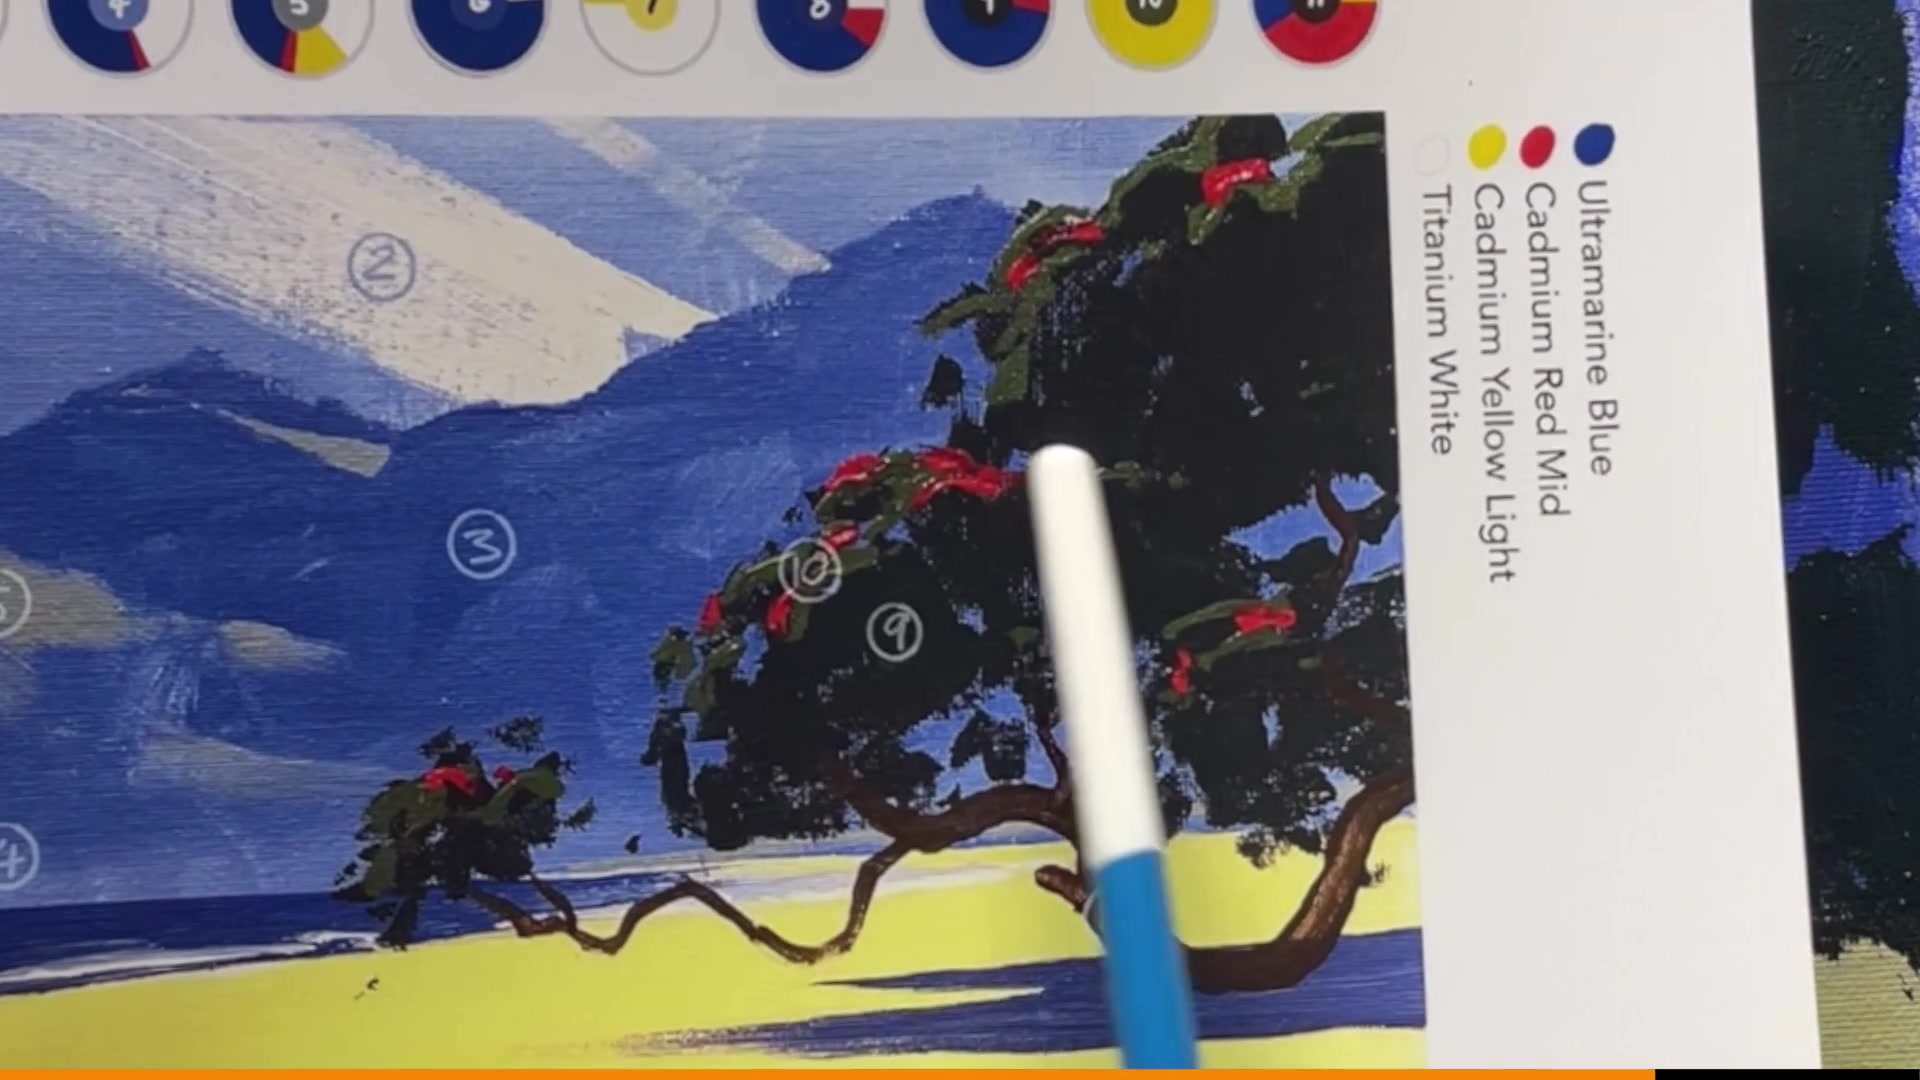
Welcome to this exciting chapter where we dive into painting the beautiful Langs Beach, a scene that holds a special place in my heart. After spending four months exploring New Zealand in my trusty camper, I felt a strong urge to reconnect with my community upon returning to Waipu. This led me to start the Sip Laugh Paint classes, where our first subject was the stunning Langs Beach. In this lesson, you'll learn to create your own masterpiece on a 12 by 8 inch canvas, though you can adjust the size to your preference. We'll explore the use of different brushes, from a one-inch flat brush for broad strokes to a filbert brush for the intricate details of the Pohutukawa tree. This scene is a rewarding subject because it combines vibrant colors and dynamic forms, allowing you to express your unique style. As you follow the step-by-step guidance, you'll discover the joy of painting and perhaps surprise yourself with your artistic abilities. So, gather your materials, invite a friend, and let's enjoy the creative journey together!
This guide accompanies the full video lesson. The lesson includes the complete narrated video, the printable PDF chapter, and personalised critique support.
Add yellow and white to your previous mixture to create a greener and lighter color. This will be used to highlight the tops of the tree clumps where the sunlight hits.
Apply Light with Filbert Brush
Use a filbert brush to apply the lighter paint. The brush's shape allows for creating nice curvy shapes. Apply thicker paint to the tops of the clumps to make them stand out and catch the light.
Create Varied Arcs
Smooth out the paint and push the brush into it to form a ridge. Make little arcs along the top of the tree, twisting the brush for variation. Some arcs should be small, others fat, but all should be along the tree's outer edge.
Add Light Touches Inside
With a light touch, add a few spots of light inside the darker areas for interest. These should be minimal, just enough to add depth and variation.
Clean Your Brush
Wash your brush thoroughly to remove all paint residues, preparing it for the next use.
Pro tipUse a filbert brush to create varied, curvy shapes that mimic natural light on tree tops.
Embark on your painting journey with confidence, knowing that each brushstroke is a unique expression of your creativity. Begin by selecting the right brushes for broad strokes and fine details, and embrace the individuality of your work. As you mix colors, aim for subtlety and precision to capture the essence of your subject, from the delicate sky and clouds to the vibrant Pohutukawa tree.
Maintain your tools with care, ensuring your brushes are clean and ready for each step. As you sketch and paint the landscape, allow your imagination to guide the shapes and forms, adding interest and depth with varied hill heights and misty gradients. Pay attention to the interplay of light and shadow, using complementary colors to achieve a natural look.
As you add the final touches, from the shimmering ocean waves to the intricate details of the tree, remember to let your creativity flow freely. Each element, from the beach to the tree, contributes to the overall harmony of your painting. Celebrate the completion of your artwork, knowing that it reflects your personal style and artistic journey.
Points to remember
Choose the right brush for each task, from broad strokes to fine details.
Mix colors with subtlety, using mainly white for clouds and a hint of blue.
Regularly clean your brushes to maintain their shape and performance.
Vary hill heights and shapes to create visual interest in your landscape.
Mix enough paint initially to cover large areas without interruption.
Use quick, varied brushstrokes for textures in clouds and foliage.
Ensure the background is dry before adding new elements like trees.
Let your creativity flow in activities like the Doodle Dash, embracing imperfection.