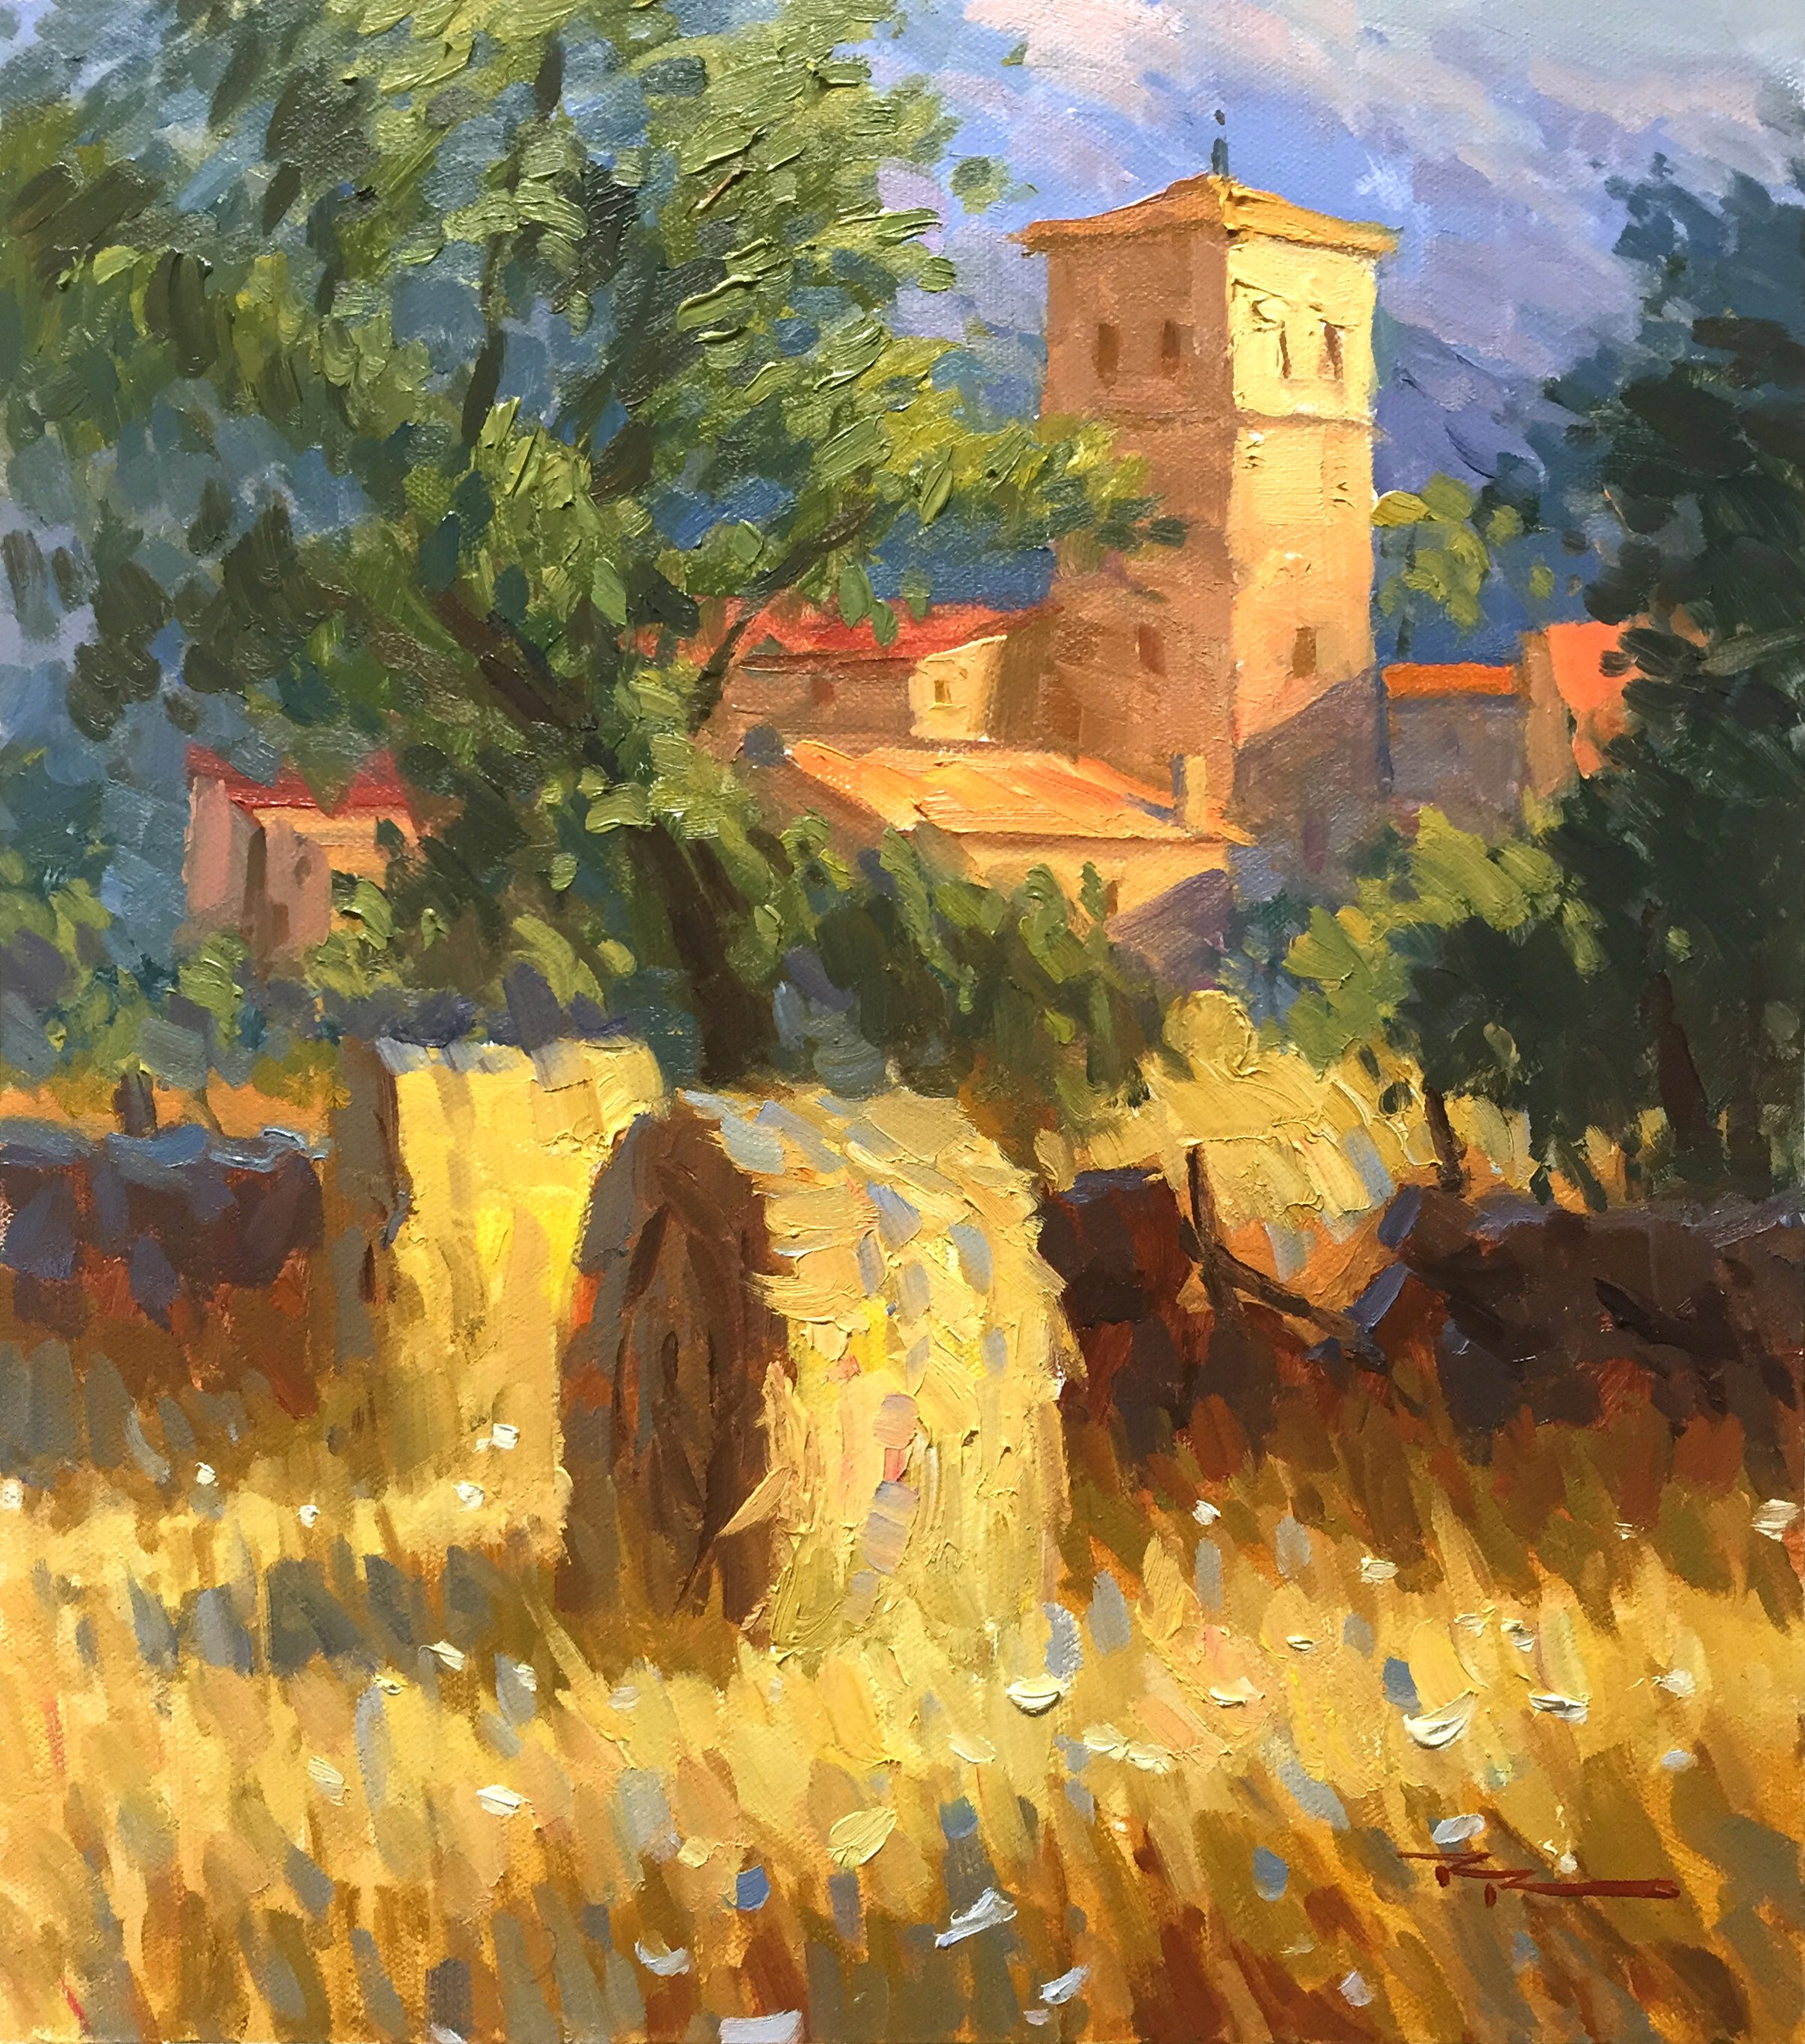
In this chapter, I invite you to explore the vibrant world of hay bales, a scene rich with light, color, and movement. This beautiful provincial landscape offers a perfect opportunity to delve into the art of creating movement with bold brushwork and shimmering broken color. As we paint, we'll focus on capturing the essence of the scene using just two brushes and six colors, keeping our approach simple yet effective. You'll learn how to use impressionistic techniques to infuse your work with dynamic energy, reflecting the interaction of wind with elements like grass and trees. This project is all about enhancing the vibrancy and mood of the landscape by adjusting hues and intensities. I hope you'll find joy in applying these techniques to your own paintings. Remember, the key is to have fun and let your creativity flow. So grab your brushes, dive into the lesson, and don't forget to check the online resource page for additional guidance. Happy painting!
This guide accompanies the full video lesson. The lesson includes the complete narrated video, the printable PDF chapter, and personalised critique support.
"Hay Bales" 11.5 x 13" Oil on Canvas by Richard Robinson.
Step 4Sketching Tips
Prepare Your Sketch
Allow your painting surface to dry overnight before beginning your sketch. Use an HB pencil to lightly sketch your design.
Draw Ellipses Accurately
When sketching ellipses, such as the side of a hay bale, use a center line to help get the ellipse just right. Ensure the ellipse is cut off flat at the bottom to show it sitting in long grass.
Sketch the Tower Correctly
Since you're looking up at the tower, angle the line on the left side down to the left and the line on the right side down to the right. Position the tip of the roof slightly to the left of the building's corner.
Add Distant Elements
If adding a hay bale in the distance, make it very small to maintain the correct scale and prevent the buildings from appearing small.
Simplify the Drawing Process
If sketching is challenging, print out the painting at the desired size and trace it onto your canvas. Precise drawing is not critical for this painting.
Pro tipUse a center line to help accurately draw ellipses, ensuring they are flat at the bottom for realism.
Embark on your painting journey by carefully observing your scene and capturing its essence through vibrant colors and dynamic brushwork. Begin with a well-prepared canvas, ensuring it is primed with gesso for optimal paint adhesion. Use expressive strokes to convey movement, guiding the viewer's eye across the landscape.
As you progress, focus on the interplay of light and shadow to bring depth and realism to your composition. Carefully block in dark areas and use mid-tones to transition smoothly between shadows and highlights. Pay attention to the details, such as the texture of hay bales and the form of trees, to enhance the overall impact of your painting.
In the final stages, refine your painting by adding precise details and ensuring the edges are well-defined. Use thick, bold brush strokes to add texture and interest, and vary your color palette to create a vibrant and engaging scene. Remember to leave room for light areas to keep colors vivid and avoid muddiness. With these techniques, your painting will capture the beauty and movement of the landscape, inviting viewers to explore its depths.
Points to remember
Use expressive brushstrokes to capture movement in your landscape.
Always apply gesso to your canvas for better paint adhesion.
Use a center line to accurately draw ellipses, ensuring realism.
Use only Gamsol and synthetic brushes for thick, expressive brushwork.
Start considering brushwork direction early for cohesive composition.
Vary the angles of branches and leave gaps to suggest foliage.
Keep the background and sky at a mid-value for contrast.
Reload your brush after every stroke to maintain bold texture.