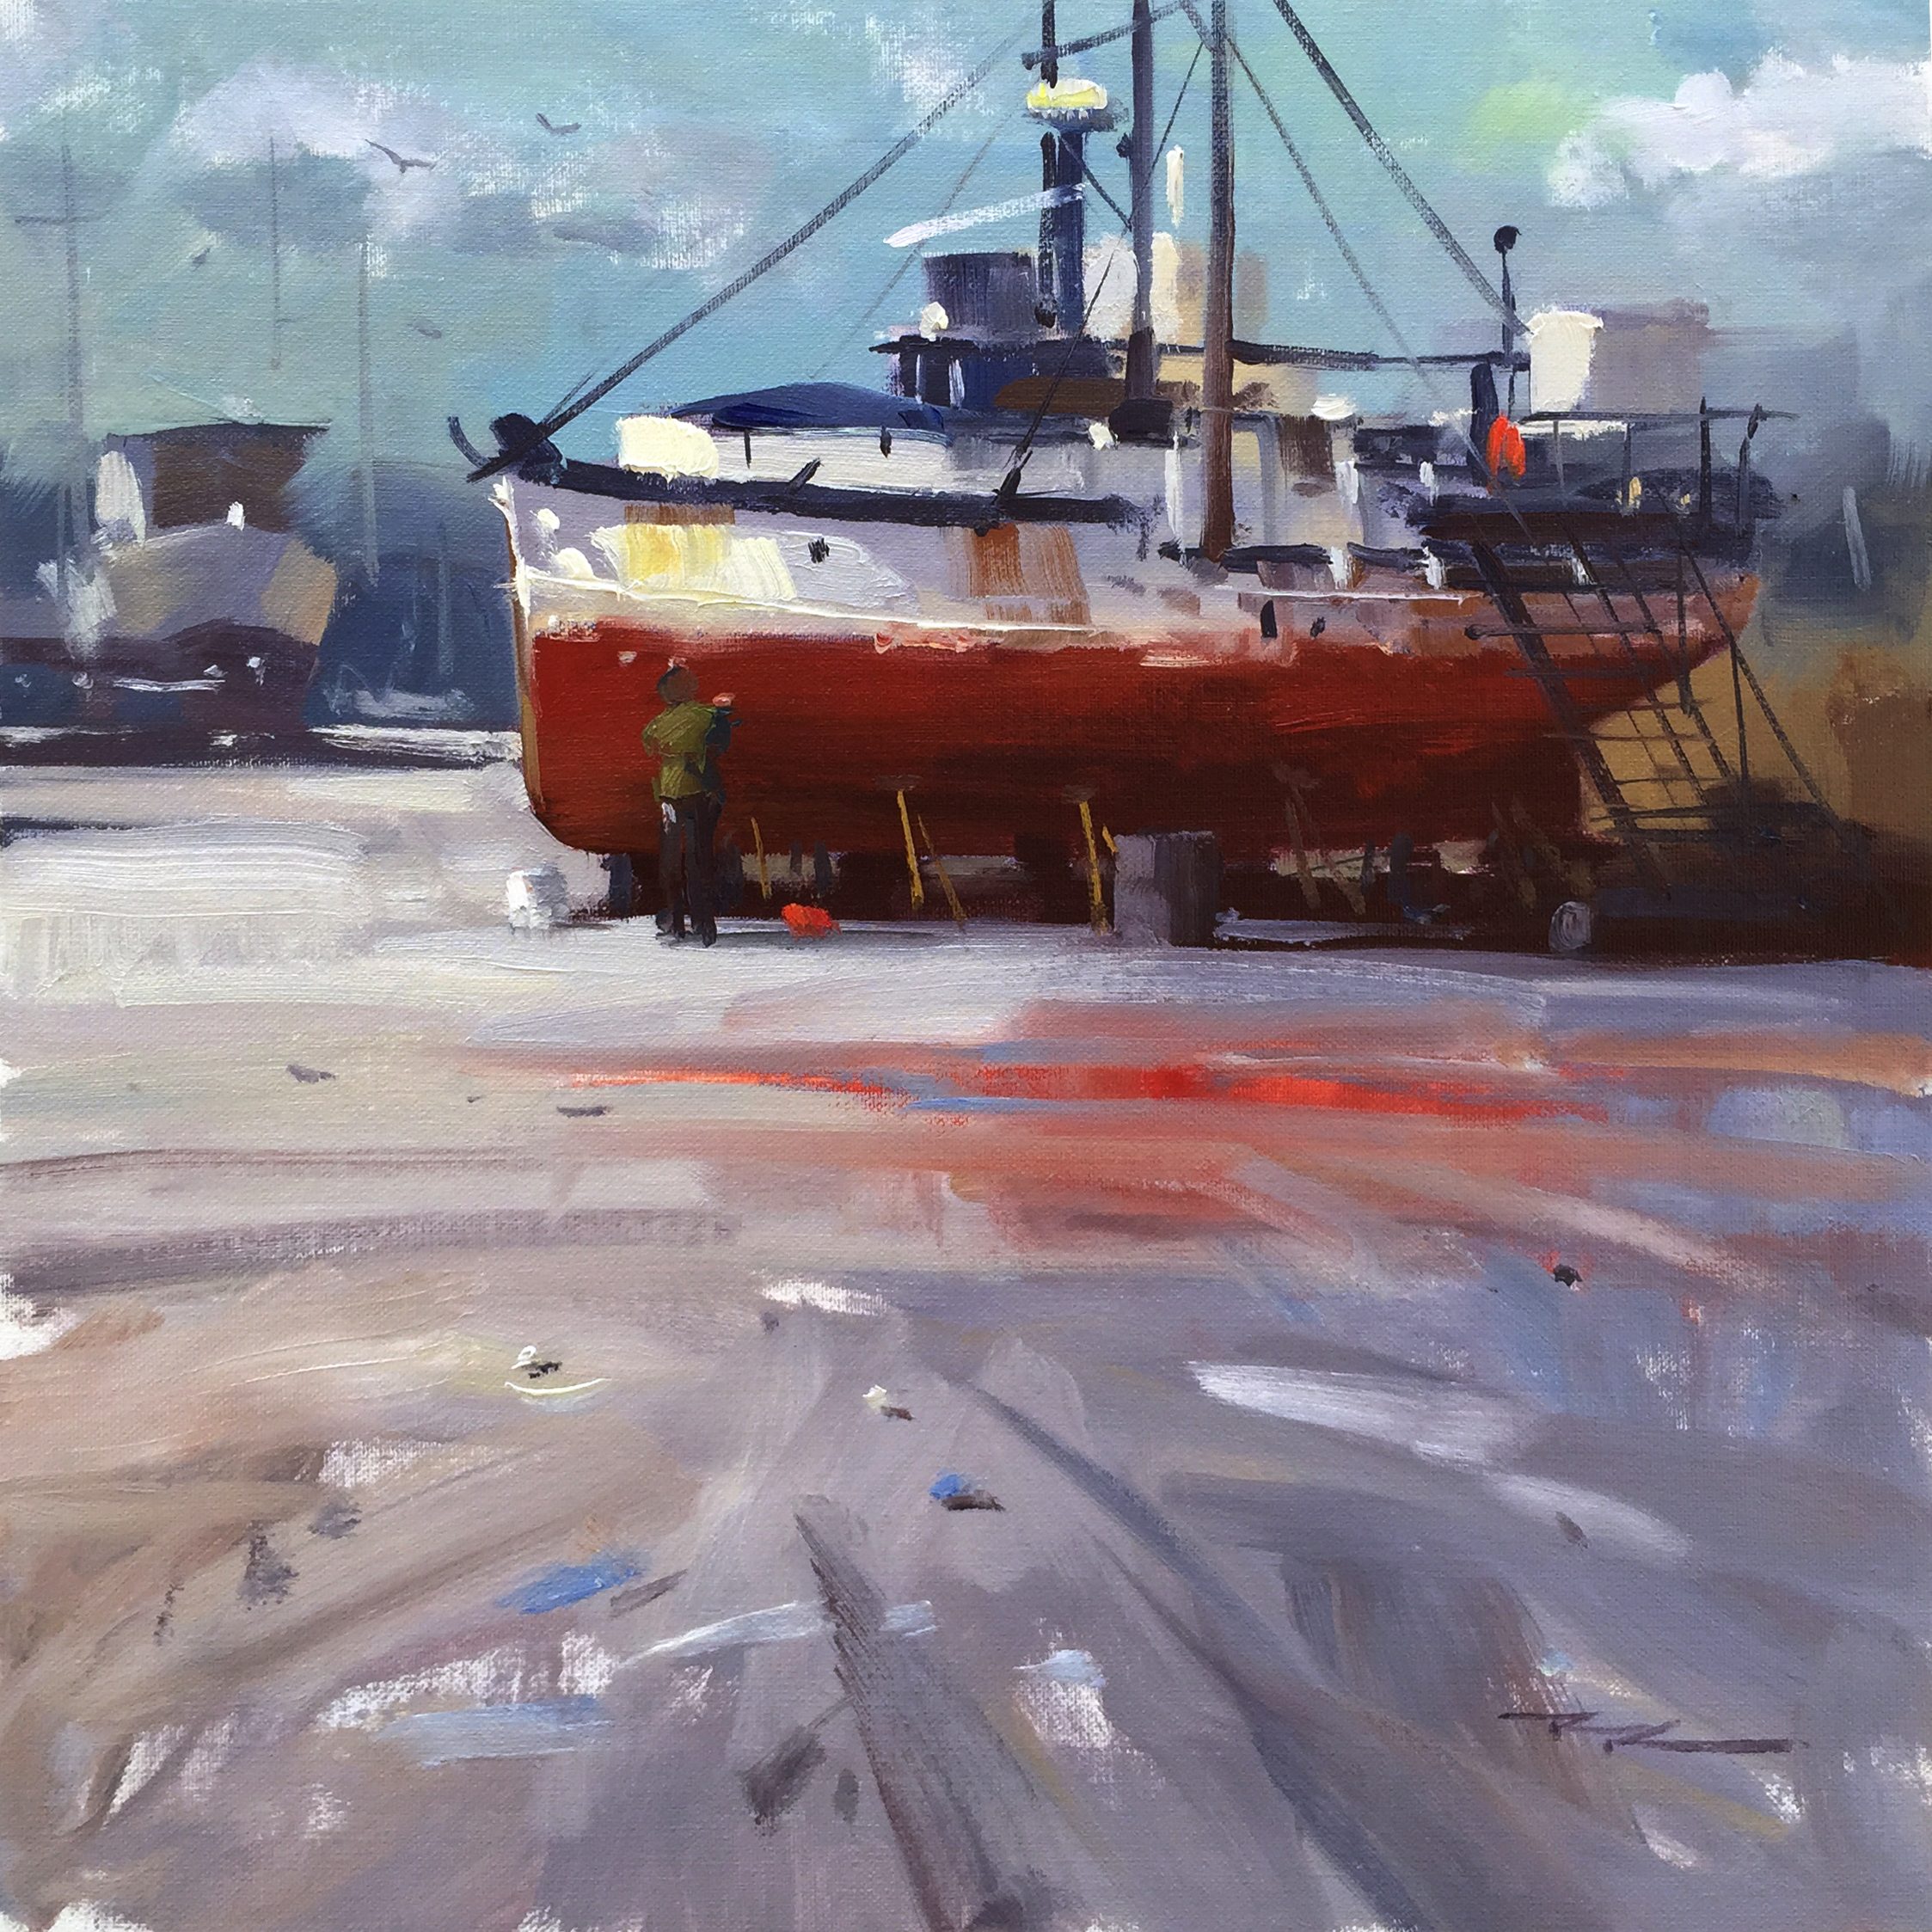
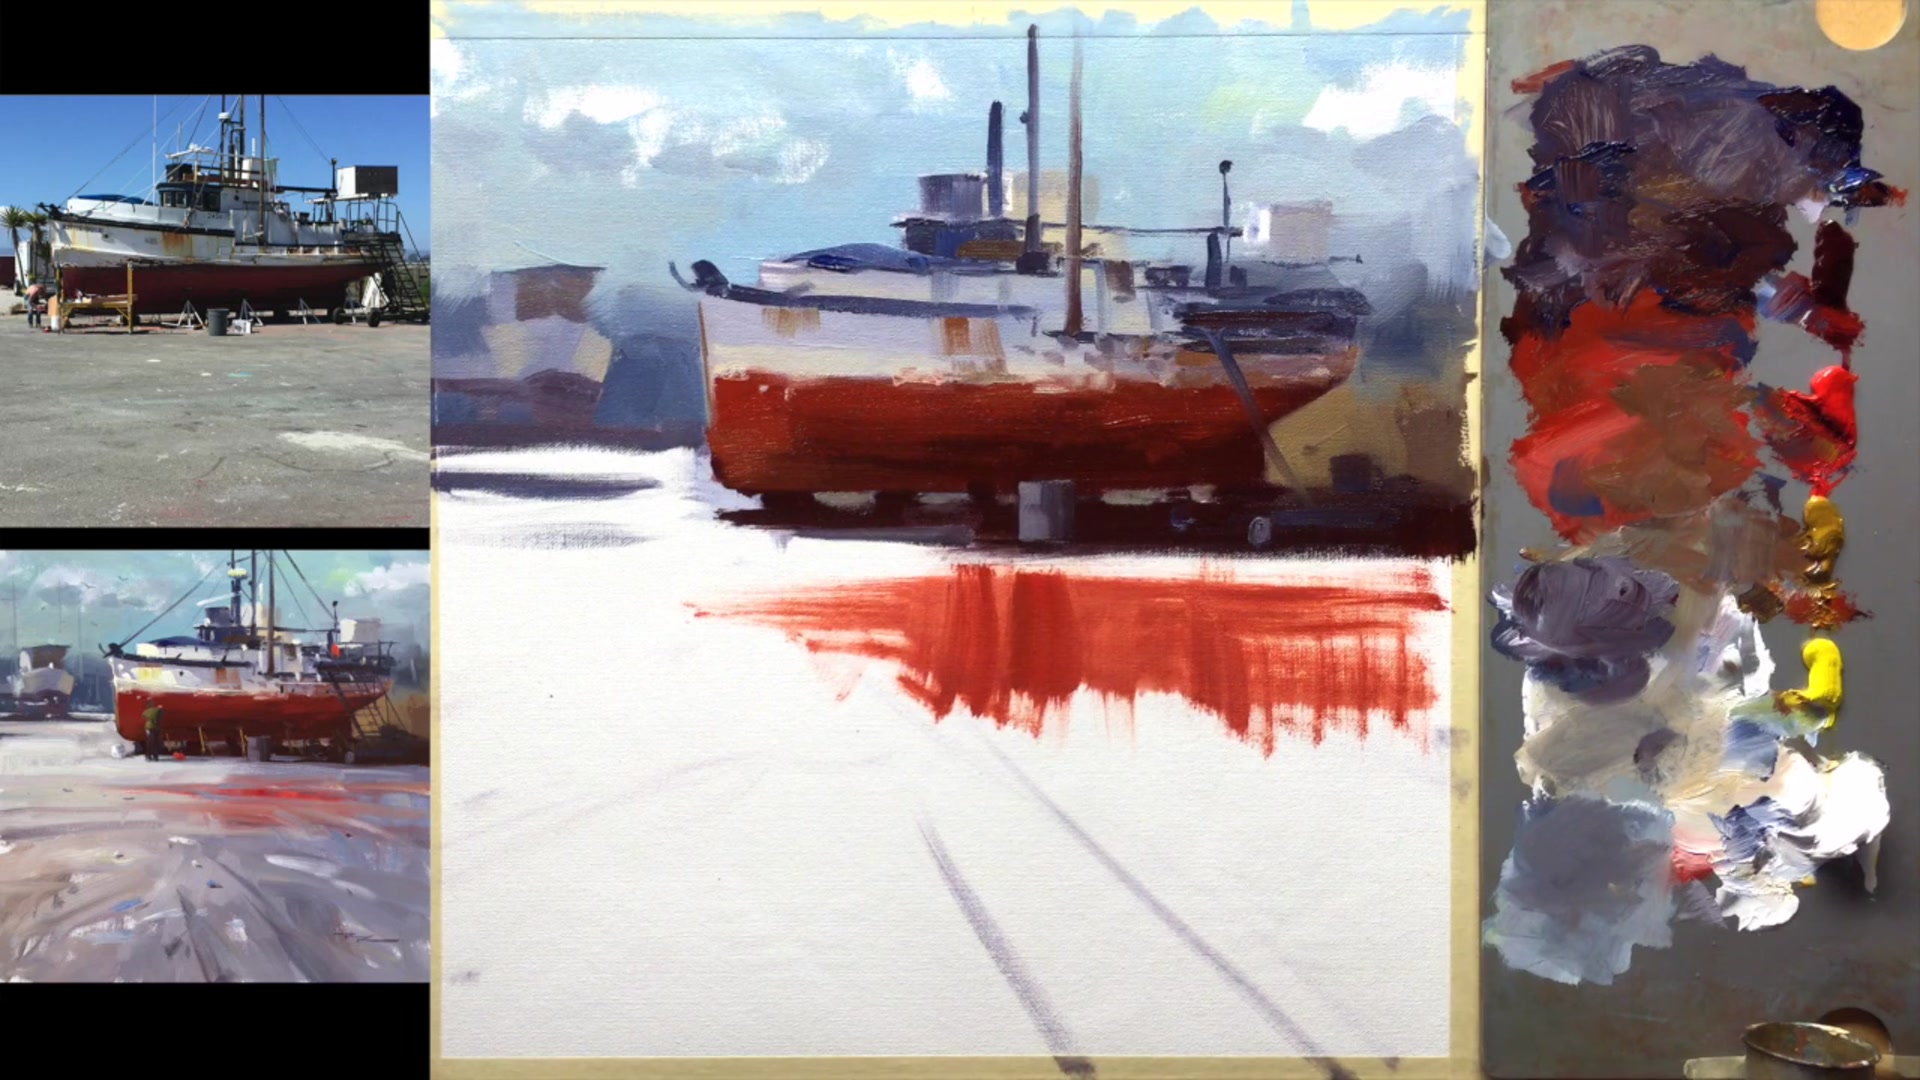
Welcome to Moss Landing on the Californian coast, a charming boatyard filled with beautiful vessels. Today, we're focusing on an old fishing boat in for repairs, a scene that offers a rewarding challenge for any painter. In this chapter, I'll guide you through capturing the essence of this classic boat scene using broad, gestural brushwork. We'll start by painting big, beautiful shapes and learn how to adjust the colors within them. Then, we'll add those crisp finishing details that bring the whole composition to life. One of the key techniques we'll explore is creating a splashy, impressionistic foreground that draws the viewer's eye into the intricate details of the boat. This approach not only enhances your painting's depth but also adds a dynamic quality to the scene. Whether you follow my steps closely or use the resource photos to create something uniquely yours, this lesson will enrich your painting skills and deepen your appreciation for the art of capturing maritime beauty.
This guide accompanies the full video lesson. The lesson includes the complete narrated video, the printable PDF chapter, and personalised critique support.
"Boat Repairs" 14 x 14" Oil on Canvas by Richard Robinson.
Step 9Highlighting and Light Effects
Prepare the Highlight Color
Mix white with a hint of yellow ochre to warm it up. Add a little bit of blue to create a half tone for the initial highlights. This will help in building the form gradually without jumping to the strongest highlights immediately.
Apply Initial Highlights
Use the prepared color to highlight areas where the light rakes across the bow. Focus on the sections where the shape curves and gets lighter. These catch lights add crisp details in the shadow areas, enhancing the form.
Create Crisp Lines
Use a palette knife to apply the same color for very crisp lines. This technique helps in achieving precise and sharp details where needed.
Add Strongest Highlights
Lighten the color further with white and a little bright yellow for the lightest highlights. Apply these thickly to create a strong sense of form and rounding.
Paint the Rust Stain
Add the rust stain crossing from shadow into light using the two yellows. This will serve as a beautiful color spot, enhancing the painting's depth and interest.
Pro tipUse a palette knife for crisp lines to achieve precise and sharp details.
Embark on your painting journey by preparing your materials and setting the stage for a vibrant composition. Begin by mixing your white paint to the right consistency, ensuring it flows smoothly across your canvas. Establish the foundational shapes with light, confident strokes, setting the framework for your scene. As you progress, focus on the interplay of light and shadow, using rich, dark tones to define the hull of the boat and subtle reflected lights to add depth and dimension.
As your painting evolves, pay attention to the harmony of colors and the balance of shapes. Use a variety of brush techniques to create texture and interest, from the roughness of the boat's surface to the soft, receding edges of the distant land. Incorporate mid-value tones to build form and add character, ensuring each element contributes to the overall composition.
In the final stages, refine your painting with precise details and highlights that bring it to life. Use a palette knife for crisp lines and a rigour brush for elegant details, enhancing the realism and narrative of your scene. Add figures and seagulls to inject movement and vitality, ensuring your painting tells a compelling story. Remember, each stroke is an opportunity to express your artistic vision and bring your scene to life.
Points to remember
Add more oil to your white paint for better pliability.
Draw big shapes lightly with pencil or charcoal.
Thin paint with Gamsol for smooth application.
Use walnut alkyde medium to maintain paint thickness.
Extend brush strokes past edges for flexibility.
Soften background edges to enhance foreground focus.