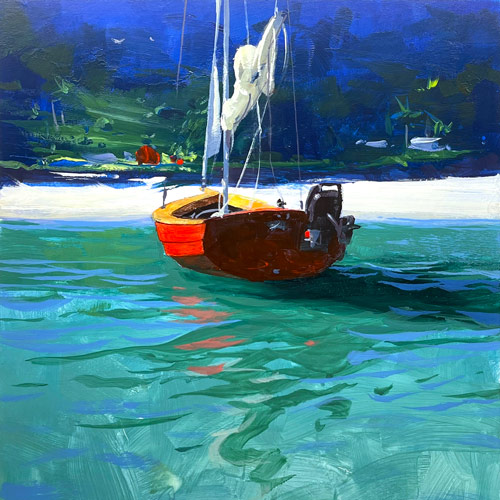
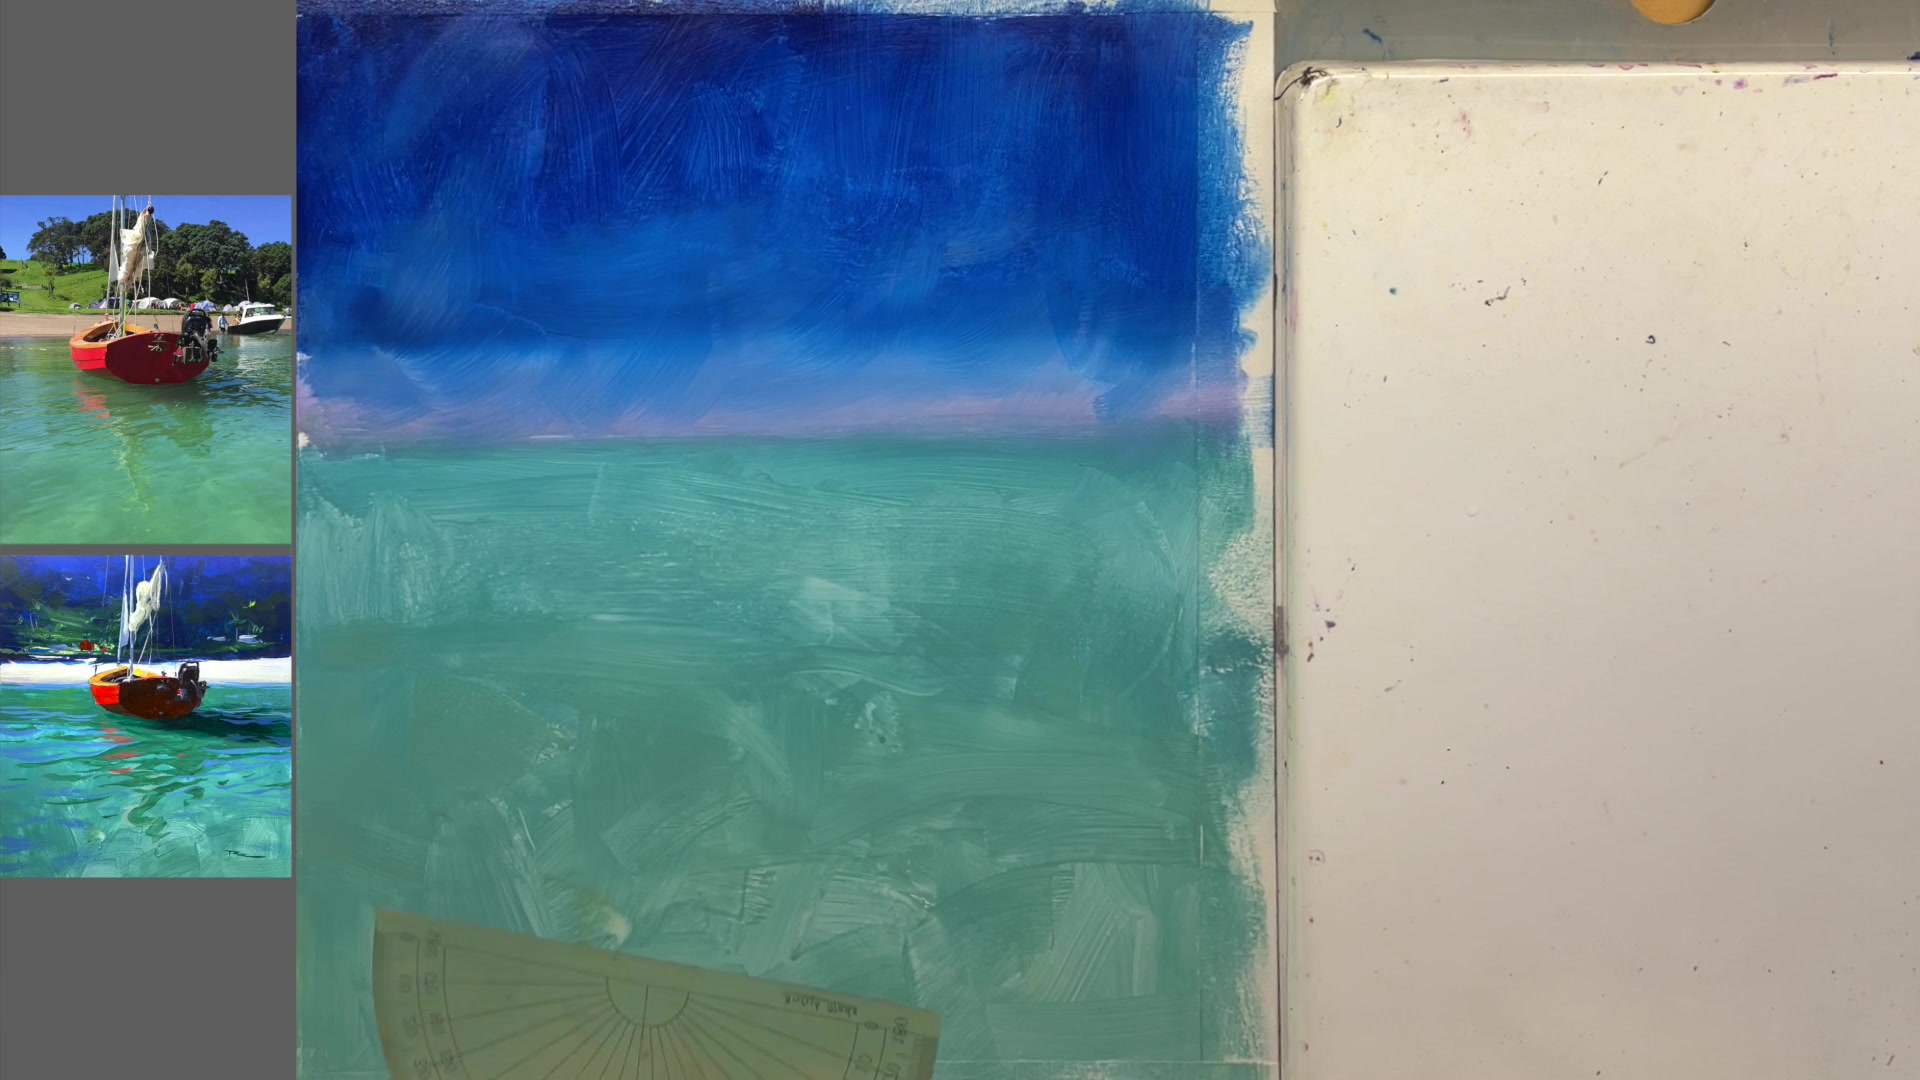
In this chapter, we'll embark on a vibrant journey to capture the essence of a striking red sailboat anchored against the turquoise waters of a tropical paradise. This scene, with its vivid contrasts and serene setting, offers a rewarding challenge for any painter. We'll be working on a 12x16 inch board, primed and ready for your creative touch. Using a mid-grey plastic palette, I'll guide you through the selection of synthetic brushes, primarily flats and a few angles, down to the long rigger brush for those intricate details that bring the rigging to life. The lesson unfolds in six manageable steps, starting with preparing your canvas by sealing the base layer with an acrylic medium. This crucial step ensures a smooth, stress-free painting process. You'll learn to spotlight the background, build translucent water, and make that red sailboat pop with punchy color and crisp details. Whether you're using acrylics or oils, this chapter will enrich your skills and inspire your artistic journey. Let's dive in and explore the beauty of this scene together, one brushstroke at a time.
This guide accompanies the full video lesson. The lesson includes the complete narrated video, the printable PDF chapter, and personalised critique support.
Decide where the top and bottom of the beach will be on your canvas. Use a ruler to extend these lines across the canvas. Position the boat centrally, as this is a portrait of the boat.
Draw the Boat's Rectangle
Lightly sketch a rectangle to represent the boat's placement. Ensure the rectangle aligns with your reference photo for accuracy. The top of the boat should not reach the back of the beach.
Define Boat's Dimensions
Estimate the size of the boat's back, noting that it aligns with the front of the beach. Find the halfway mark between the back and side of the boat, adjusting slightly for perspective.
Sketch the Boat's Structure
Draw the center line of the boat to help with symmetry. Sketch the bottom of the boat, noting it curves slightly upward in segments. Ensure points across the boat align correctly.
Outline the Boat's Bow
Identify the point of the bow and its relation to the center and edge. Ensure the angle runs back to the center point. Sketch the inner edge, allowing for rail thickness.
Refine Boat's Curves
Draw the curves of the boat, ensuring they follow the upper rail and meet the angles. Check the thickness and position of the inside bottom edge.
Add Motor and Mast
Sketch the motor slightly smaller to reduce its prominence. Position the mast leaning slightly to the right. Prepare to paint the background before adding the sail.
Pro tipUse a center line for symmetrical objects to ensure accurate proportions and alignment.
Embark on your painting journey by preparing your canvas with a solid base layer, sealed with an acrylic medium for a smooth start. As you build your composition, focus on creating depth by subduing the background and using vibrant colors for your focal point, the red sailboat. This contrast will guide the viewer's eye and bring your subject to life.
When painting the water, use a mix of blues and greens with horizontal strokes to capture its natural flow and movement. Pay attention to light and shadow to add depth and realism. As you move to the boat, apply vibrant, saturated colors with confident strokes to make it stand out against the serene backdrop.
Throughout the process, keep your paints workable by maintaining moisture on your palette and canvas. Use varied brush techniques to add texture and interest, and don't forget to seal your layers to preserve your work. As you add the final details, focus on the big shapes and angles, ensuring your painting captures the essence of the scene.
Points to remember
Seal the base layer with acrylic medium for a smooth painting process.
Subdue the background to enhance focus on the foreground elements.
Use horizontal strokes to capture the natural flow and movement of water.
Apply vibrant colors to make the boat stand out against the background.
Use tape on your palette to prevent paint from dribbling.
Keep the canvas wet with a spray bottle to create interesting textures.
Use a white base under vibrant colors to enhance their intensity.
Squint at your subject to simplify details and focus on big shapes and angles.