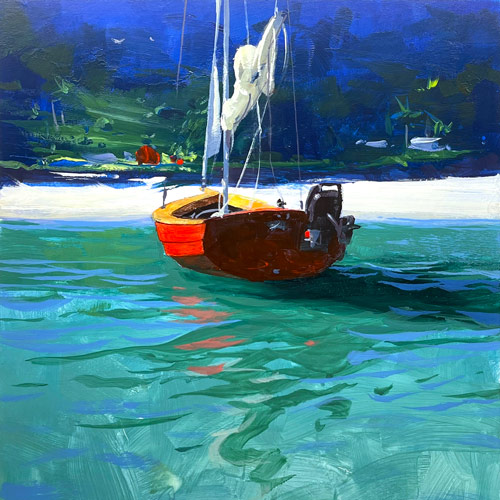
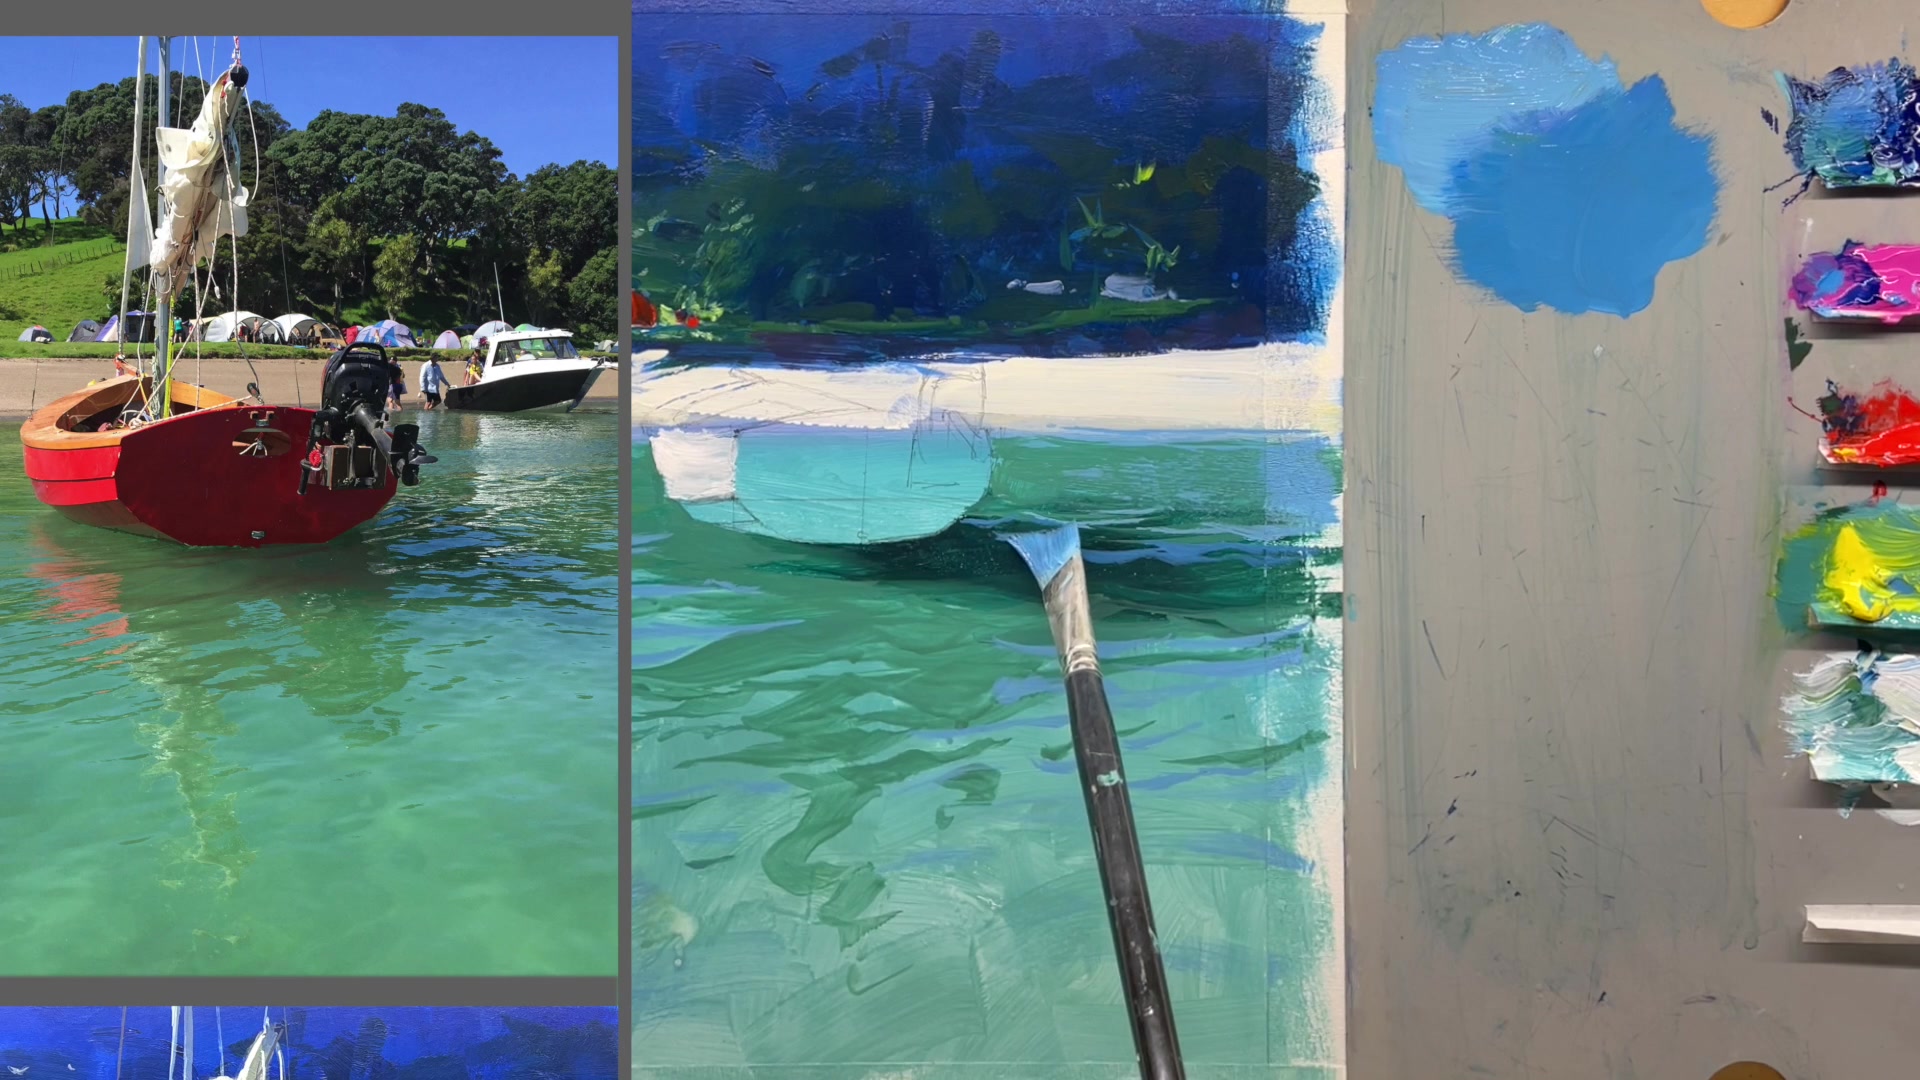
In this chapter, we'll embark on a vibrant journey to capture the essence of a striking red sailboat anchored against the turquoise waters of a tropical paradise. This scene, with its vivid contrasts and serene setting, offers a rewarding challenge for any painter. We'll be working on a 12x16 inch board, primed and ready for your creative touch. Using a mid-grey plastic palette, I'll guide you through the selection of synthetic brushes, primarily flats and a few angles, down to the long rigger brush for those intricate details that bring the rigging to life. The lesson unfolds in six manageable steps, starting with preparing your canvas by sealing the base layer with an acrylic medium. This crucial step ensures a smooth, stress-free painting process. You'll learn to spotlight the background, build translucent water, and make that red sailboat pop with punchy color and crisp details. Whether you're using acrylics or oils, this chapter will enrich your skills and inspire your artistic journey. Let's dive in and explore the beauty of this scene together, one brushstroke at a time.
This guide accompanies the full video lesson. The lesson includes the complete narrated video, the printable PDF chapter, and personalised critique support.
Mix a bright red with a touch of yellow to create a vibrant color. Carefully apply this over the white area of the sail to achieve a striking contrast. Ensure the edges are neat to maintain the sail's shape.
Add Woodwork Details
Switch to a small flat brush, size 6, and mix an orange for the woodwork. Apply this over the white base to make the color pop. Add a little white if needed to enhance the brightness.
Create Dark Brown for Interior
Mix a dark brown by combining orange with blue. Apply this carefully to the interior, paying attention to the curves. For a darker shade, add more red and blue.
Define Boat Angles
Use red to outline the boat's back collar, ensuring straight edges and correct angles. Fill in the space, and add more light to the back for richness in color.
Reflect Light on Water
With a rig-a-brush, apply red to create light reflections on the water. If too strong, tone it down by brushing over it lightly.
Detail the Motor
Mix a grayish tone using red and blue, then lighten with white. Apply to the motor, focusing on where the light touches. Squint to simplify details and ensure accuracy.
Reflect Green Water
Notice the panels reflecting green water. Apply a little yellow over these areas to capture the reflection. Adjust with more green if necessary to seat the boat in the water.
Pro tipSquint at your subject to simplify details and focus on getting the big shapes and angles right.
Embark on your painting journey by preparing your canvas with a solid base layer, sealed with an acrylic medium for a smooth start. As you build your composition, focus on creating depth by subduing the background and using vibrant colors for your focal point, the red sailboat. This contrast will guide the viewer's eye and bring your subject to life.
When painting the water, use a mix of blues and greens with horizontal strokes to capture its natural flow and movement. Pay attention to light and shadow to add depth and realism. As you move to the boat, apply vibrant, saturated colors with confident strokes to make it stand out against the serene backdrop.
Throughout the process, keep your paints workable by maintaining moisture on your palette and canvas. Use varied brush techniques to add texture and interest, and don't forget to seal your layers to preserve your work. As you add the final details, focus on the big shapes and angles, ensuring your painting captures the essence of the scene.
Points to remember
Seal the base layer with acrylic medium for a smooth painting process.
Subdue the background to enhance focus on the foreground elements.
Use horizontal strokes to capture the natural flow and movement of water.
Apply vibrant colors to make the boat stand out against the background.
Use tape on your palette to prevent paint from dribbling.
Keep the canvas wet with a spray bottle to create interesting textures.
Use a white base under vibrant colors to enhance their intensity.
Squint at your subject to simplify details and focus on big shapes and angles.