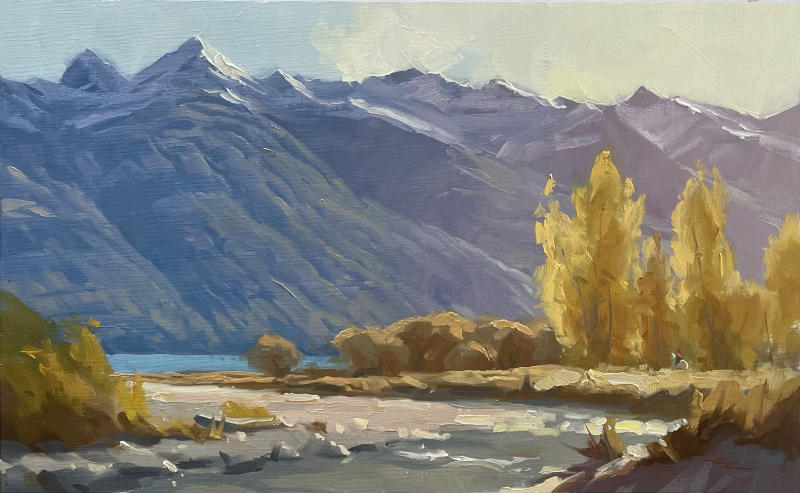
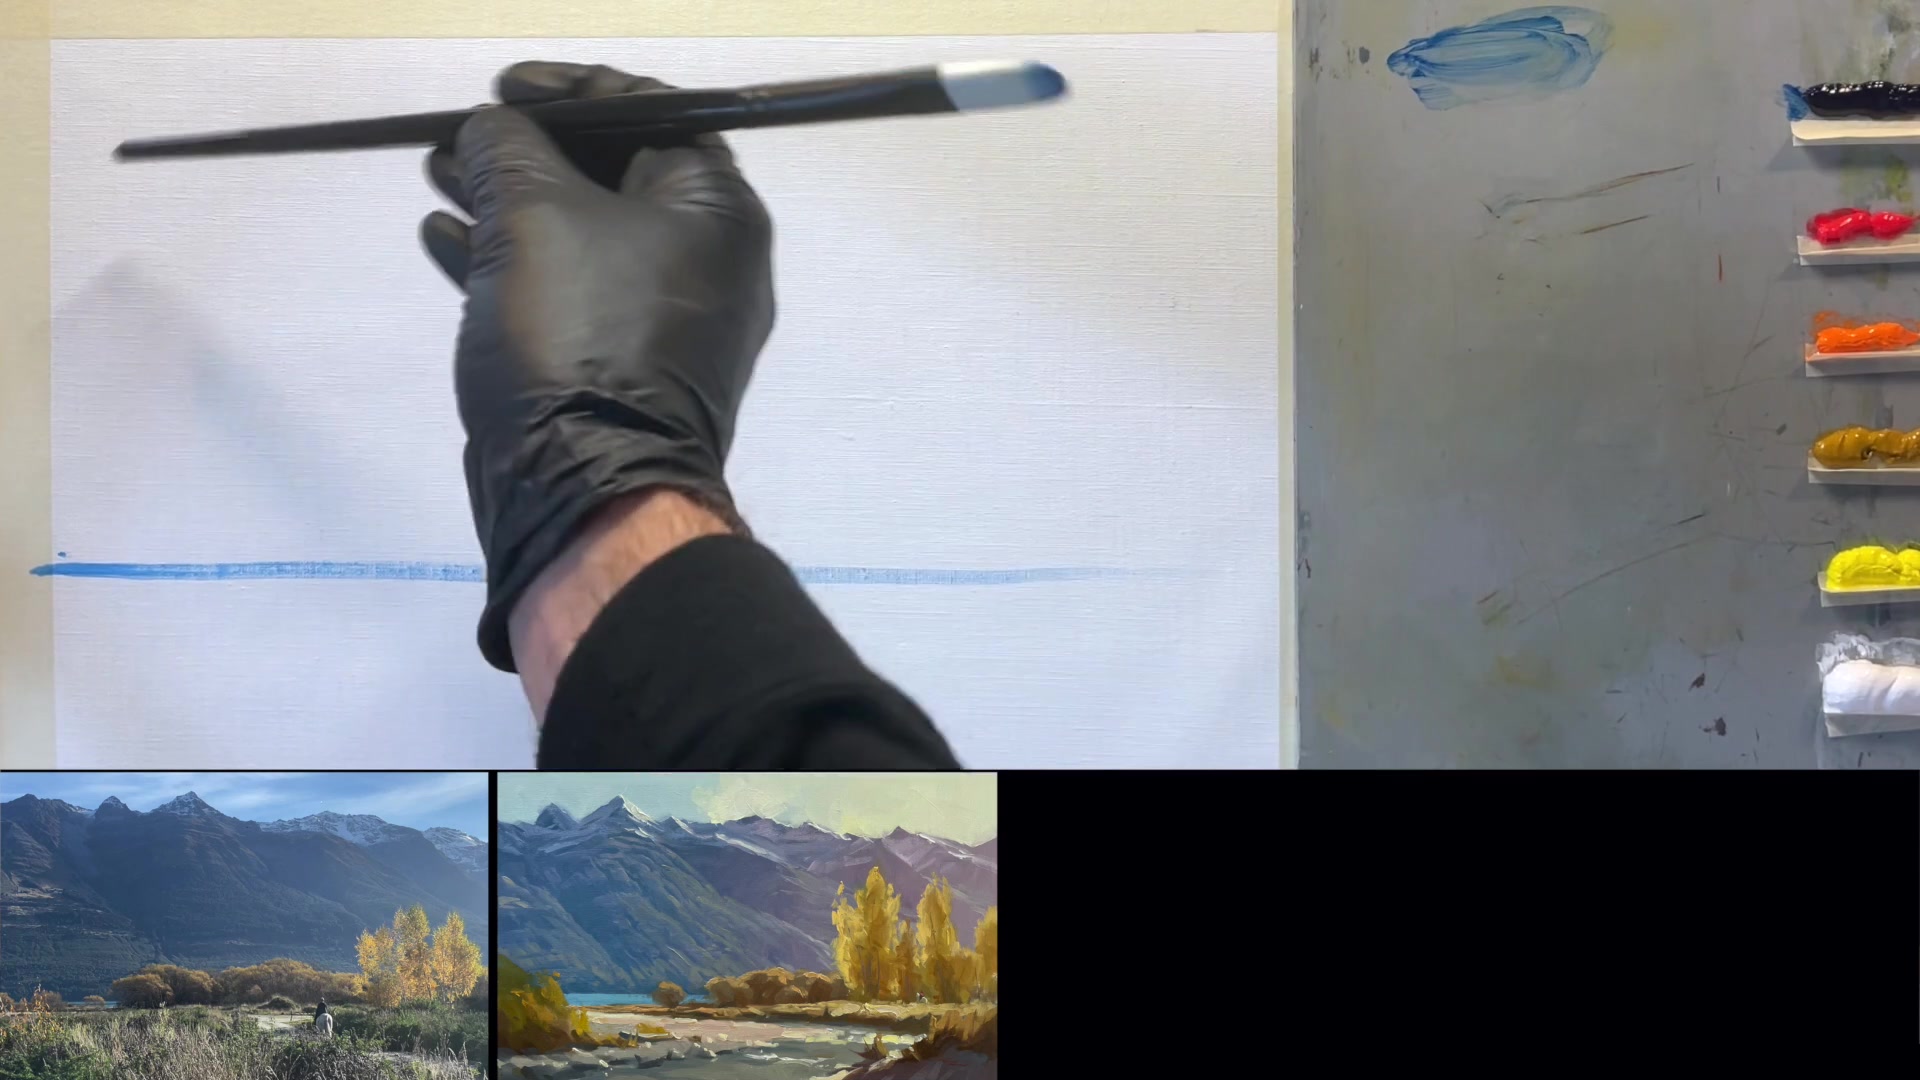
In this chapter, I'll guide you through painting the enchanting Bucklerburn River scene in Glenorchy, New Zealand, capturing the mesmerizing 'contre-jour' or backlighting effect. This technique, where the primary light source is positioned behind the subject, creates a dramatic and striking landscape with silhouettes, glowing highlights, and atmospheric depth. You'll learn to balance strong contrasts and subtle variations, enhancing the mood and mystery of your painting. I'll show you how to design for success by enhancing natural elements, like shifting mountains and simplifying streams, to create a compelling composition. We'll start with a purplish-grey base coat, gradually adding pink and yellow as we approach the sun, and then layer lighter colors over the top. As we work on the foreground, we'll ensure it's vibrant and warm, with thicker paint for texture and depth. This step-by-step process is designed for both beginners and advanced painters, using oils or acrylics. Embrace the challenge, experiment with different brushes, and discover new styles. Together, we'll create a beautiful mountain river painting in just over two hours. Enjoy the journey!
This guide accompanies the full video lesson. The lesson includes the complete narrated video, the printable PDF chapter, and personalised critique support.
"Bucklerburn" 10.5 x 17" Oil on Linen by Richard Robinson
Step 4Mountain Composition and Perspective
Plan Mountain Placement
Decide where the mountains will be positioned in your composition. Keep the horizon low to give the mountains ample space to dominate the scene. This enhances the perspective, emphasizing the grandeur of the mountains compared to the foreground elements.
Determine Mountain Peaks
Choose the highest mountain peaks to include in your painting. Place them close to the top edge of the canvas, but leave at least an inch of space to avoid a cramped look. Focus on interesting shapes of the mountain tops to add character to your painting.
Sketch Mountain Shapes
Sketch the basic shapes of the mountains, taking inspiration from real forms but allowing for artistic interpretation. Aim for variety in angles and sizes to avoid repetitive patterns that can make the scene look artificial.
Consider Perspective and Shadows
Visualize the mountains as massive structures with a solid base and intricate details at the top. Identify the main shadow shapes and contours, noting how light transitions across the mountain surfaces. This understanding will guide your painting process.
Pro tipLeave at least an inch of space between the mountain peaks and the top edge of the canvas to avoid a cramped composition.
Embark on your painting journey by embracing the unexpected. If you find yourself without your usual tools, see it as an opportunity to experiment with different brush shapes and techniques. This can lead to discovering new styles and invigorating your creative process. As you progress, consider investing in quality brushes that enhance your experience and open up new artistic possibilities.
When setting up your materials, choose a fine weave linen canvas to enhance texture and vibrant oil paints for rich color. Begin your composition by sketching the horizon and mountains, ensuring a low horizon to give prominence to the mountains. Use broad strokes to establish the base colors and gradually build up layers, paying attention to light and shadow to create depth and interest.
As you refine your painting, focus on transitions and details. Use techniques like scumbling to apply thin layers and create smooth transitions. Incorporate warm colors to enhance the glow of the scene, and use broad brush strokes to suggest detail without overworking the painting. Remember to maintain clean color application by using minimal strokes and keeping your palette organized for easy adjustments.
Points to remember
Experiment with different brush shapes to unlock new styles and techniques.
Choose brushes with black handles to avoid glare when painting outdoors.
Leave at least an inch of space between the mountain peaks and the top edge of the canvas to avoid a cramped composition.
Use a scumbling technique to cover the canvas lightly, avoiding thick paint layers.
Use the side of a broad brush to create a smooth color transition across the canvas.
Incorporate yellow to intensify the glow and lighten the painting simultaneously.
Use a dry brush technique with thick paint to create textured effects that mimic snow and ice.
Use broad brush strokes to suggest detail without relying on small brushes, creating a more artistic feel.