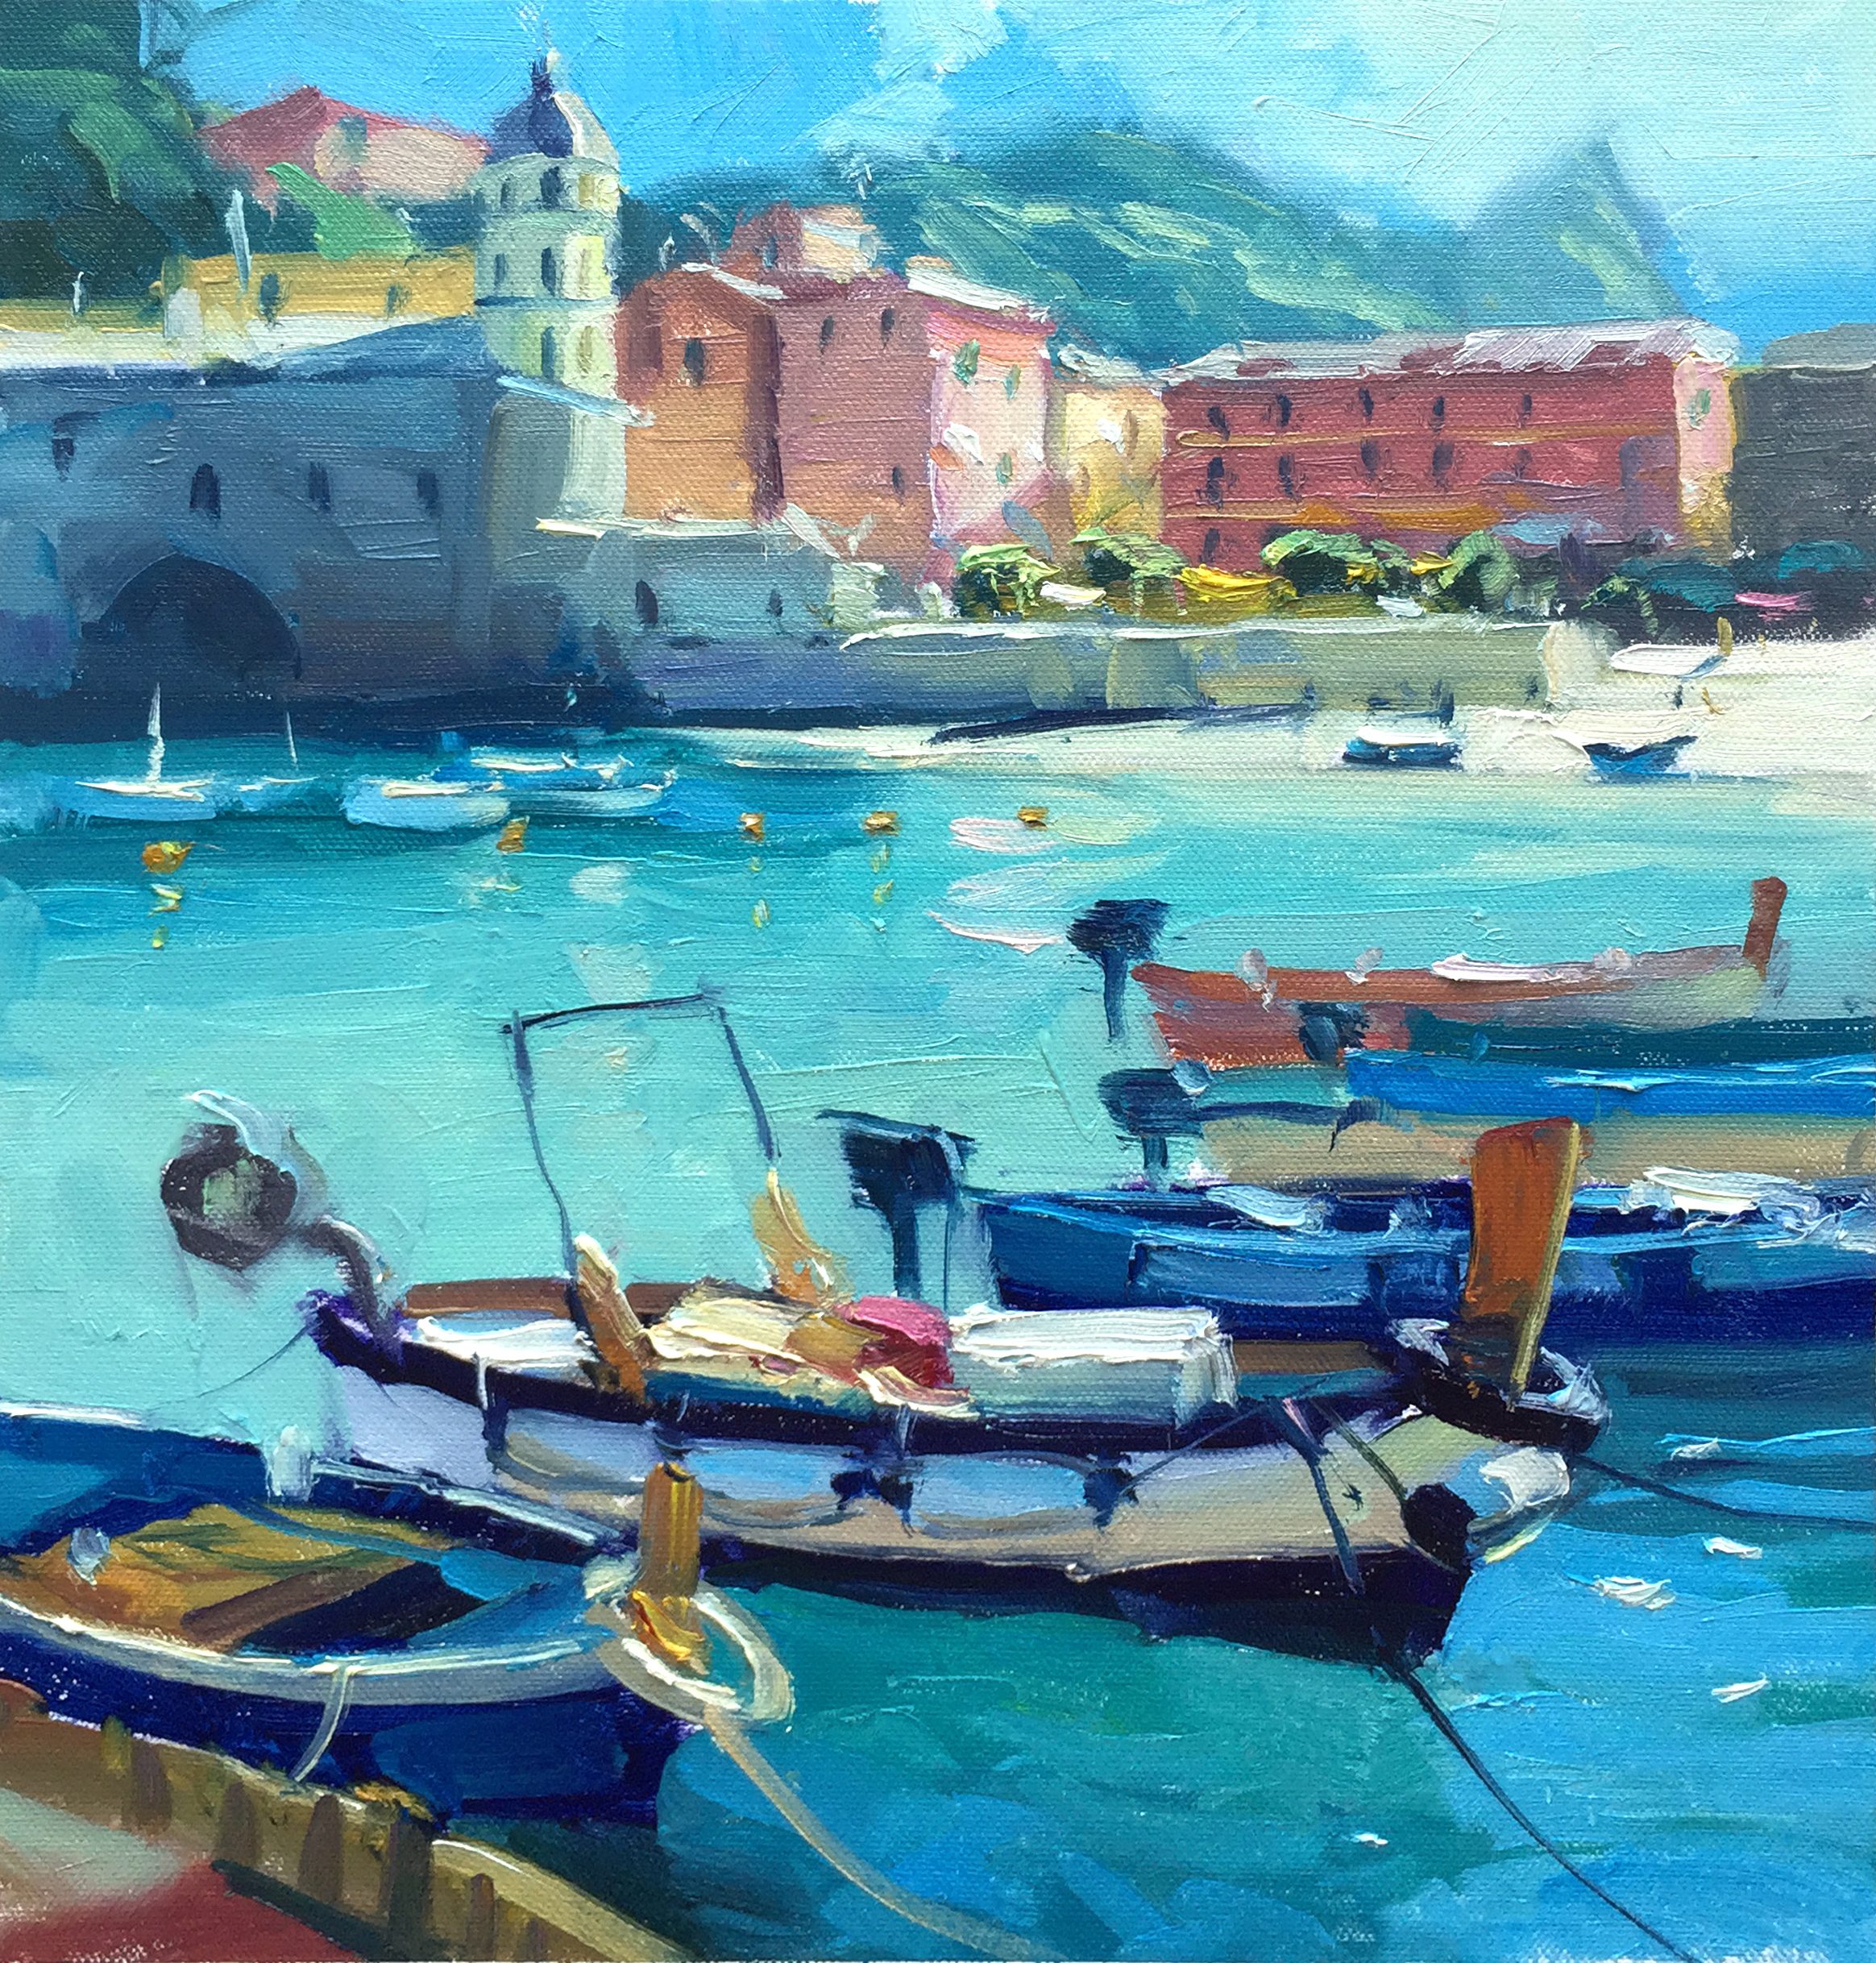
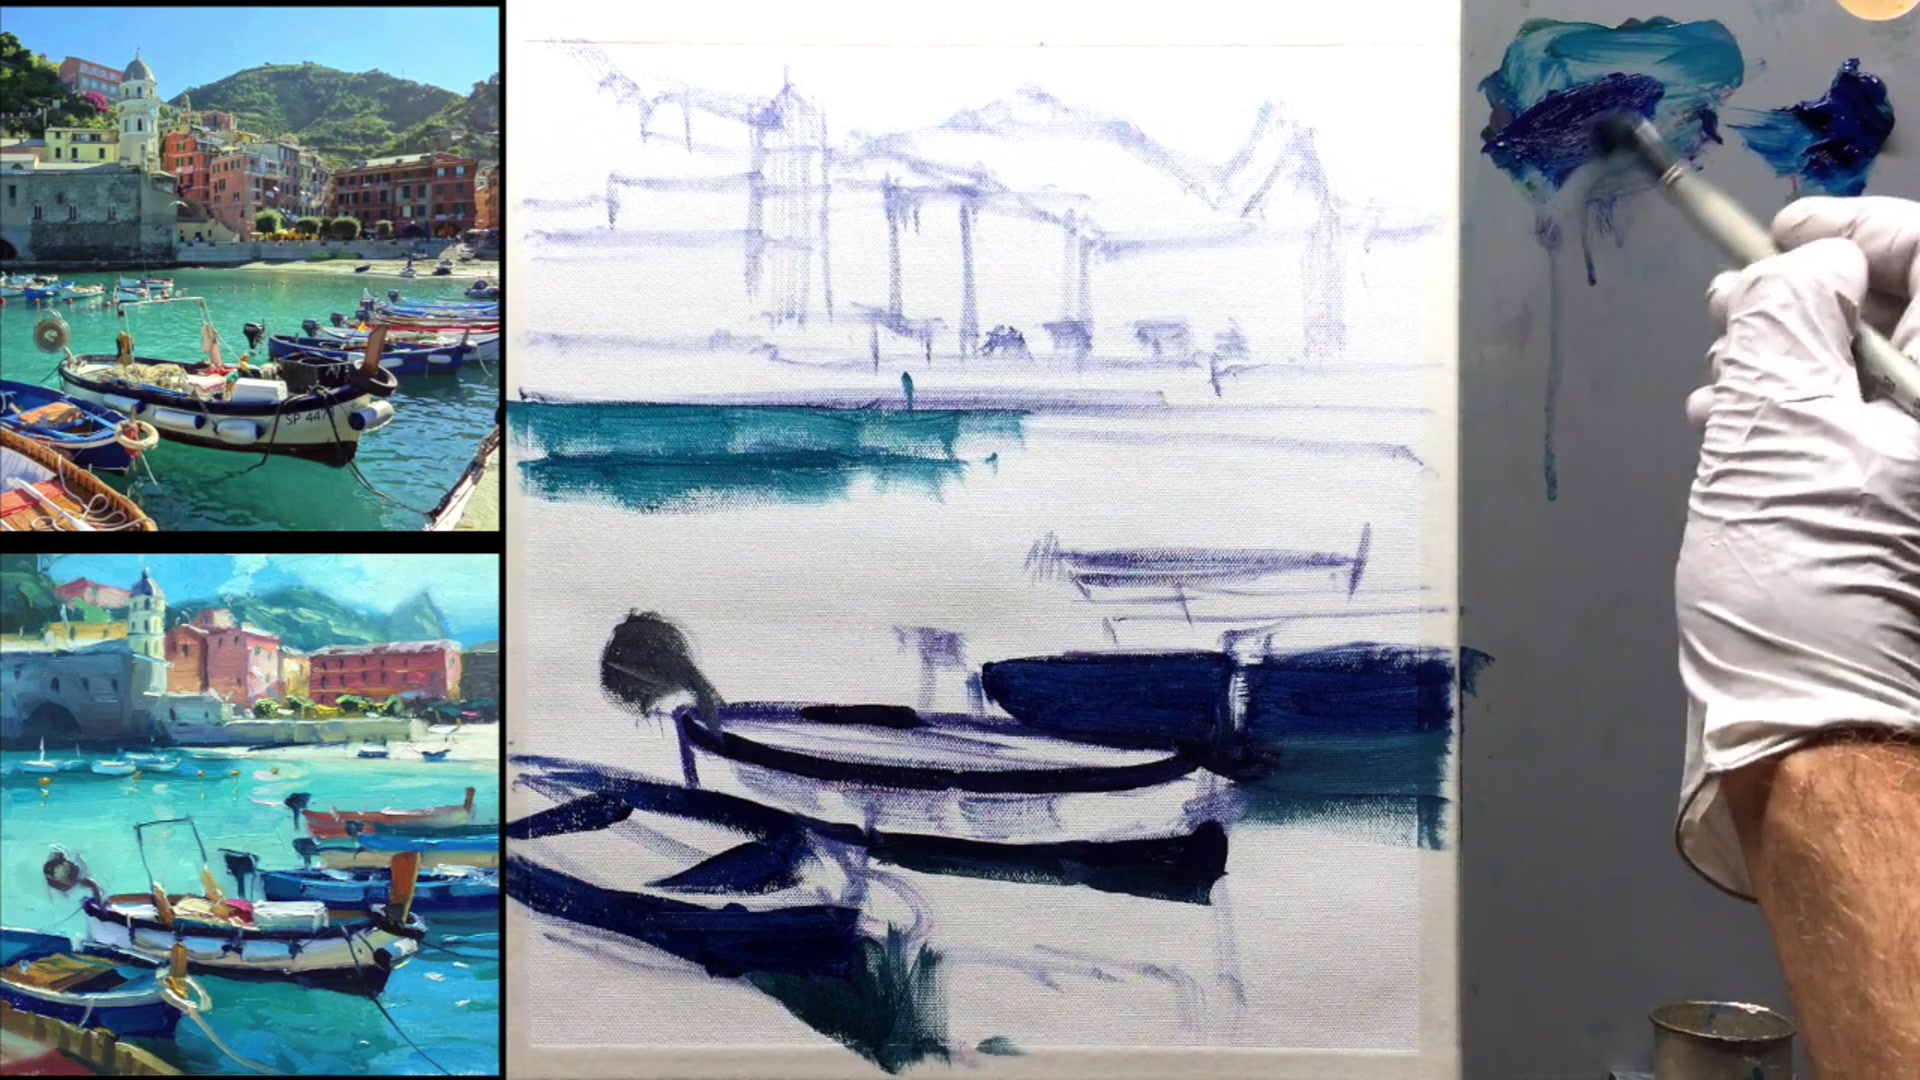
In this chapter, we find ourselves back in the enchanting Vernazza on the Italian coast, ready to capture the essence of a vibrant Mediterranean harbour. This scene, with its glowing light and transparent waters, offers a perfect opportunity to delve into impressionistic painting techniques. I chose a stunning image, graciously provided by Kelly, and simplified it to focus on the essential elements that convey the beauty of boats nestled against a charming village backdrop. By narrowing down the composition, we emphasize the scene's inherent allure without overwhelming details. Throughout this lesson, you'll learn how to enhance color vibrancy, manage light, and employ impressionistic brushwork to bring this picturesque setting to life. We'll start by sketching the scene with a phthalo and magenta mixture, adjusting the horizon for a dynamic composition, and carefully placing the main boat. This approach not only simplifies the process but also allows you to practice and refine your skills, ensuring a rewarding painting experience. Let's embark on this creative journey together and transform a simple scene into a stunning work of art.
This guide accompanies the full video lesson. The lesson includes the complete narrated video, the printable PDF chapter, and personalised critique support.
"Mediterranean Harbour" 11x13" Oil on Canvas by Richard Robinson.
Step 5Mixing Grays for the Village
Mix a Dark Bluish Gray
Combine your three primary colors: blue, magenta, and yellow ochre. Use yellow ochre instead of bright yellow to achieve a more neutral gray. Aim for a slightly lighter shade than the reference photo to create depth, allowing the foreground boats to stand out.
Add Variation to the Gray
Observe the photo and notice the variation in the gray tones on the building. Adjust the gray by making it slightly lighter and cooler or warmer in different areas. This variation adds interest and prevents the area from appearing flat.
Apply Brush Strokes with Perspective
Use vertical, horizontal, or slight diagonal brush strokes to follow the perspective of the village. This technique adds color interest and enhances the overall composition.
Pro tipModify the grays continuously to avoid a flat, Lego-like appearance in the village.
Embark on your Mediterranean Harbour painting journey by carefully planning your composition and sketching the scene. Use a light, oily mixture to sketch the main elements, ensuring dynamic placement by adjusting the horizon and extending boat lines. This foundational step sets the stage for a vibrant and balanced composition.
As you progress, focus on establishing strong dark values and shadows, which will serve as the backbone of your painting. Gradually build up the layers, incorporating rich colors into the shadows and using perspective techniques to add depth. Pay attention to the subtle variations in color and light, particularly in the background hills and village, to enhance the sense of space and atmosphere.
In the final stages, bring your painting to life with impasto techniques and detailed highlights. Use thick paint to create texture and dimension, and add small, vibrant touches to capture the lively essence of the scene. By carefully balancing light and shadow, and using clean, vibrant colors, you will achieve a painting that is both dynamic and harmonious.
Points to remember
Raise the horizon slightly for a more dynamic composition.
Apply the darkest values first to establish a strong foundation.
Incorporate bounced light colors into shadow areas for depth.
Add more walnut oil to dark colors for easier application.
Continuously modify grays to avoid a flat appearance.
Clean brushes thoroughly to maintain vibrant colors.
Lighten shadows at the bottom to suggest reflected light.
Use impasto techniques to add texture and dimension.