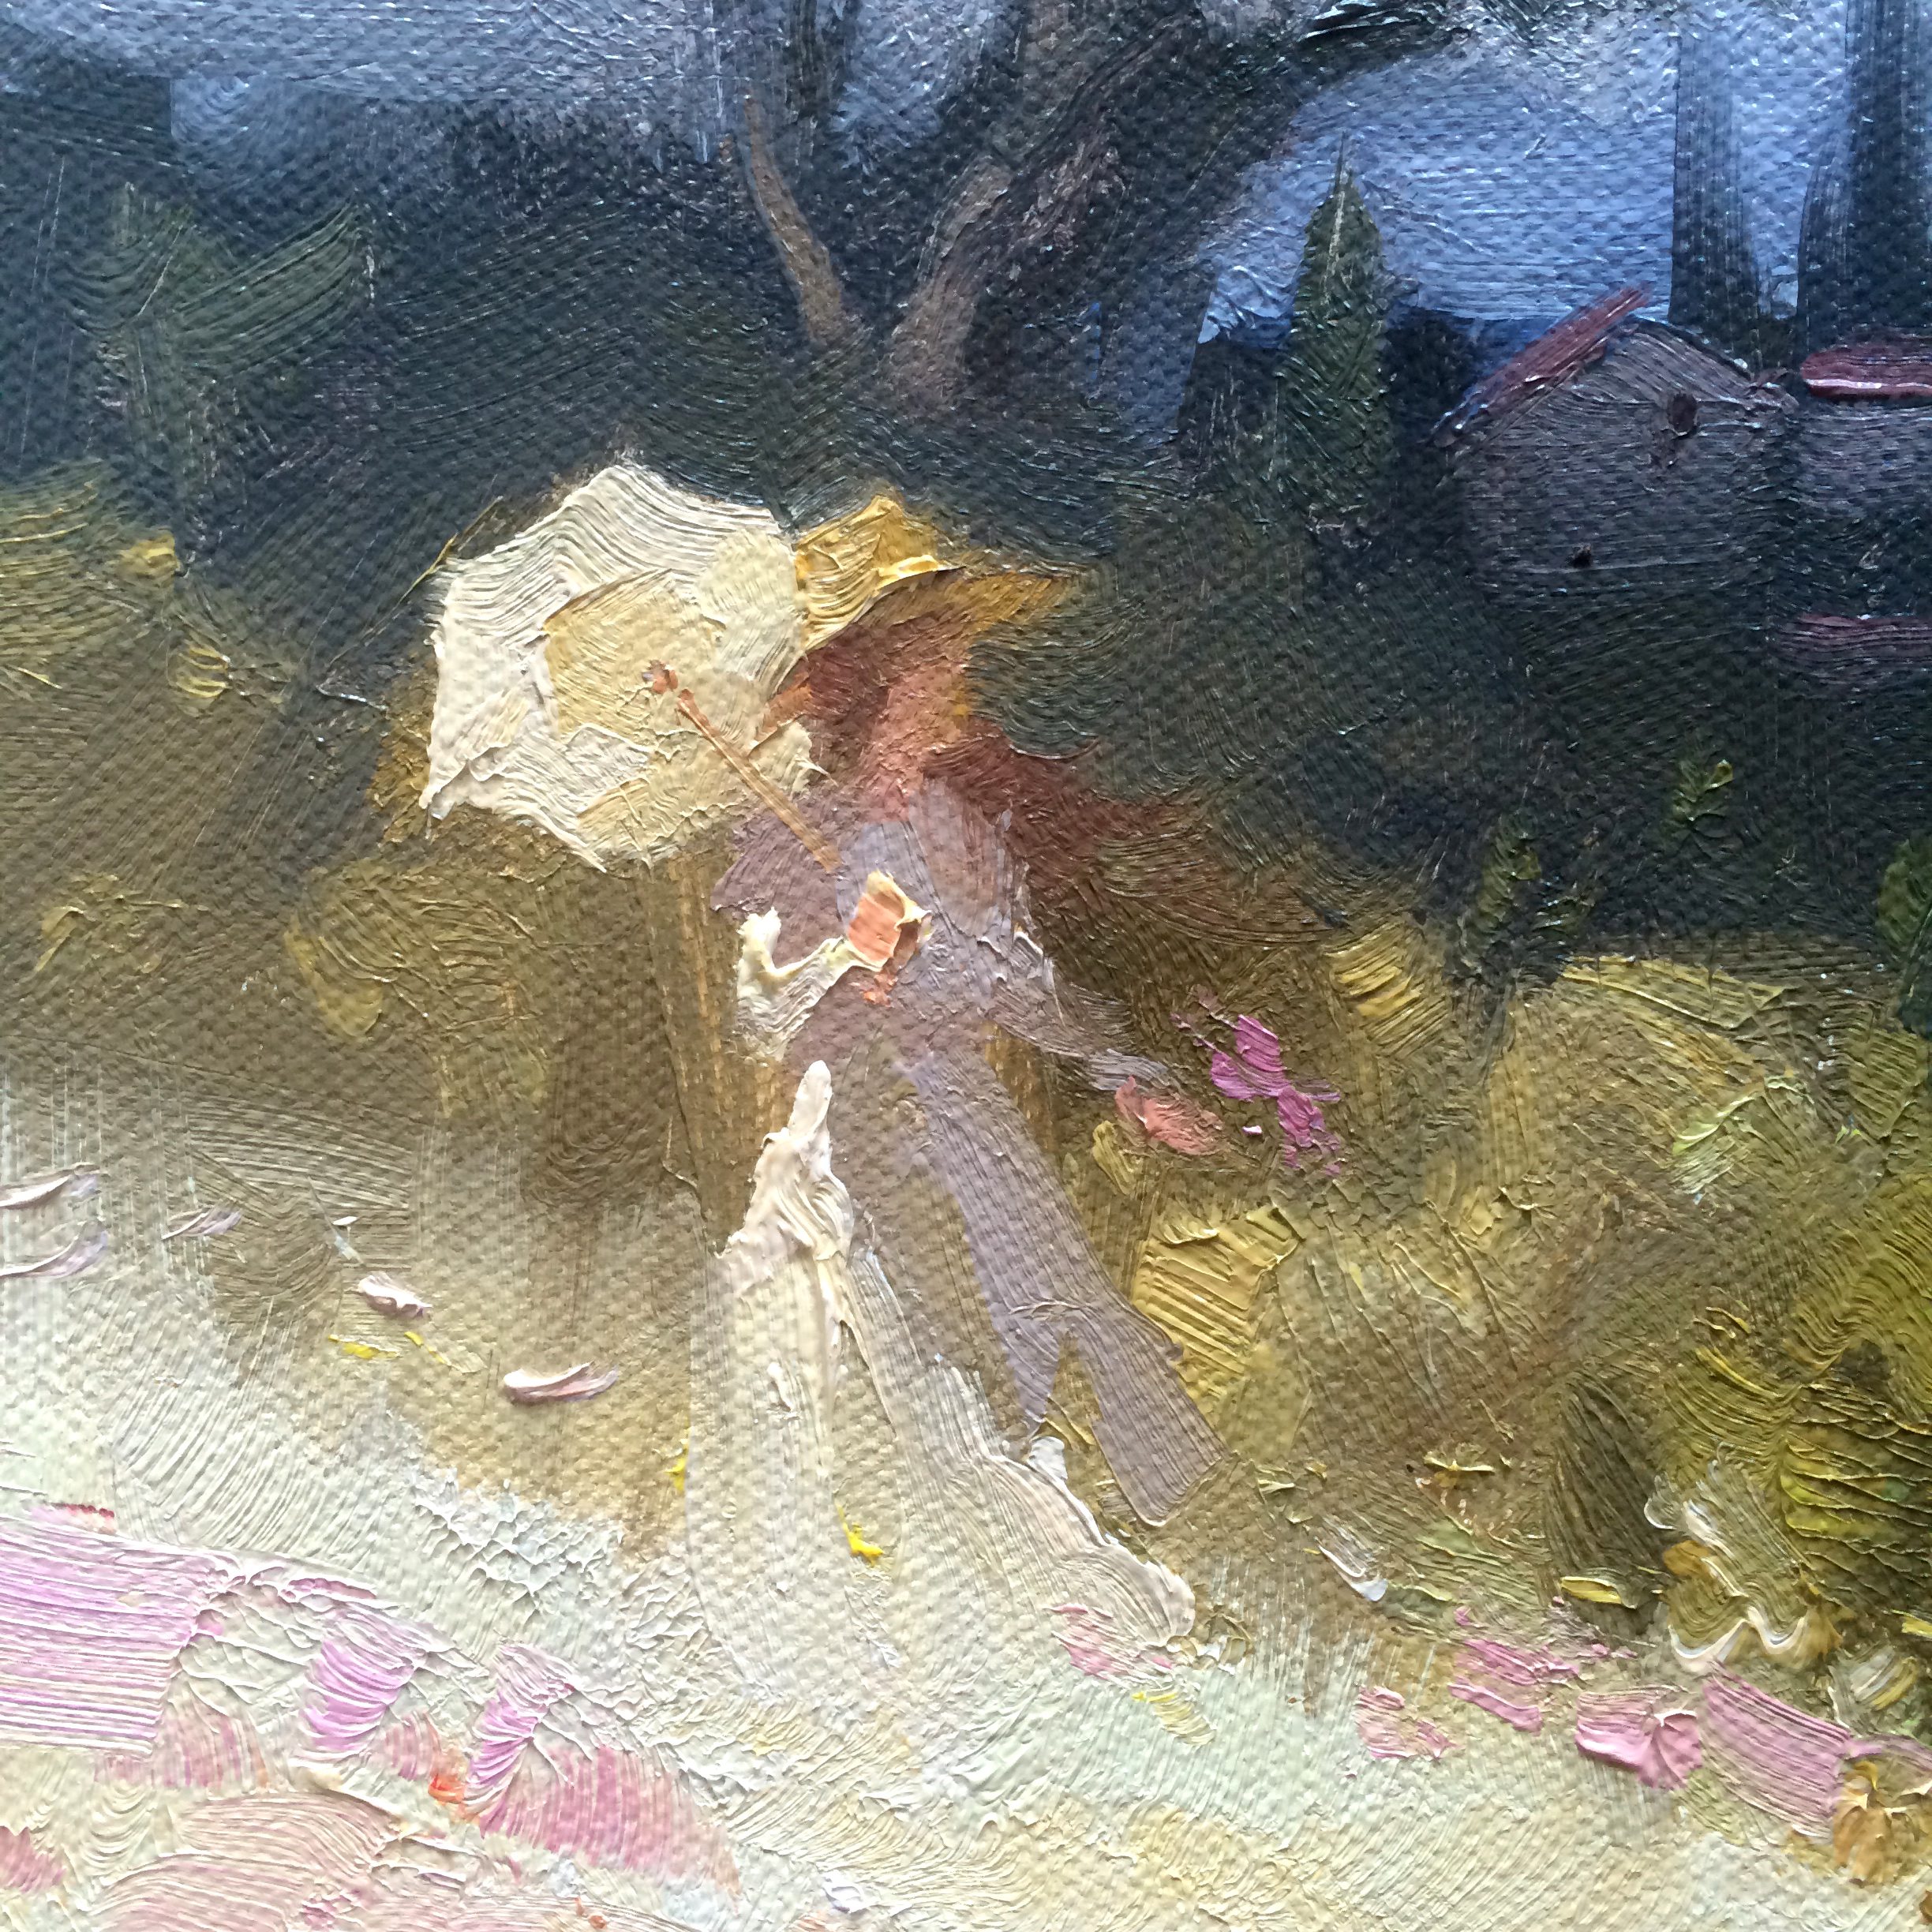
As I settle back into my studio after a memorable trip to Italy, I find myself inspired by the enchanting landscapes of Tuscany. This chapter invites you to join me in capturing the essence of these idyllic Tuscan fields, reminiscent of Monet's Poppy Fields from 1837. While none of my photos from the trip are perfect as standalone paintings, they provide a rich tapestry of elements that we can weave together to create a captivating scene. Imagine a classic Tuscan landscape with its rolling hills, stately poplar trees, and a charming stone house perched on the ridge. We'll explore how to enhance this scene by incorporating figures strategically placed in light against a darker backdrop, adding dynamic contrast and interest. Through a series of sketches and value studies, you'll learn to highlight the interplay of light and shadow, creating a spotlight effect that draws the viewer's eye. By breaking up the sky with mid-ground trees and extending fields to form pathways, we'll add depth and narrative to our painting. This chapter will guide you in transforming a simple sketch into a vibrant composition, complete with poppies in the foreground to enrich the story and invite viewers into this timeless landscape.
This guide accompanies the full video lesson. The lesson includes the complete narrated video, the printable PDF chapter, and personalised critique support.
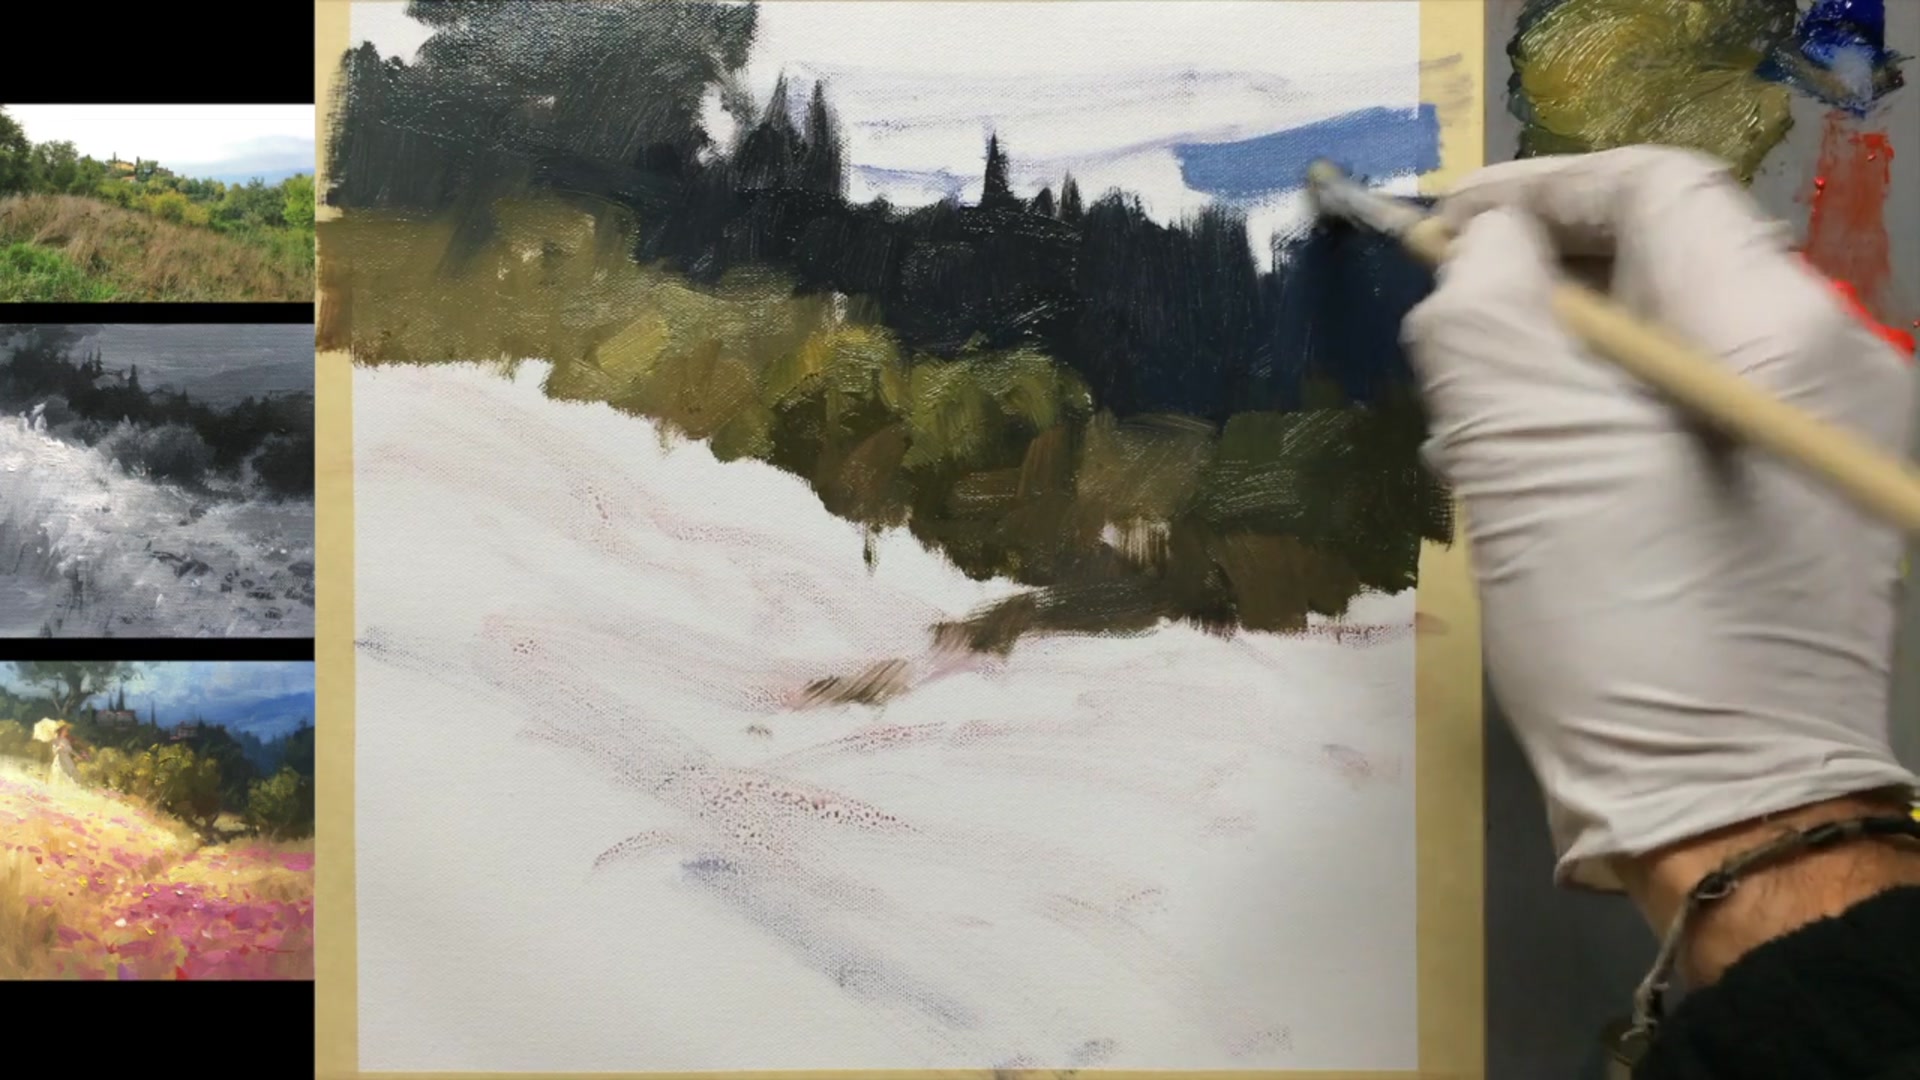
Use a clean brush to mix blue, red, and white for the distant hills. Carefully apply this mixture, avoiding contact with the dark mixture in front to prevent contamination. Clean and reload the brush frequently to maintain color purity.
Create Sky Color
Mix white and a little bright yellow into the blue to create the sky color. Add walnut oil to keep the paint thin, allowing for later adjustments. Paint around the shapes with a very soft edge to push the scene into the distance.
Lighten and Warm the Sky
Lighten and warm the sky by adding white and red to the mixture. Focus on the left side, which should be warmer and lighter as it is closer to the sun. Add a couple of small sky holes in the dark tree mass to enhance the effect.
Pro tipKeep the brush clean and frequently reloaded to maintain the purity of the color when painting distant hills.
Embark on your Tuscan Fields painting by envisioning the classic landscape with its rolling hills, stone houses, and iconic poplar trees. Begin with a small sketch to establish your composition and value study, focusing on the contrast between light and dark areas to create dynamic interest. Use figures strategically to enhance the narrative and draw attention.
Move into the design process by conducting a black and white value study, which will help you understand the tonal balance and set a strong foundation for your color work. Experiment with digital adjustments to explore different moods and refine your vision before committing to the canvas.
As you transition to painting, prepare your materials and canvas, and start with broad strokes to block in major shapes. Gradually build up the scene by adding texture and details, ensuring a harmonious blend of colors and values. Pay attention to the interplay of light and shadow, and use creative techniques like flicking paint with a toothbrush to add unique textures. Finish with careful attention to foreground details and figures, ensuring they integrate seamlessly into the landscape.
Points to remember
Use figures in the light against a dark background to create strong contrast.
Conduct a black and white value study to establish tonal balance before adding color.
Adjust exposure to explore different moods in your painting.
Use an Ultra Smooth canvas for a fine, smooth finish that enhances detail.
Use a big brush to quickly lay in the major shapes without getting caught up in details.
Use large strokes to block in areas without focusing on detail.
Keep the brush clean and frequently reloaded to maintain the purity of the color.
Use larger brush strokes in the foreground and smaller ones in the background to create depth.